Components in a XD document allow for the reuse of objects across artboards. By modifying one instance of a component, changes can be applied to all instances simultaneously. For example, if a green icon is used in 10 different screens of a mobile app, changing the colour to blue can be done by modifying just one icon. This is possible because all instances of a component are linked together, resulting in instant replication of changes. To create a component, select one or more objects and use one of the provided methods.
You can create a component by first selecting one or more objects and then using one of the following methods:
Select: Object > Make component
Right click on the object and select “Make Component”
Use the shortcut CMD + K (Mac) & CTRL + K (Win)
Click on the “+” icon next to the “Symbols” section in the Assets panel on the left
Click on the “+” icon next to the “Component” section in the Property inspector on the right
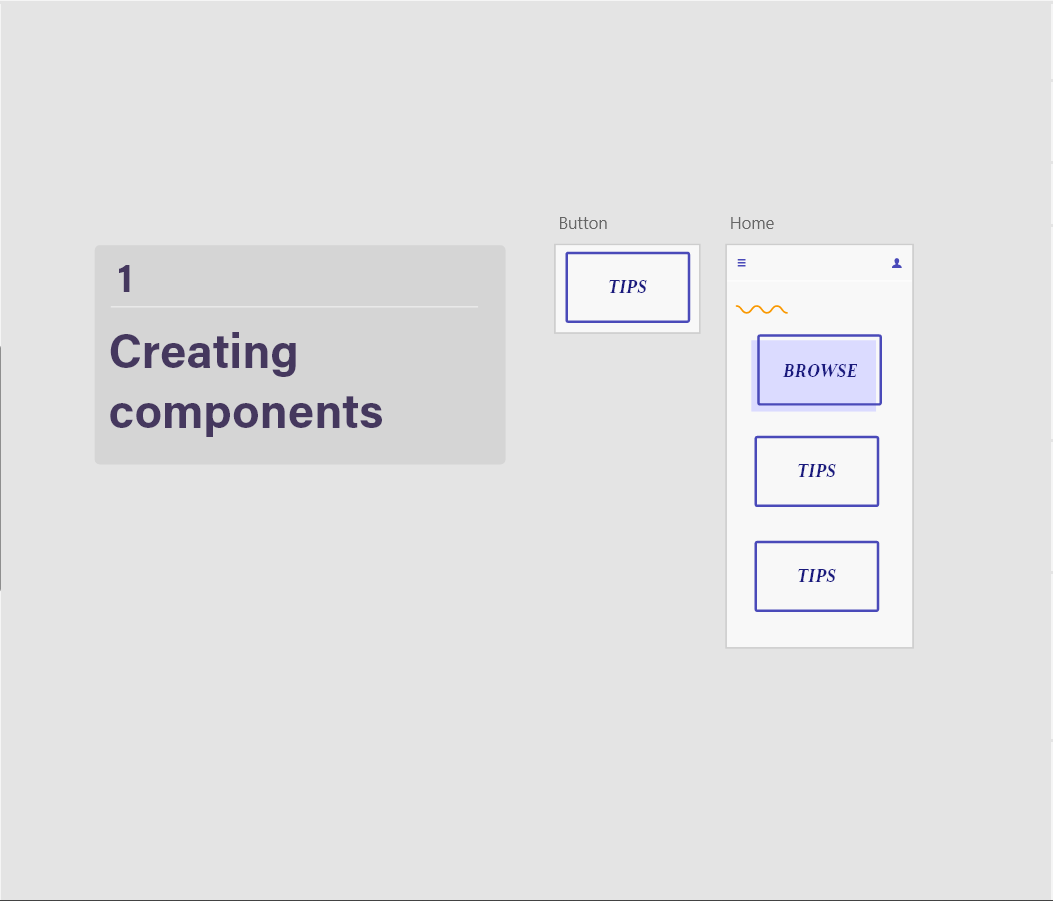
Once saved, that first instance of the component becomes a Master Component, indicated by a green filled diamond in the upper left corner.
All the components will be visible in the Components section of the Assets panel, on the left side of the screen.
Edit a master component
We can use one of three options to edit a master component:
- Right-click an instance on canvas and select Edit Master Component.
- Click a component in the Assets panel and select Edit Master Component.
- Select an instance on canvas and select the edit pencil icon next to Default State in the Component section in the Property Inspector.
Once we’re done editing the main component and want to return to the previous instance, right-click on the component and select Back to Previous Instance. Master components are essential for maintaining consistency in a design system. Any changes made to the master component automatically apply to its instances. However, to ensure usability, a design system must also provide flexibility. Instances allow us to customize the original element based on the specific context in which it is used. Editing an instance does not affect the master component; instead, any changes made are considered overrides. These overridden properties are always preserved, even if the same property is edited in the master component. Properties that have not been overridden in instances, such as the corner radius in buttons, will always sync from the master. If desired, overrides can be reset back to the original master component by right-clicking an instance and selecting Reset to Master Component.
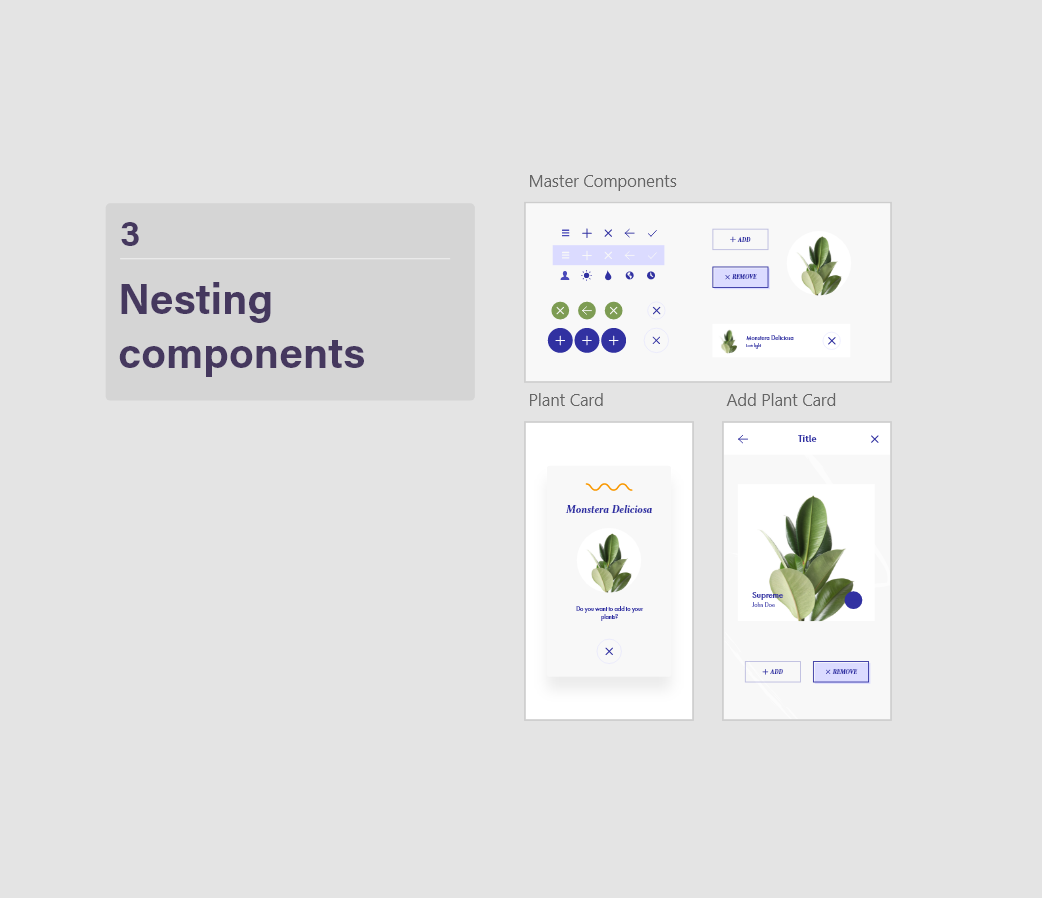
Nested Components
A nested component is a component inside another component. To create nested components, you can use any of these approaches:
- Copy-paste a component instance to a group and convert it to a component.
- Copy-paste a component instance inside an already existing component.
- Drill down into a part of a component and convert that into a component.
Nested components are a valuable tool for building robust design systems. When a main component is updated, all instances of that component receive the update, even if the update was made to a component nested inside it. However, it’s important to note that nested components cannot be main components themselves. If you need to make a change to the main component, you can right-click on the nested component and select “Edit Main Component.” Additionally, it’s worth mentioning that if a nested component within an instance of the outer component is swapped, using “Reset to Main State” on the main’s nested component will not affect the instance with the swapped component.
Swapping components
In XD, you can easily swap components by dragging them from the Assets panel and placing them on top of the component you want to replace on the canvas. This is particularly useful when working with larger components that have nested components, such as modals and nav bars, which may require customization based on the context. When you swap a master component with an instance, the master component is replaced in all instances throughout the design.
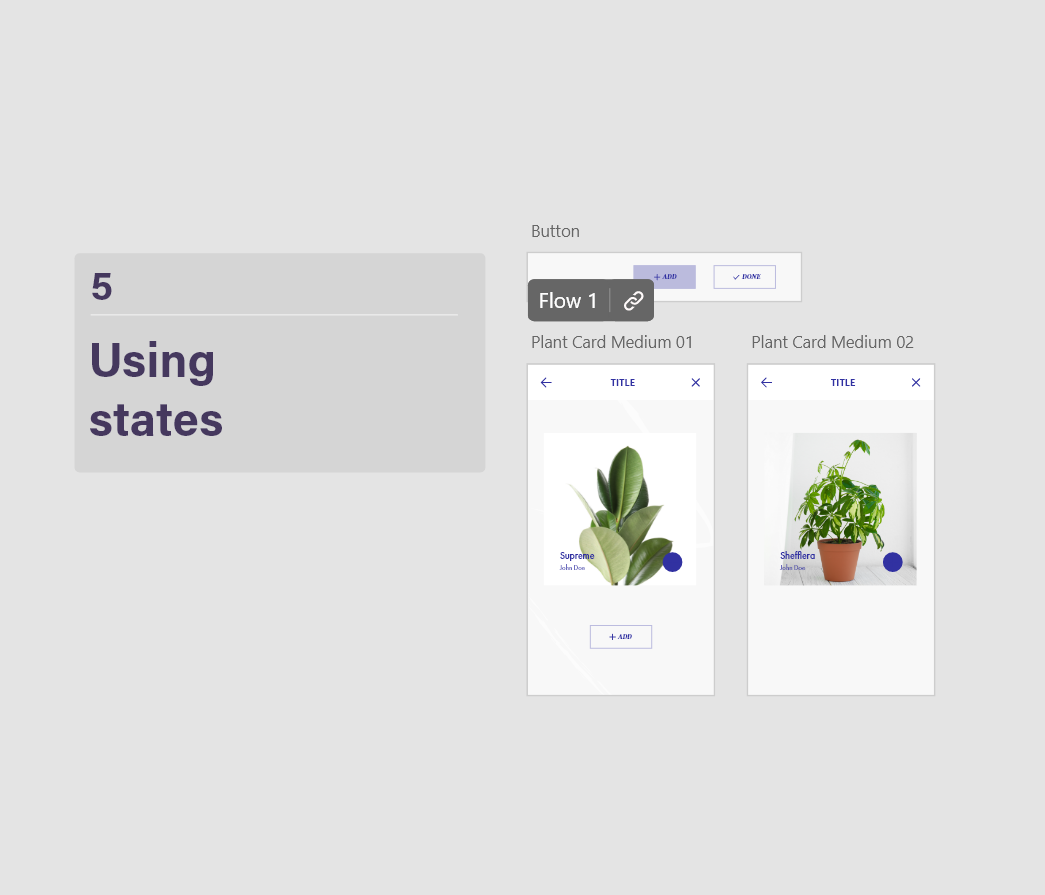
Add States to Components
Component states are a useful feature that allows you to save different variations of a Component for reuse. By making overrides on the Main Component, you can create a state that captures those overrides, making it easy to reuse. For instance, if you have a button Component, you can create variations like primary and secondary using states. These states, created on the Main Component, are available across all instances of that Component, enabling you to easily switch between them. In the Property Inspector, you can rename or delete states from the state switcher. Additionally, you can add triggers with actions to switch from one state to another. For example, you can switch from the default state to the Hover state while hovering over a button Component.
After we create a component, the property inspector lists the component with a default state. We can now add three types of states for our components: new, hold, and toggle.
Reference list:
Adobe Community (2023) Learn how to work with Components across design systems in Adobe XD. Available online:https://helpx.adobe.com/uk/xd/help/work-with-components-xd.html [Accessed 25.11.2023].