Adobe XD Prototyping

Welcome to XD - Tutorial 1

App Screen
Home Screen
Adventures Article Screen
Adventures Scrolling Screen
Gear Guide Screen

Prototype Link Bellow

https://xd.adobe.com/view/ca625a2c-eeea-4a41-8bf3-20e0913508e5-9f31/

Preview Video Bellow

I did 10 short steps to learn what I can do in Adobe XD.

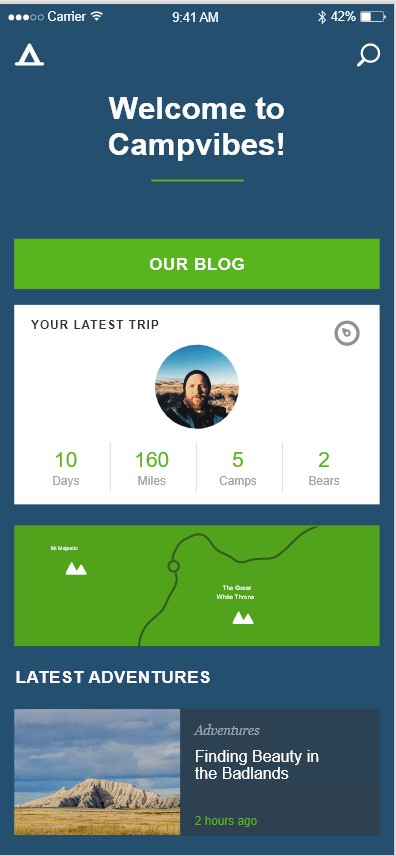
First thing I did was to create an artboard for my app screen by choosing the artboard tool. Then I dragged the logo and changed the background colour to dark blue.

Second step was to drag and drop the “Stalin” image into the grey circle bellow Your Latest Trip, then I doubled click the image to reposition it.

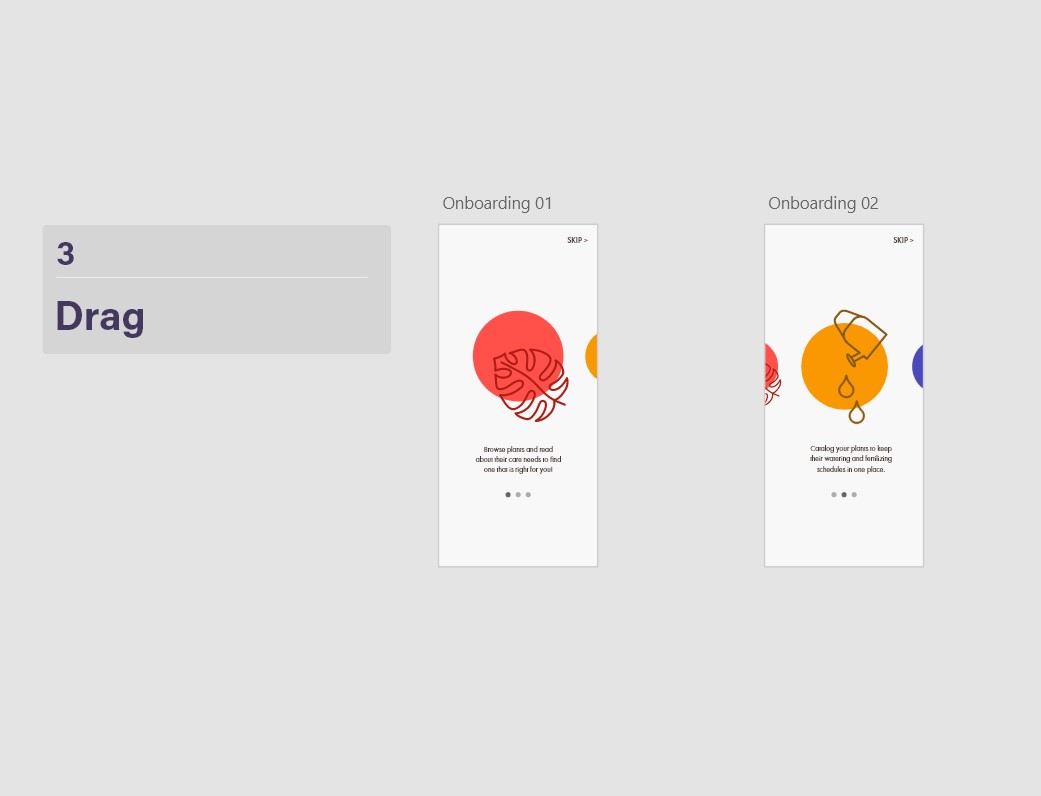
Third step was to create prototype transition by selecting “Prototype” to enter the Prototype Mode. I selected the rectangle “Latest Adventure” section at the bottom of the Home artboard and dragged the blue arrow to the Adventure artboard in the right.

Fourth step is to preview the prototype by selecting Preview button from the top right bar.

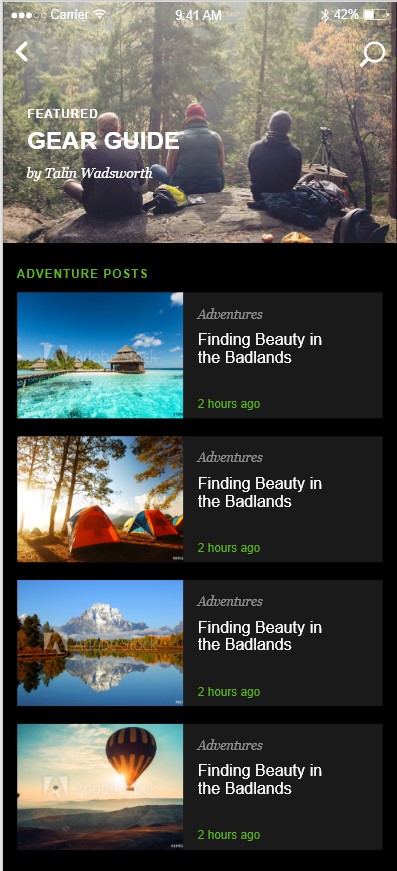
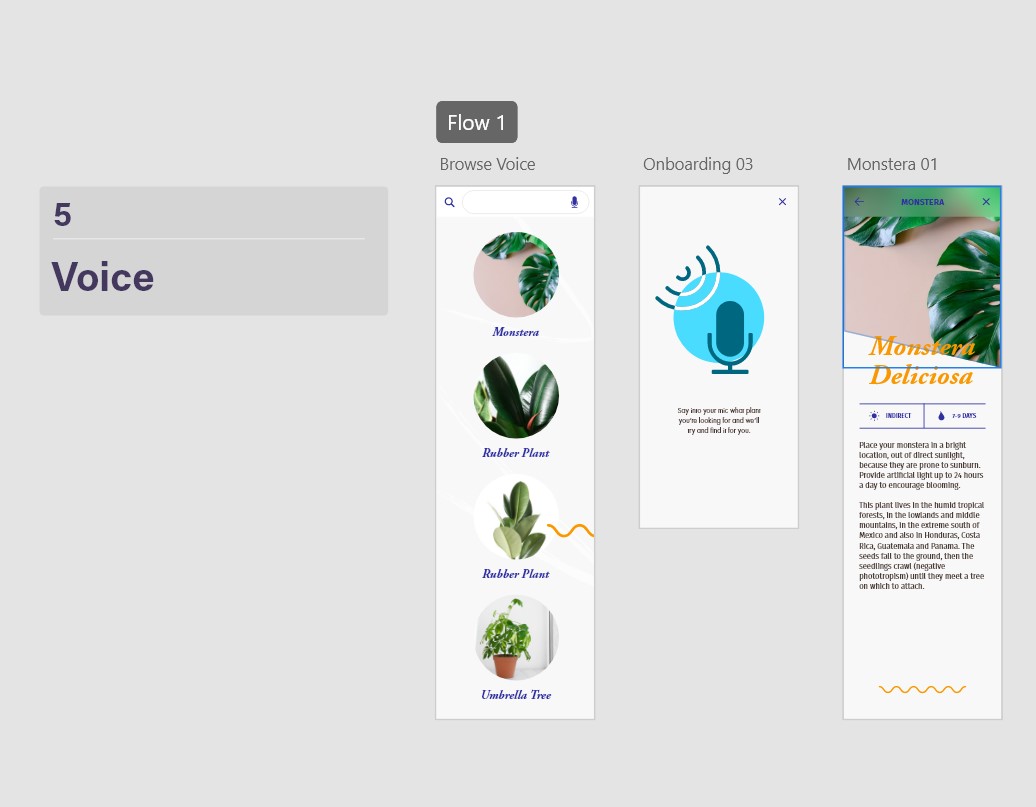
Fifth step is to make a list by selecting “Design” mode, then select the rectangle under “Adventures Post” and select repeat grid in the right panel. I dragged the handle down until I had four items and adjusted the pink space between items to change the padding.

Sixth step was to add multiple images at once. I did that by selecting all images from the downloaded folder at the same time. Dragged them together on the top image in the repeat grid.

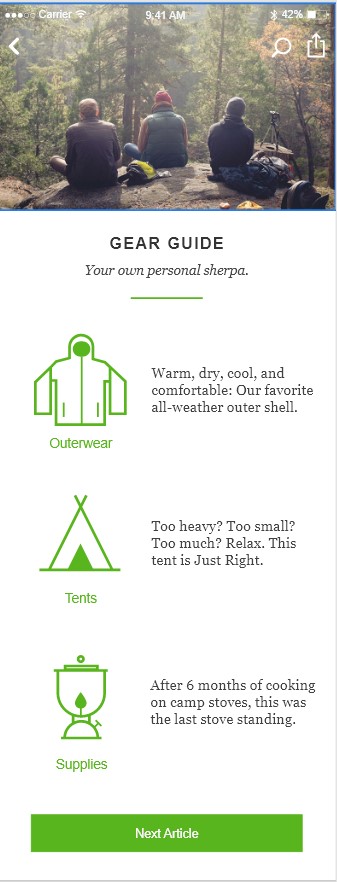
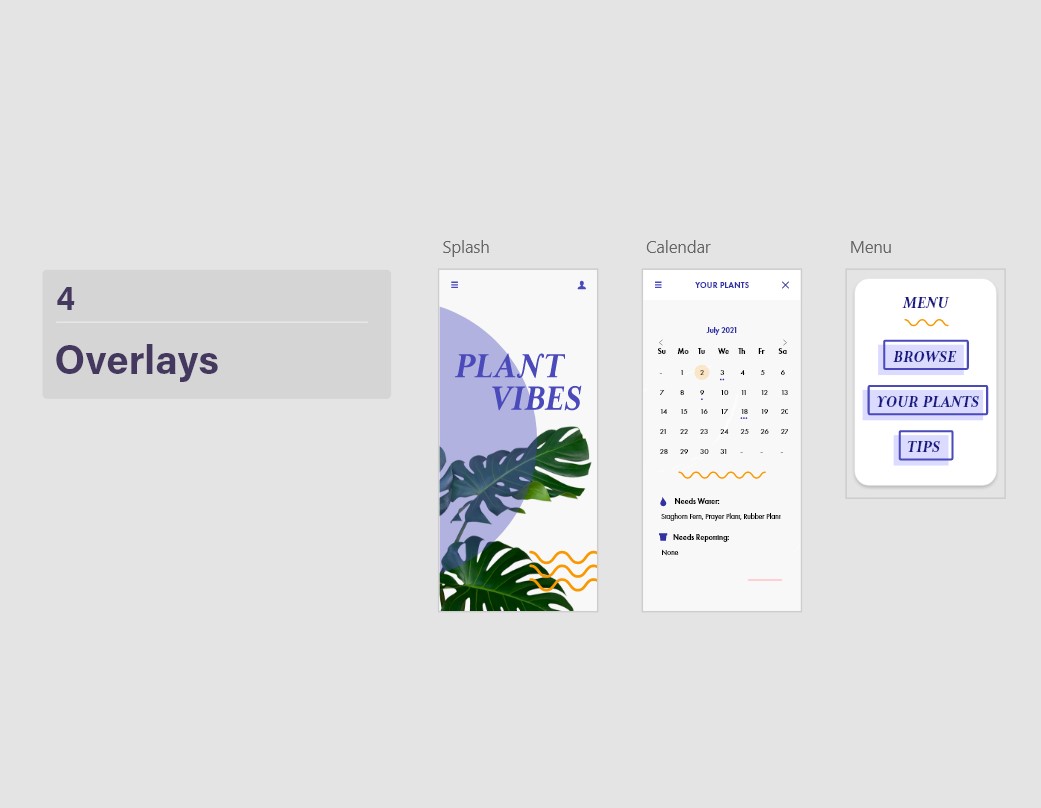
Seventh step is to make it scroll by selecting the Blog artboard by clicking on the artboard name. In the right Scrolling section, I have selected the option “Vertical” and pulled down the white circle at the bottom middle of the blog article. I used the two-line icon on the left to change what the user sees on the screen before they scroll.

Eight step was to make the header sticky. The header should disappear as I scroll in the preview, so I selected the top portion of the Blog artboard and then switched into prototype mode and turn on “Fix position when scrolling” in the right panel. 

Nineth step was to change the styles. To change the colour throughout the design I selected Assets panel on the lower left, then I right clicked on the blue swatch and selected “Reveal Colour in Assets”. In the assets panel right clicked the highlighted tile and clicked Edit and used the colour picker to update to green.

Last step was to record the prototype in preview mode when clicked the record button.

XD Basics In Five Steps - Tutorial 2

Step 1
Step 2
Step 3
Step 4
Step 5

Prototype link for interactions

https://xd.adobe.com/view/508c92a9-ca7b-412c-823d-418e4d0fe4dd-05df/


Second tutorial is to learn basics in Adobe XD which have very similar functionality to Adobe Illustrator.  The very first step is to create and styling artboards. Second thing I did was to edit my artboards using eyedropper tool to add colour to the new artboard, by sampling a colour in the artboard to the right. Third thing is Copy and Paste by selecting the artboard that I want and paste it as many times I need.

Next step is adding content. Using the spacebar to create hand tool I scrolled down to the next stage which is adding content and importing assets. I downloaded a folder of the assets which I will need for the tutorial and started adding them by simply drag and drop images into the artboard. By clicking on the blue Layers icon in bottom left it would allow me to access and select the elements that I have in my artboard. When I have selected element, it is highlighted in blue, I can also hold down the command/control key to select individual elements. Clicking on the Monstera group elements I will create a repeat pattern of this design element by selecting Repeat Grid button at the top of the Properties Inspector. Once I click on the Repeat Grid , the box around Monstera changes to green and has handles on the right and underneath that I can select with my cursor to pull and reveal repeats of those elements. If I pull the box downwards the elements will repeat to the bottom of the artboard. I edited the amount of space between them by reducing the pink bar between the elements on the artboard. Next, I opened the assets folder and select the first three images and then dragged and dropped them on the first orange circle.

Third step is to add interactions, by changing the mode from design to prototype. Then clicked on the element I want to create interaction from by seeing handle appears on it. I dragged that handle till I saw a wire extending from that point and I placed it on the second artboard I want to link it to. When I click on the play icon a desktop preview appears on my design, if I press and drag the cursor, I will be able to scroll up and down. If I roll over the top image the cursor icon changes to hand which indicating that this is an active hyperlink. By clicking the top image, a second screen should reveal as per the hyperlink I created.

Fourth step is to organise and reuse by clicking on the assets icon which reveals all the assets and properties. By clicking a particular element and then right click to reveal a sub menu and then I choose to reveal colour in assets which allowed me to edit the selected colour value. This will alter all instances of this colour being used in the document.

Last step is to add finishing touches by going back to prototype mode. To ensure the banners remain fixed while scrolling, I was focused on the top menu/section of the artboards. Shift selected the two banners and clicked on the “Fix position when scrolling” button in the Interaction panel. This pins the banners and prevent them from scrolling with the rest of the content. I looked for the appearance of two little blue roundels with ticks on the edge of both header areas, indicating that they have been successfully pinned.

XD Creating Prototype In Five Steps - Tutorial 3

Step 1 Basic Wiring
Step 2 Auto-animate
Step 3 Drag animation
Step 4 Overlays
Step 5 Voice

I began the first step by switching to prototype mode. Next, I had to set the Home artboard by clicking on the name “Browse 1” and I noticed the grey house appeared, when I clicked on it selects it and defines that artboard as the beginning of the flow. I have selected the top circle by holding CTRL button and then clicked on the circle which allowed me to tunnel through the hierarchal structure and just select the circle. What I did next is to click on that arrow and press and drag in to the second artboard. When the two artboards are linked together in the properties panel, I left all the settings by default.

Second step is to auto animate. First thing was to open the Layers panel, next was to duplicate a second version of the first artboard with some space between. Then I changed the second artboard name to Onboarding 02. With Onboarding 02 selected I opened the layers panel then I double clicked on the icon which gives me detailed view of the Onboarding 02 elements. I clicked on the group of images then I made the first product smaller and the second one larger. With all the images selected I dragged them to move the large new image into view. Then I created some differences with the description as well by pressing and drag until the second text block is centred underneath the first images. Next thing was to focus on the navigation on the bottom. I made the colour of the second dot to be the same as the first to indicate the navigation and change the opacity to the first dot to be lighter. I wired the two artboards together by clicking on the first artboard and then in the modes to prototype. When holding CTRL button, I right clicked on the second dot to select it and press and dragged a wire to the second artboard. I left the Trigger setting to Tap and for Action, I change it to Auto-animate, under Destination I selected Ease In and Out and changed the duration to 1s.

Step three is to add the second trigger to the transition I just defined and that is the drag gesture. In prototype mode selected again hold CTRL key I clicked on the image that’s towards the right-hand side with the object selected I pressed and dragged the arrow in to the second artboard. In the properties inspector instead if Tap I changed it to Drag trigger. To be able to drag back I came to the second artboard and while holding CTRL key I clicked on the first image on the left-hand side and dragged that second interaction back to that first artboard.

Step four is overlays which is different kind of interaction. What overlay allows you to do is design an artboard once, and then allow it to reoccur across many different artboards. I wired the MENU to the navigation that’s on the left corner of both artboards. I went to Prototype mode and then set the SPLASH to be the start of the flow. I wired Splash with Menu, then opened the properties inspector and changed the Action to Overlay and set the Animation to be Slide UP. When the same wire is selected, I’m going under Edit and select Copy. Then I’m going to the Calendar artboard and what I did was to go under Edit and “Paste Interaction”, that is going to paste all the attributes I defined for the first wire to the second. Next step was to navigate between the two different artboards.

The last step is to use voice commands to transition between artboards. Once I’m in the prototype mode the first thing I did was to implement a tap gesture that takes viewer into the second artboard and set the animation to Dissolve. Next was to introduce the voice feature simply by clicking on onboarding 03 and press and drag to the third artboard. In the properties inspector I set the Trigger to Voice and typed the command and hit return.