My ultimate objective is to develop a brief animated presentation lasting between 20 and 60 seconds. This can be achieved either by making it directly in Blender or by importing my finished 3D assets from Substance Painter into Blender. Alongside this, I’ll create a suitable environment for my models, arrange and render an animation sequence highlighting each asset. Additionally, I’ll provide a storyboard outlining my planned animation sequence, analyze the lighting design, share insights gained from the project, and finally, submit the animation rendered in Blender as an MP4 file.
Storyboard:
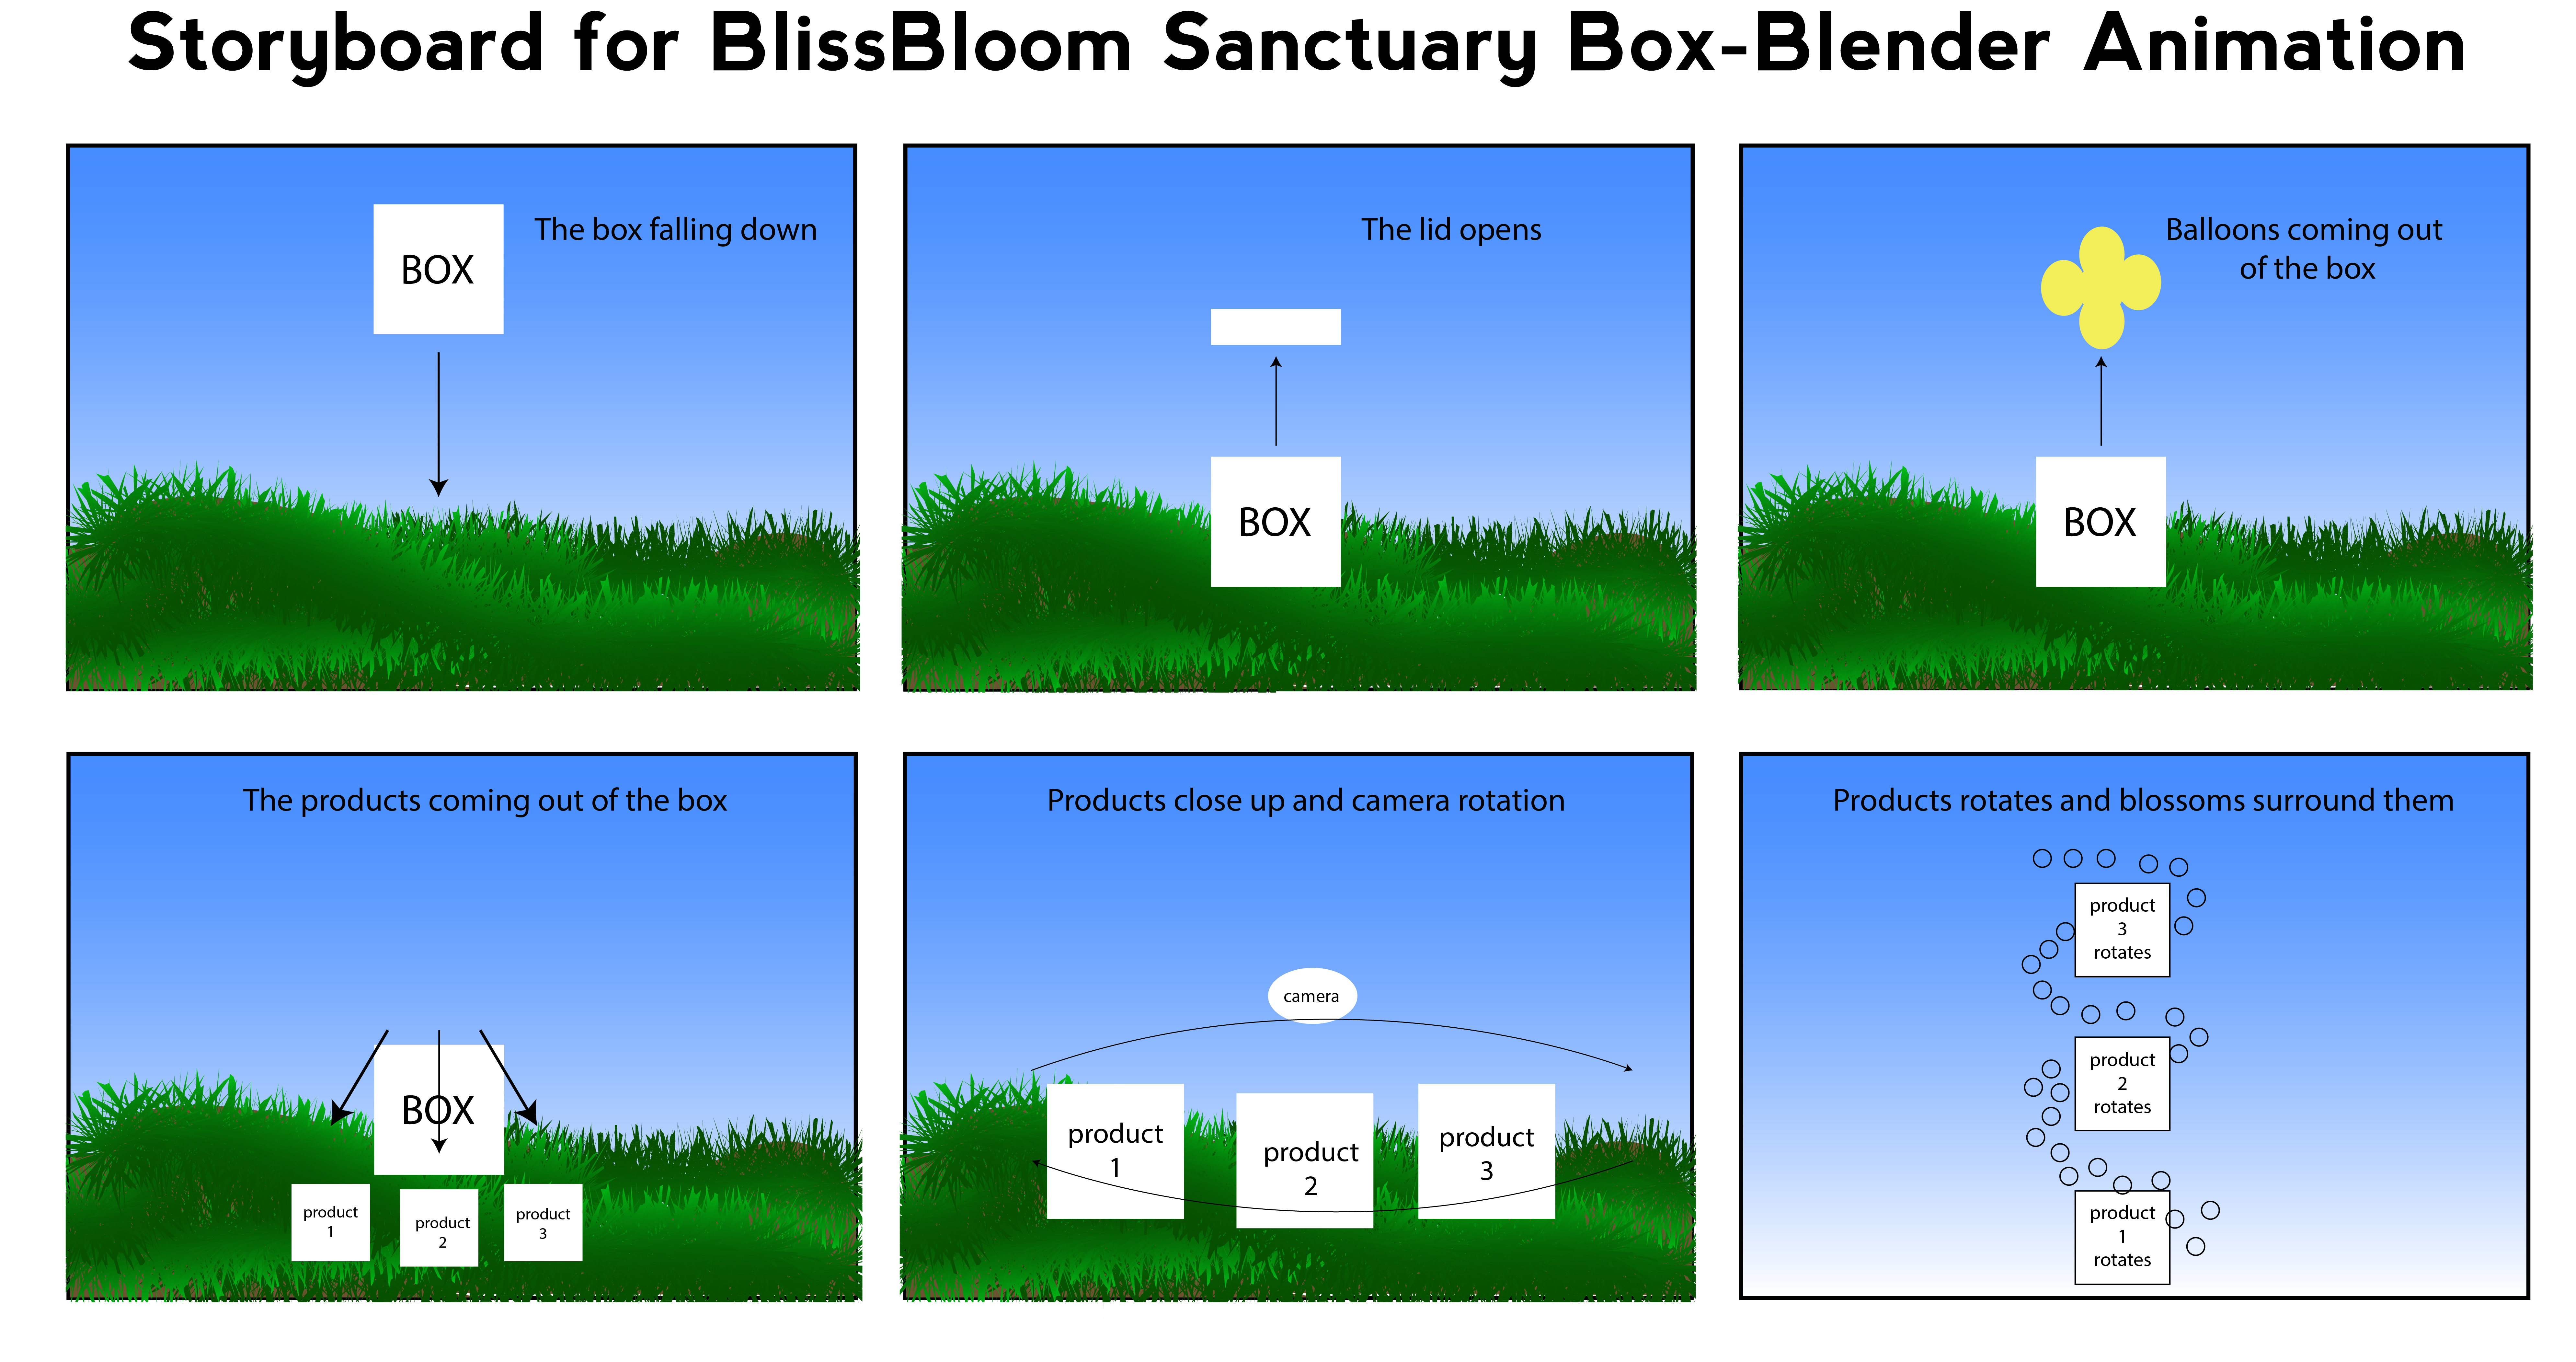
I made a storyboard with six scenes showing simple animation ideas. Since the software is a bit hard to grasp, I kept the animation ideas straightforward.
Design developing process:
To build the whole scene, I began by shaping a plane using tools from the modelling menu, aiming to simulate a terrain-like surface. By applying a clouds texture and adjusting its size, I aimed to give it a natural appearance. Subsequently, I employed a hair particle system to generate grass and daisy flowers, refining their shapes with proportional editing. Adjusting the length and rotation of the grass and flowers added realism. I then crafted a pathway amidst the grass to provide a space for my models, essentially realizing the nature scene depicted in my storyboard.
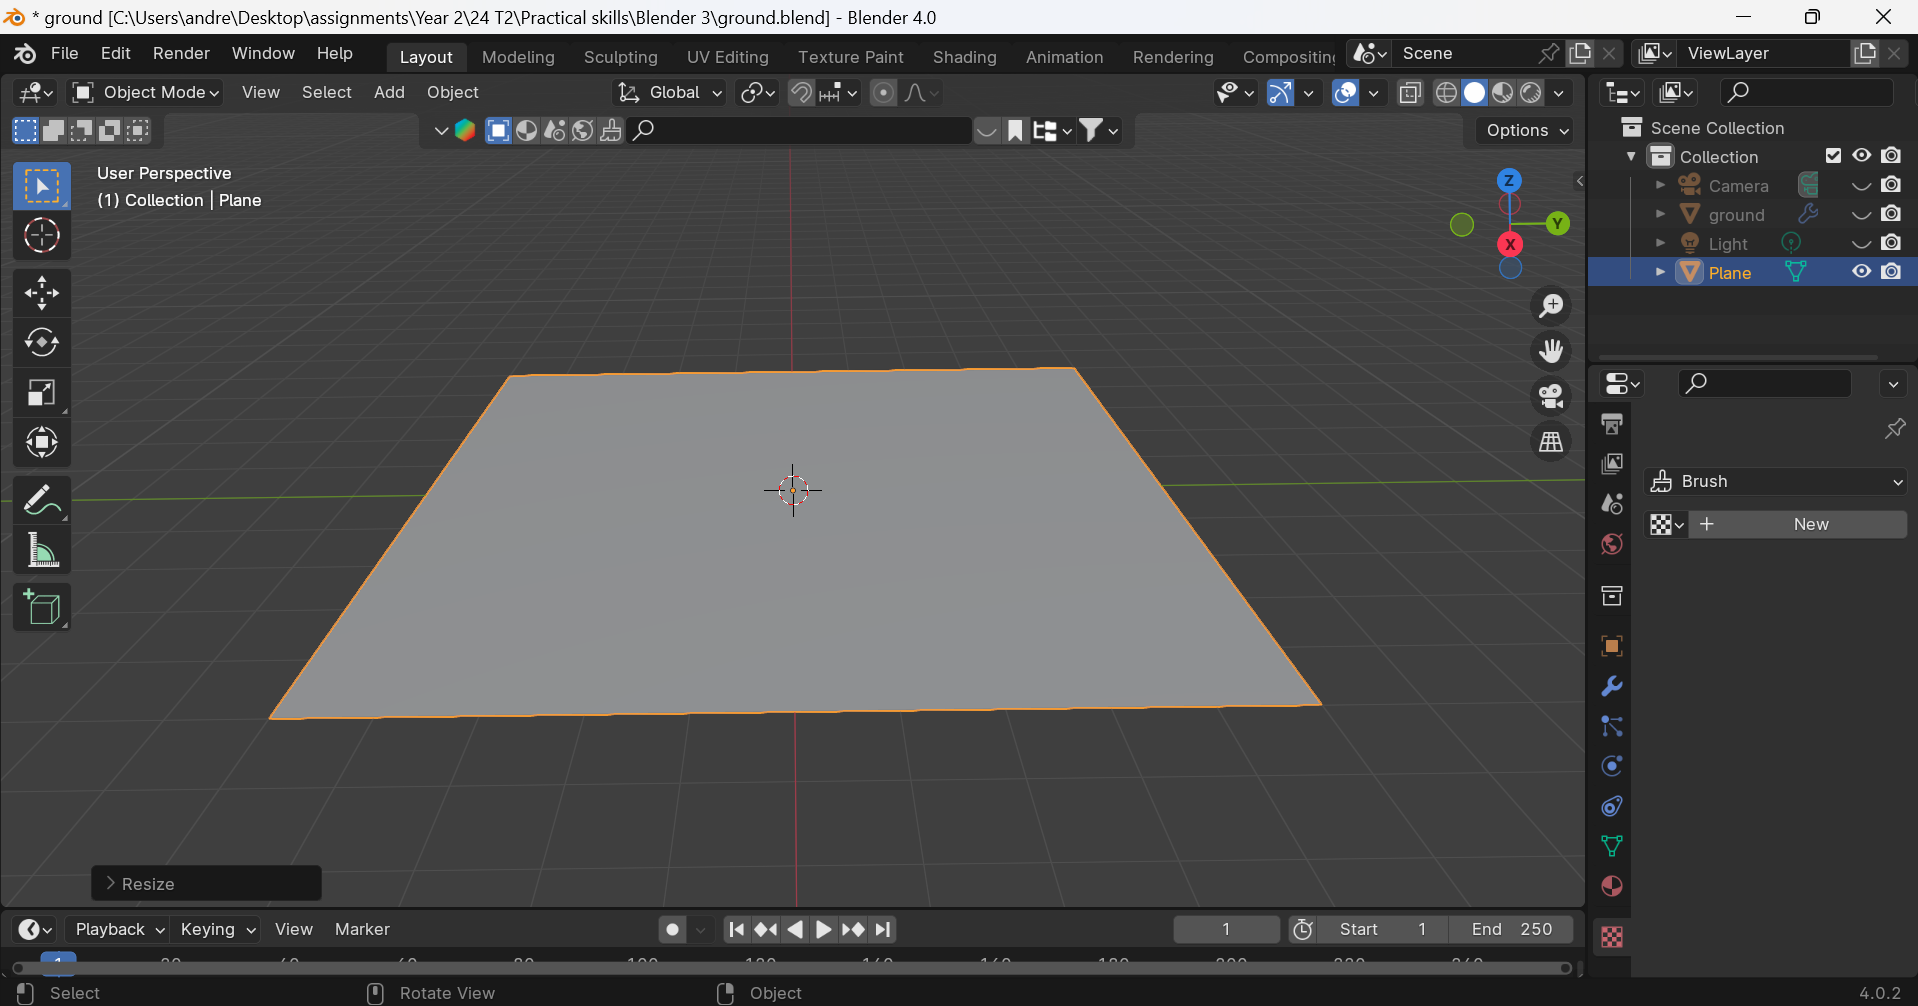
Image 1: Adding a plane and resizing it up by 5.
Image 2: Incorporating a clouds texture onto the plane and subsequently adjusting the surface size to resemble a ground-like terrain.
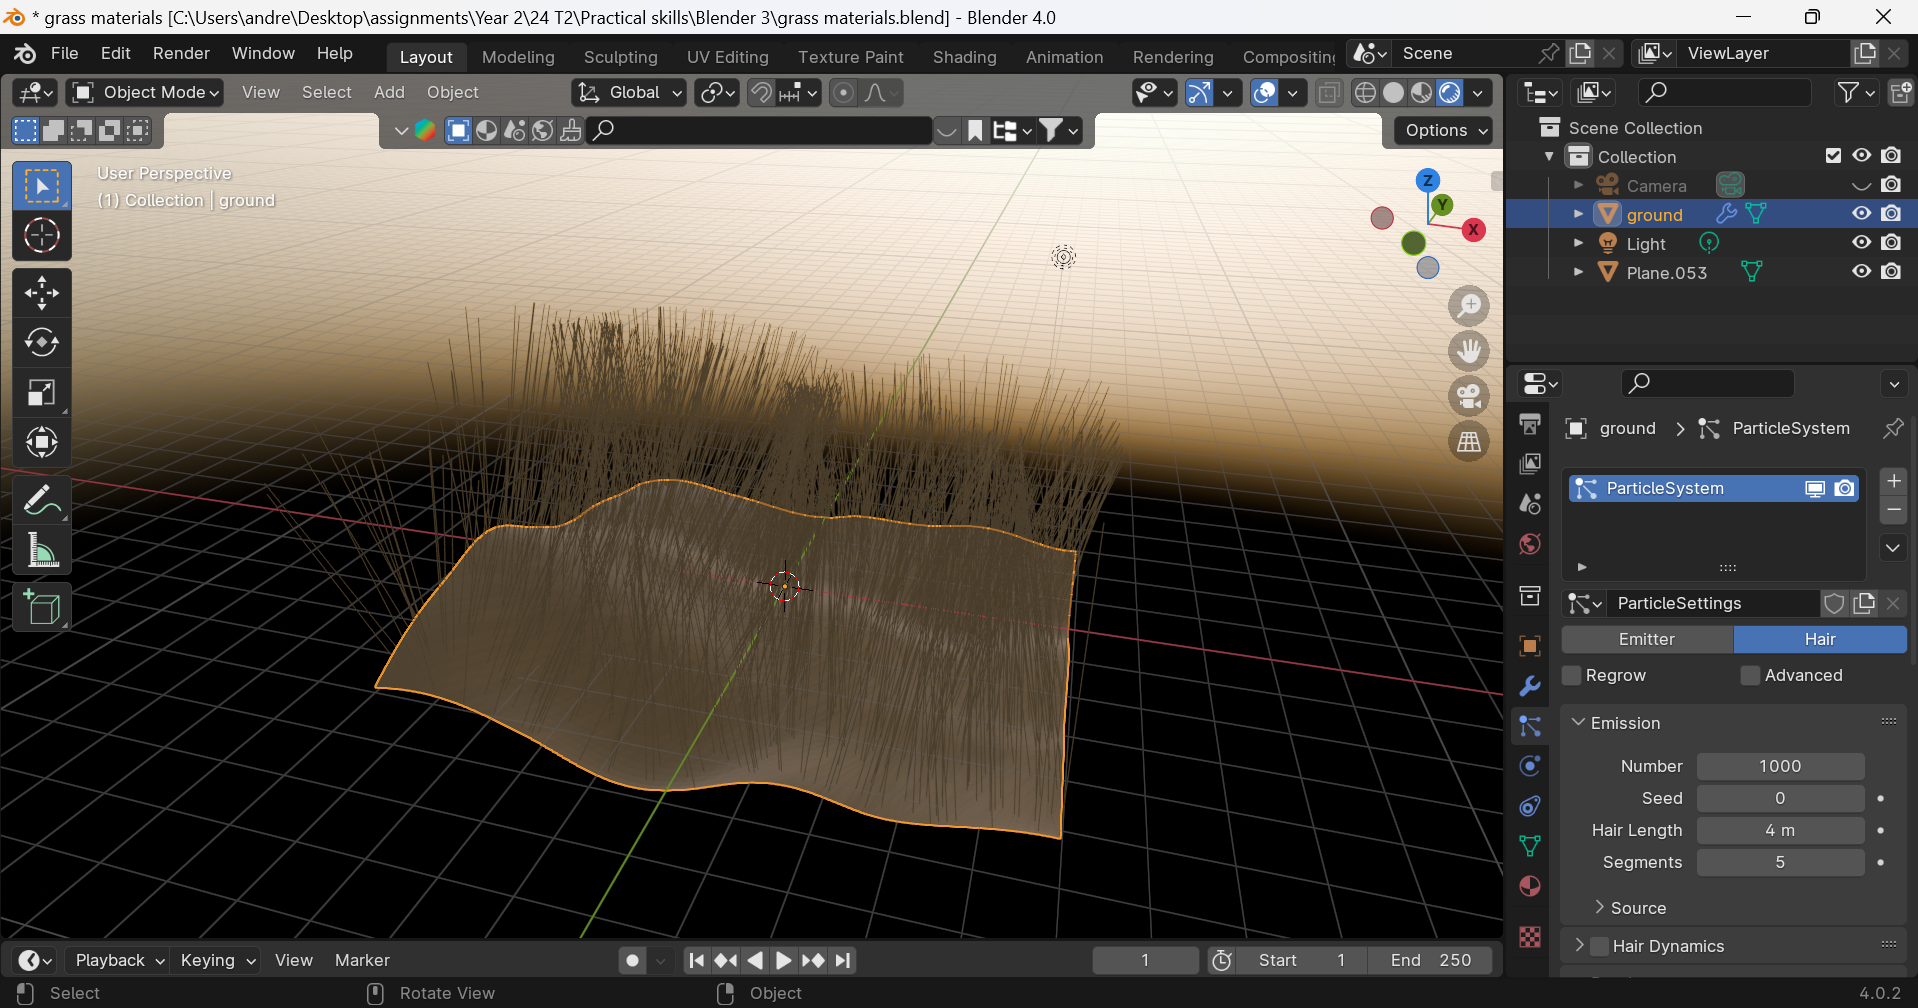
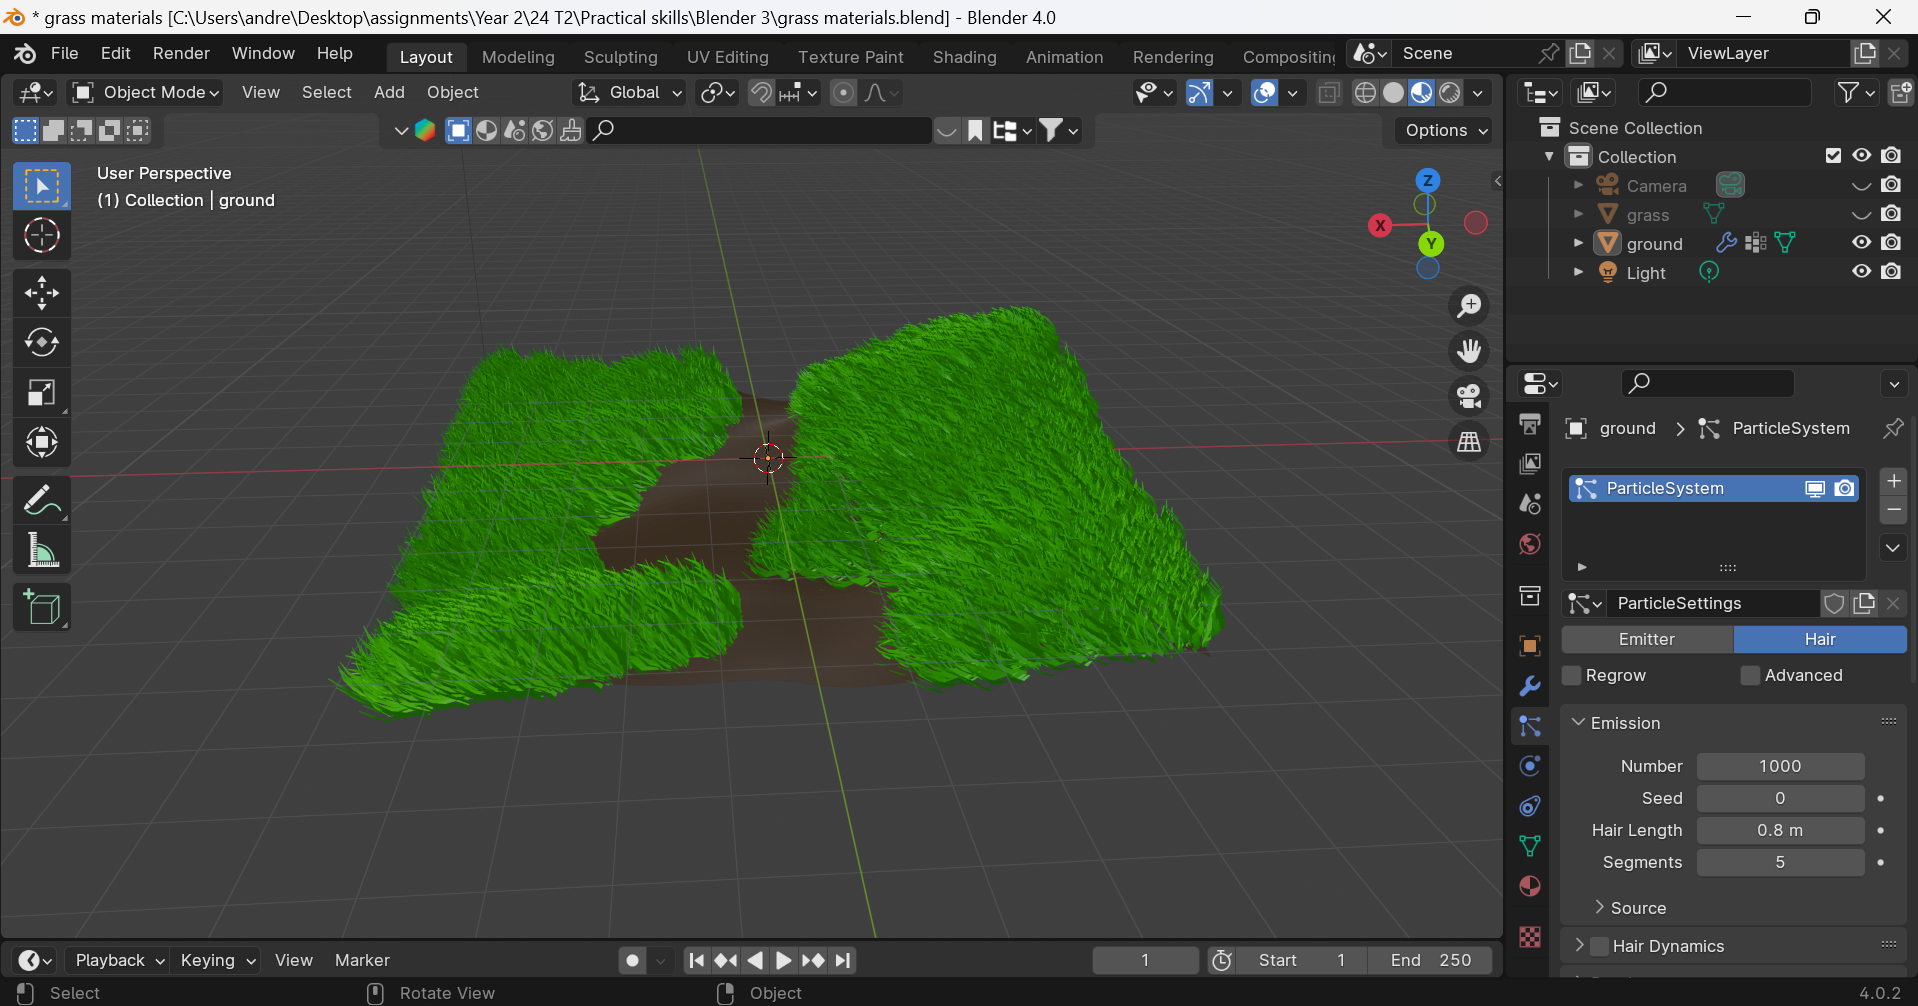
Image 3: Implementing a hair particle system onto the plane.
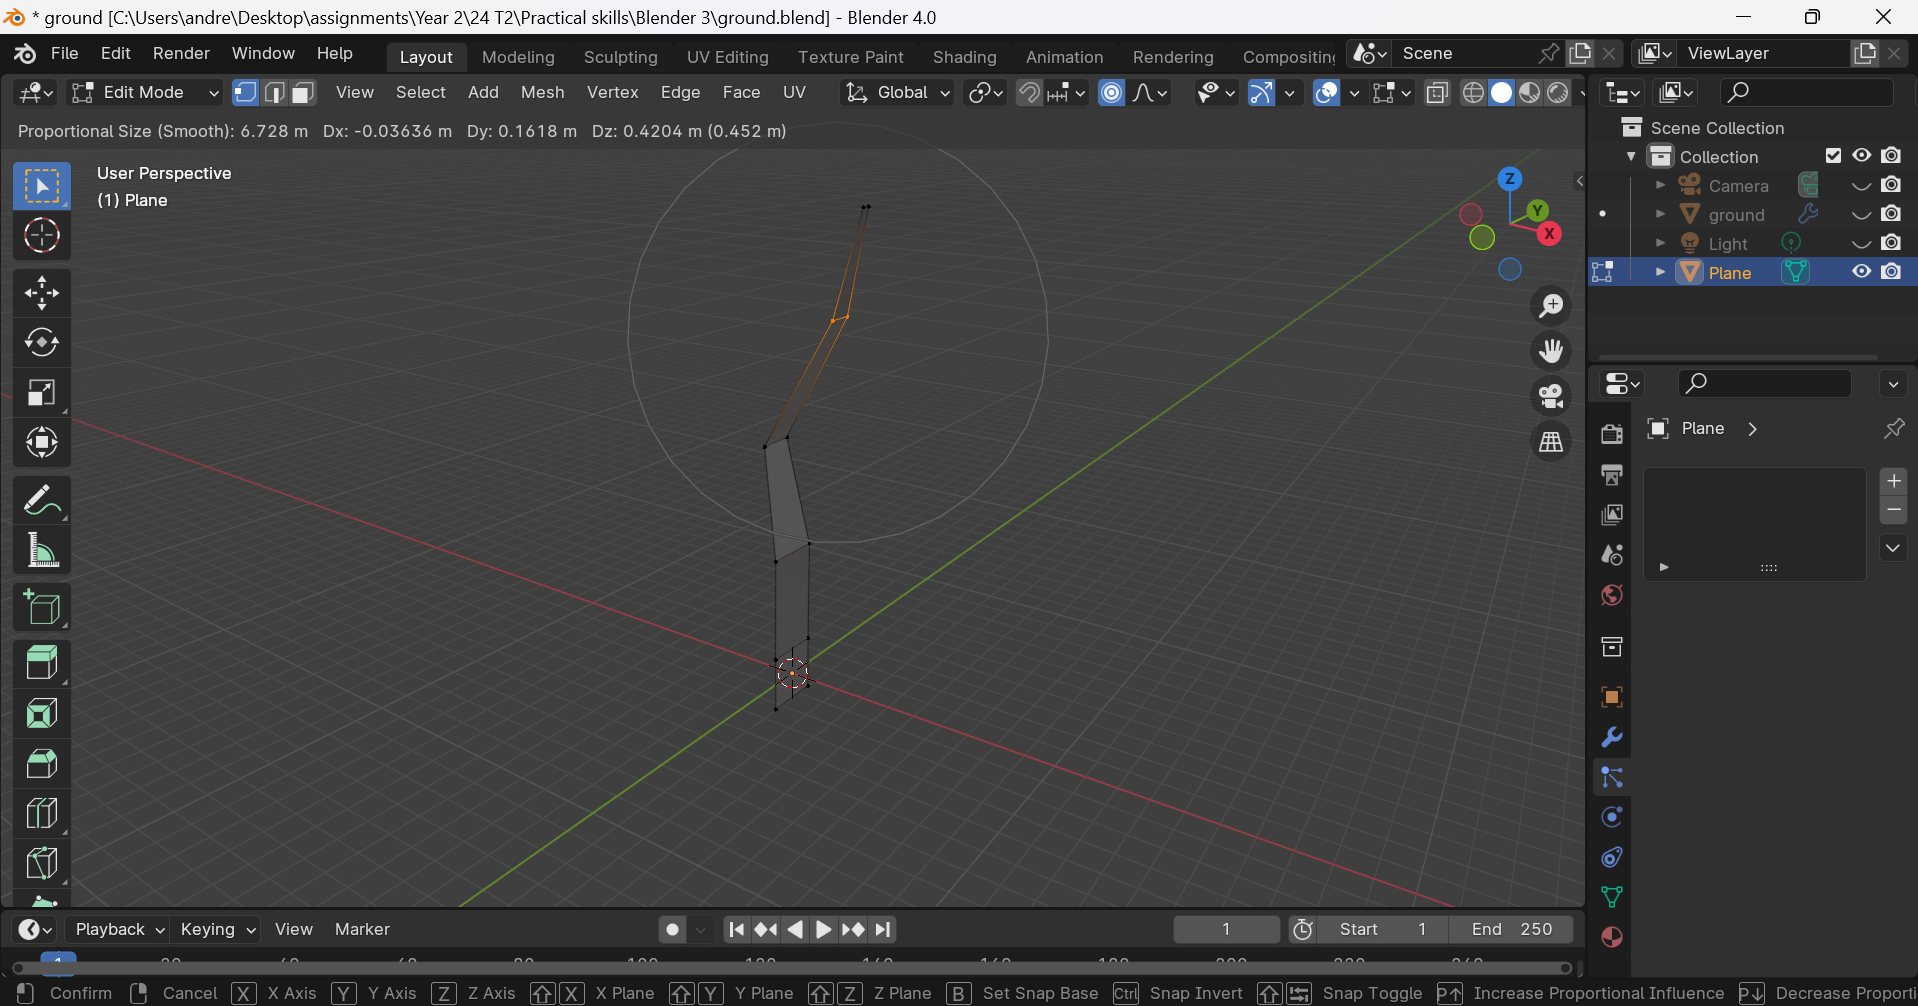
Image 4: Sculpting the grass using proportional editing.
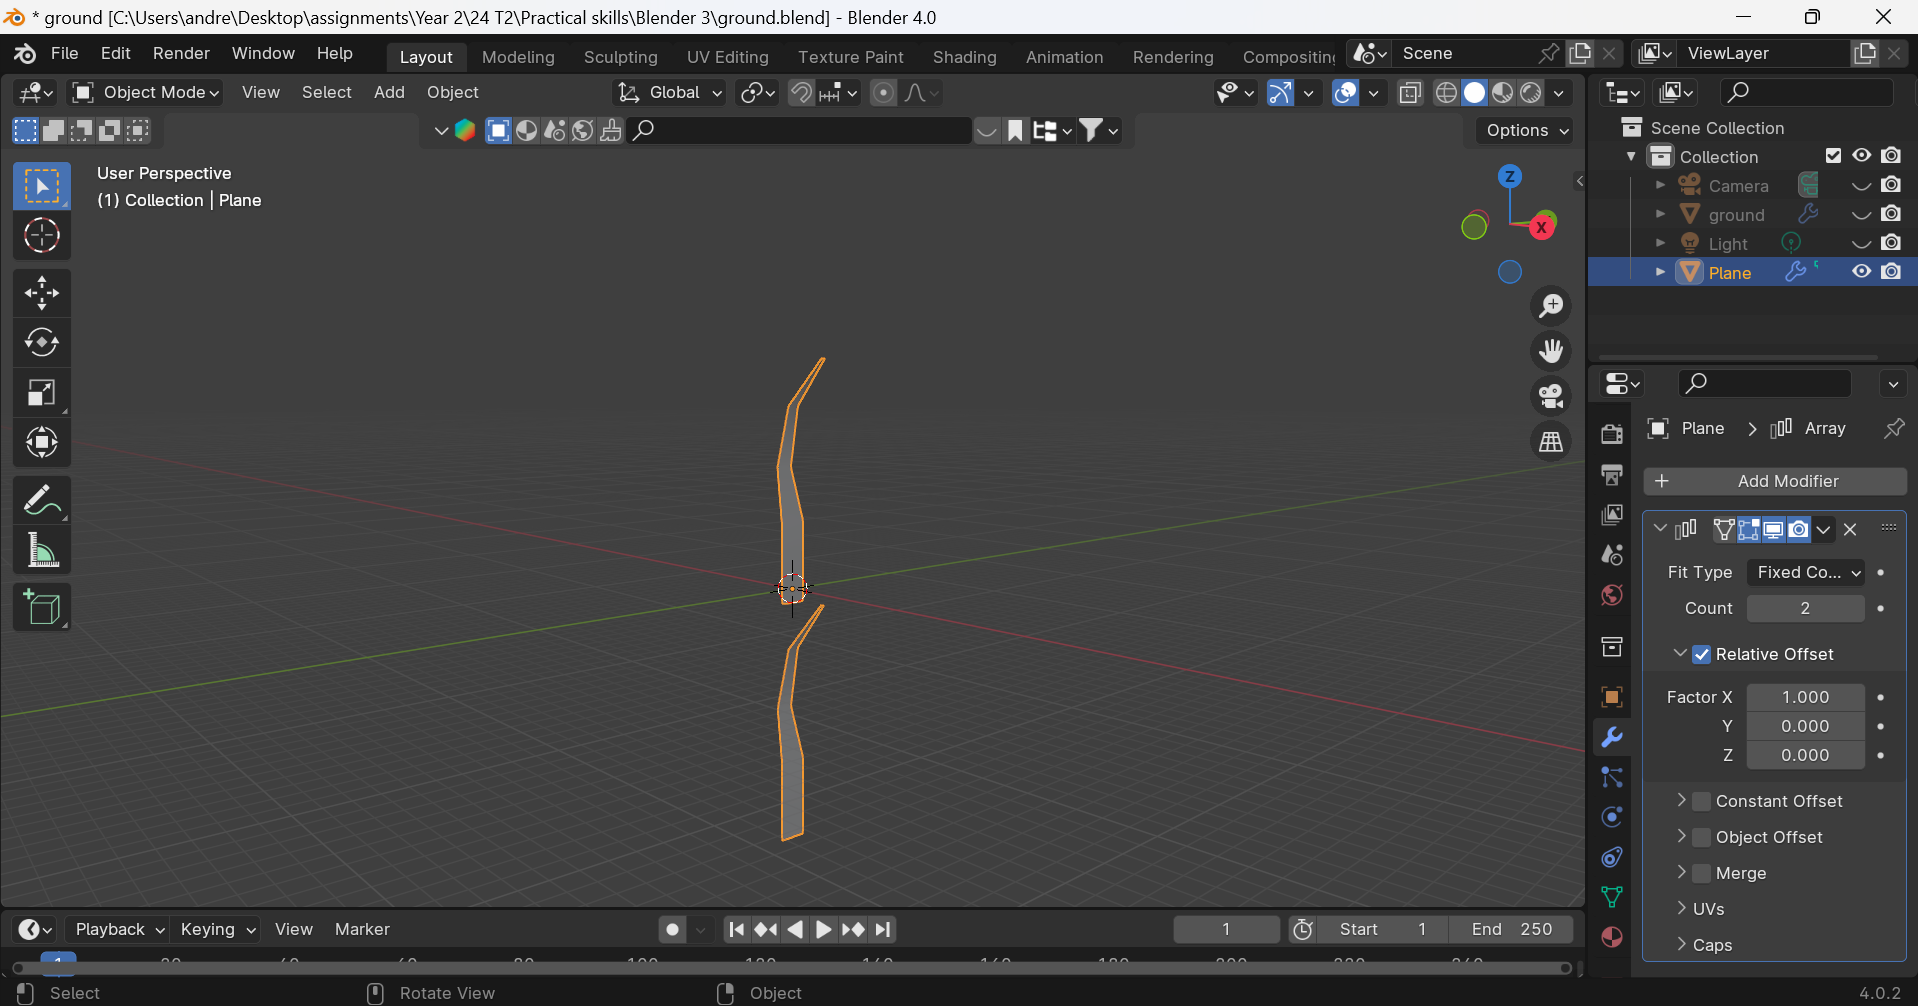
Image 5: The subsequent step involves applying the "Auto Smooth" shading option and integrating an array modifier.
Image 6: Boosting the count by 8 and subsequently duplicating the grass, shifting it along the Z-axis.
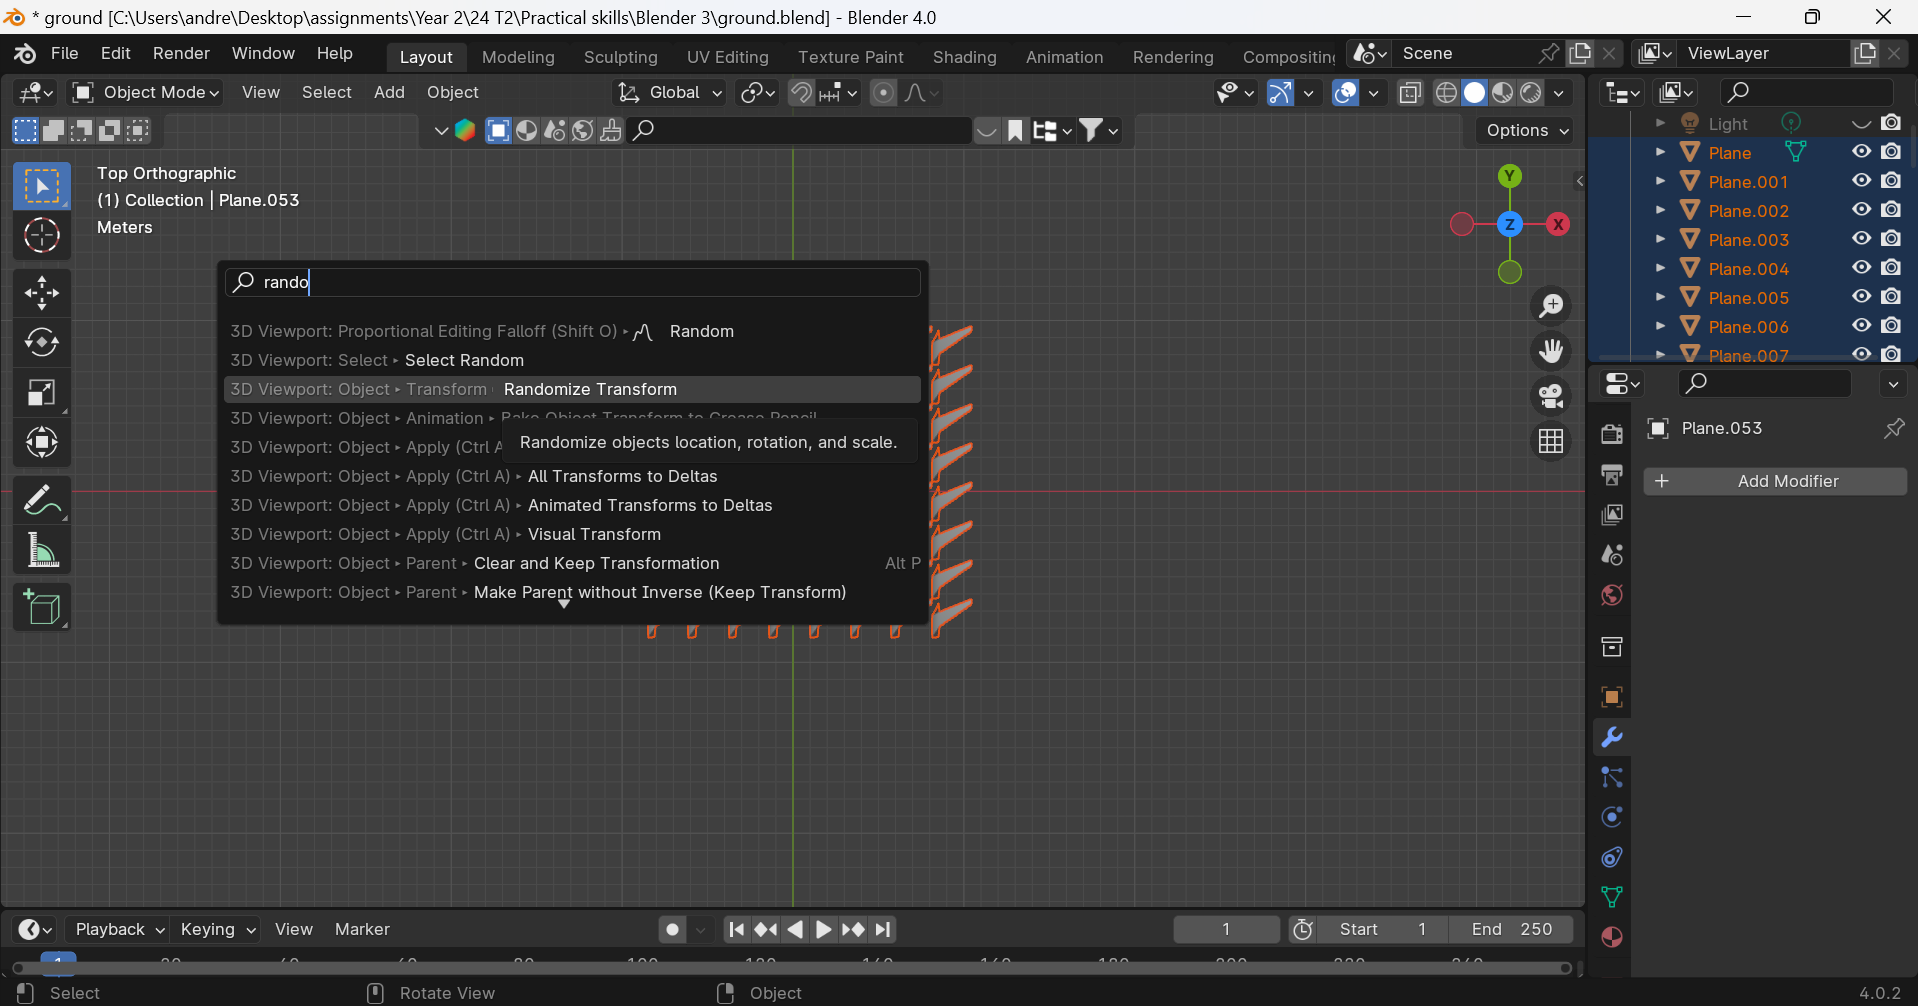
Image 7: Incorporating a randomize transform modifier to enhance the realism of the grass.
Image 8: This image illustrates the enhanced realism of the grass following the application and fine-tuning of the modifier.
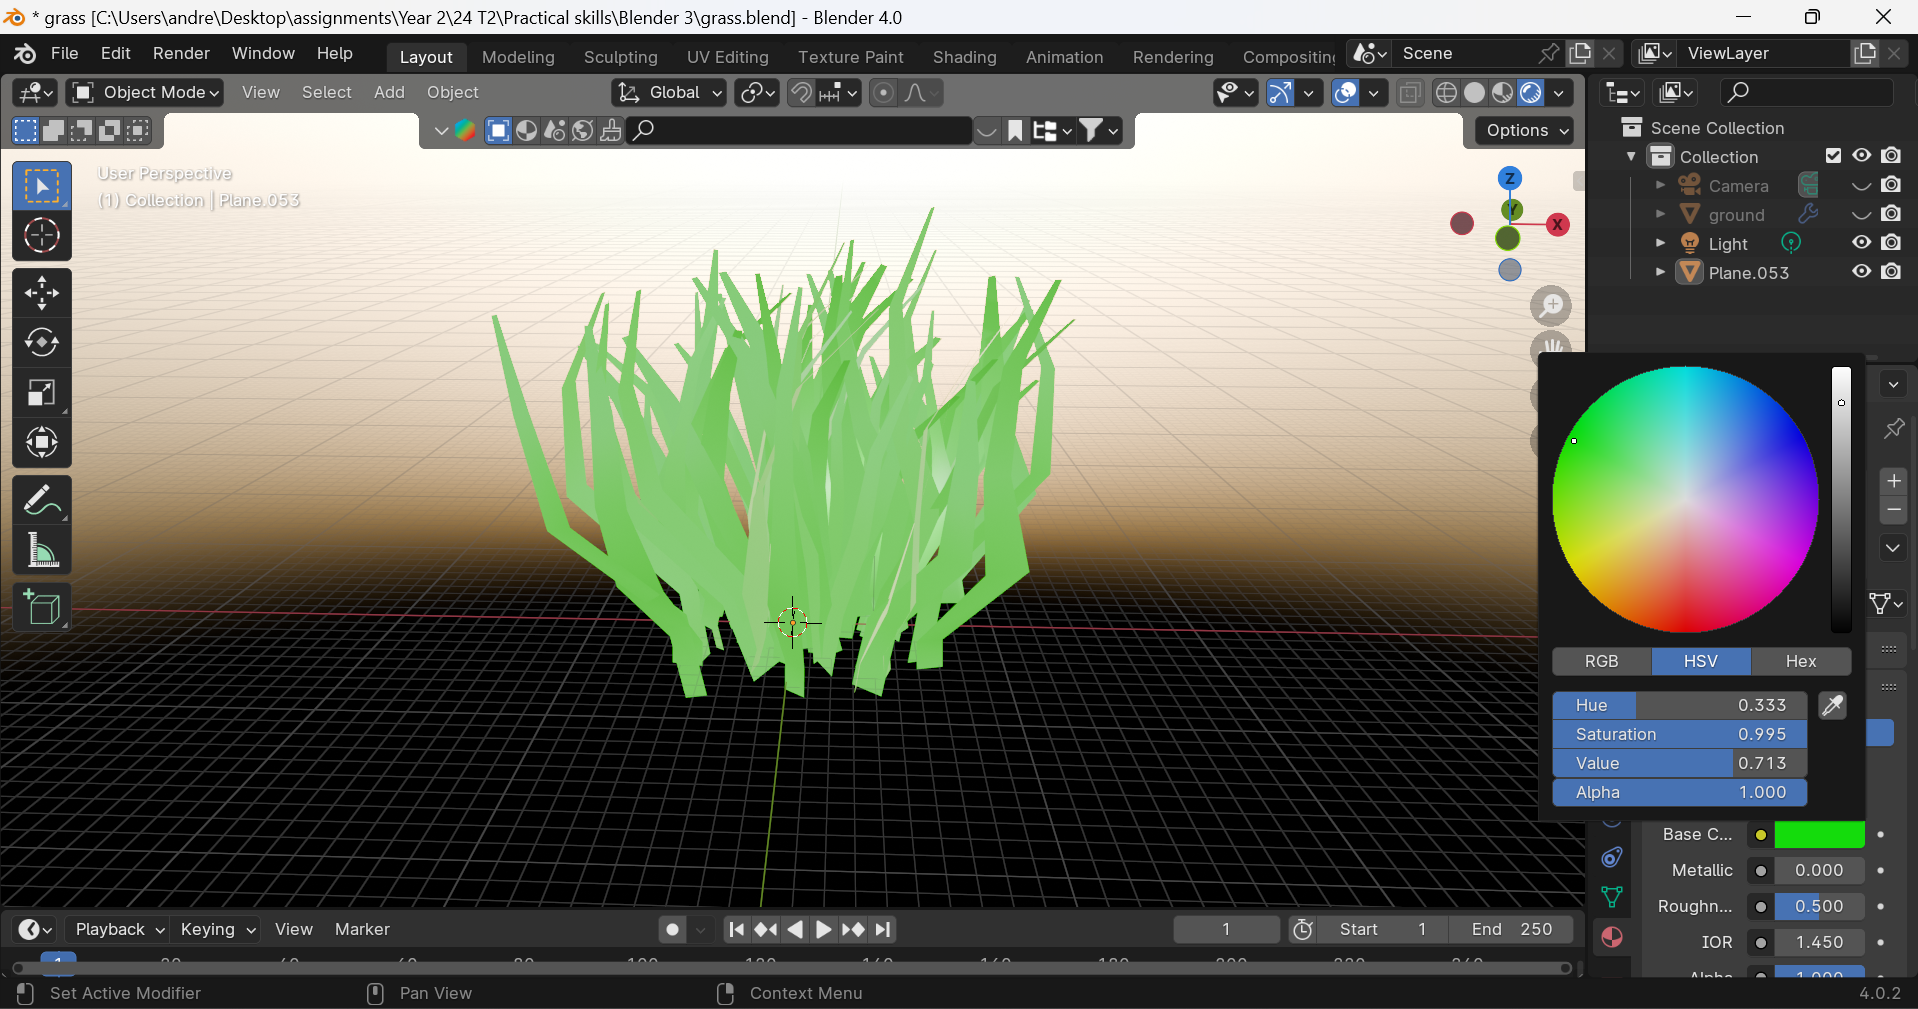
Image 9: Depicts the addition of a sky texture and the application of materials to the grass.
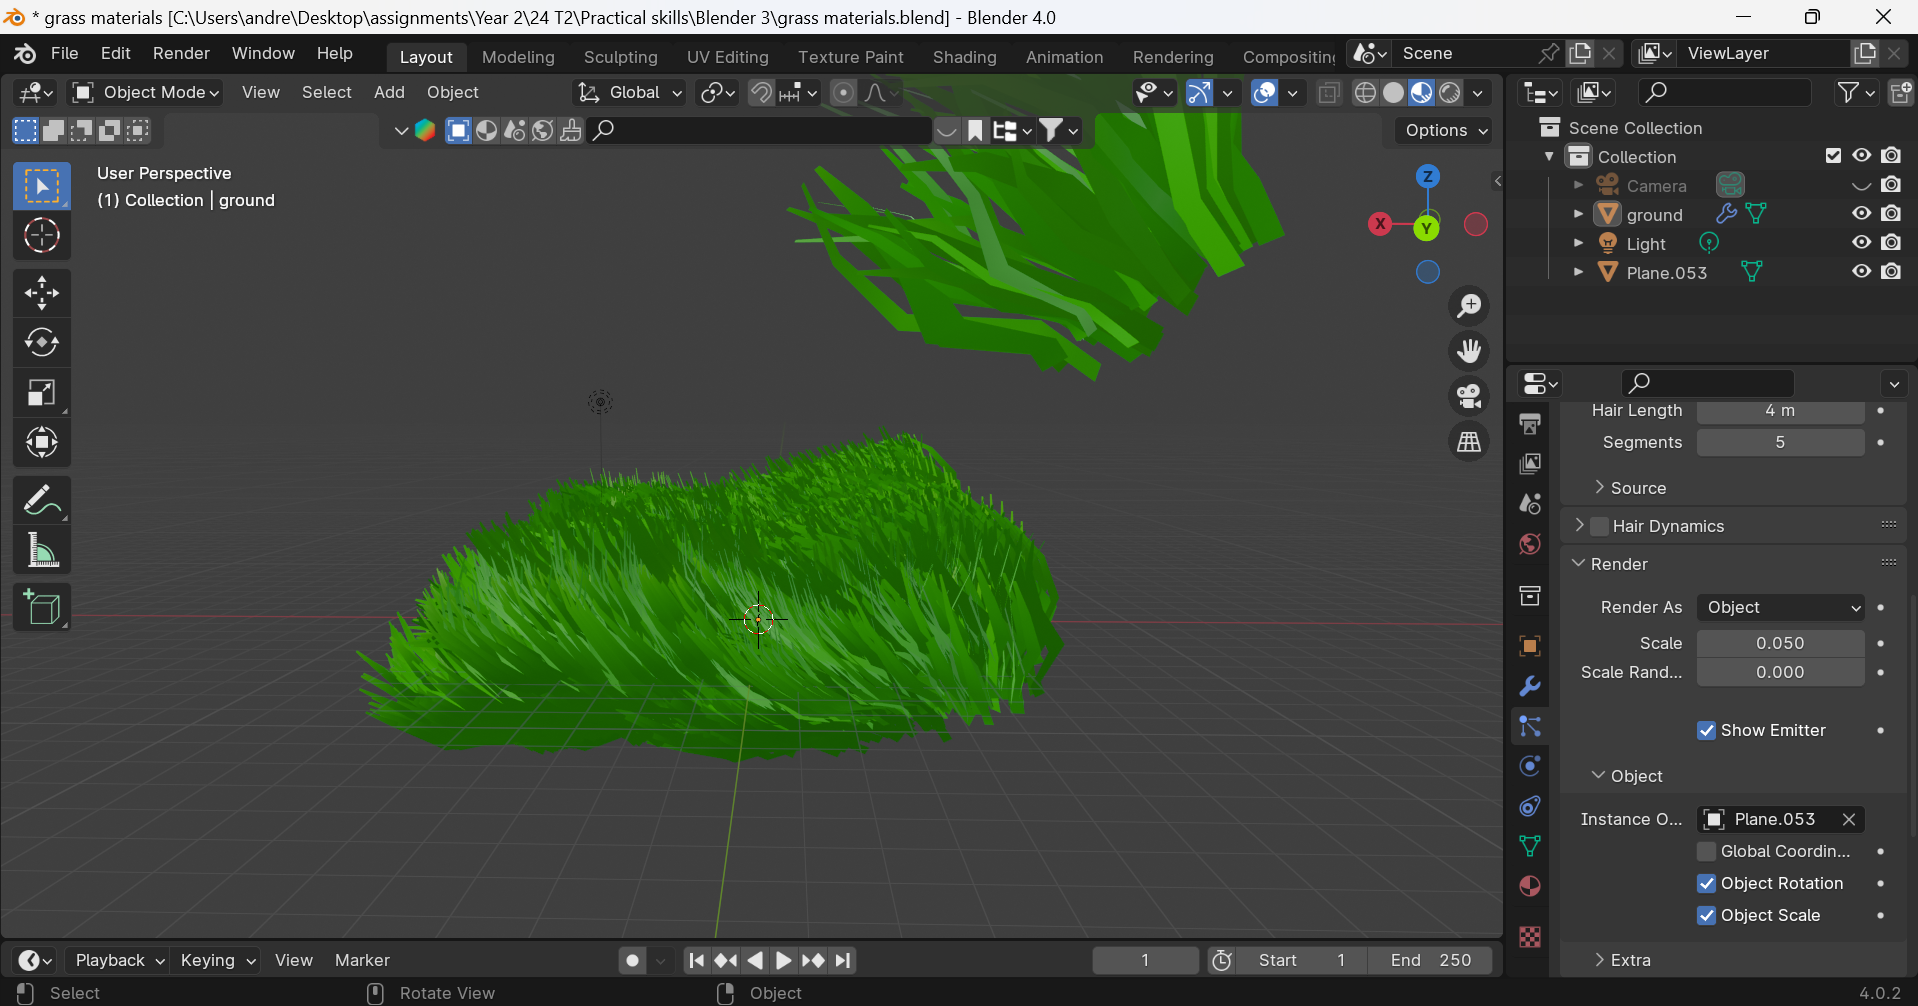
Image 10: Showcases the adjustment of rendering settings to "object" and subsequently utilizing the object rotation feature to rotate the grass.
Image 11: Altering the length of the grass and creating a small pathway using Weight Paint.
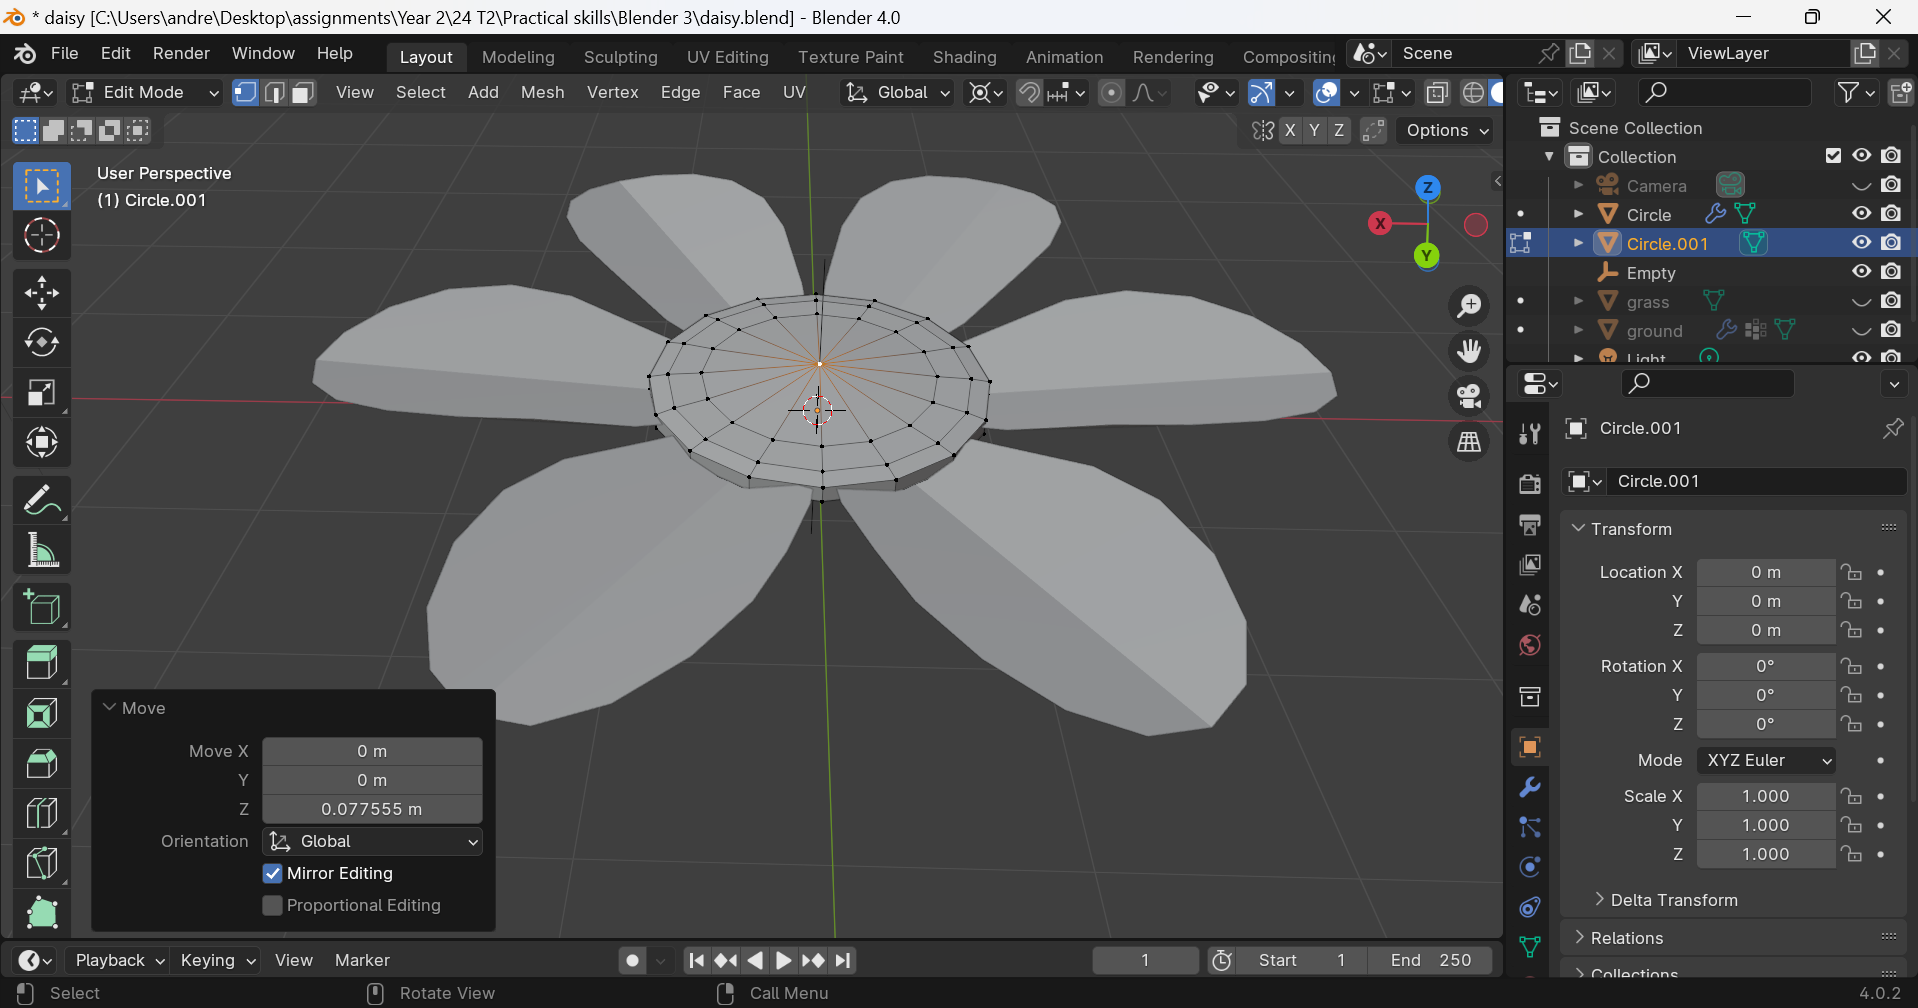
Image 12: Utilizing proportional editing to model the daisy flower.
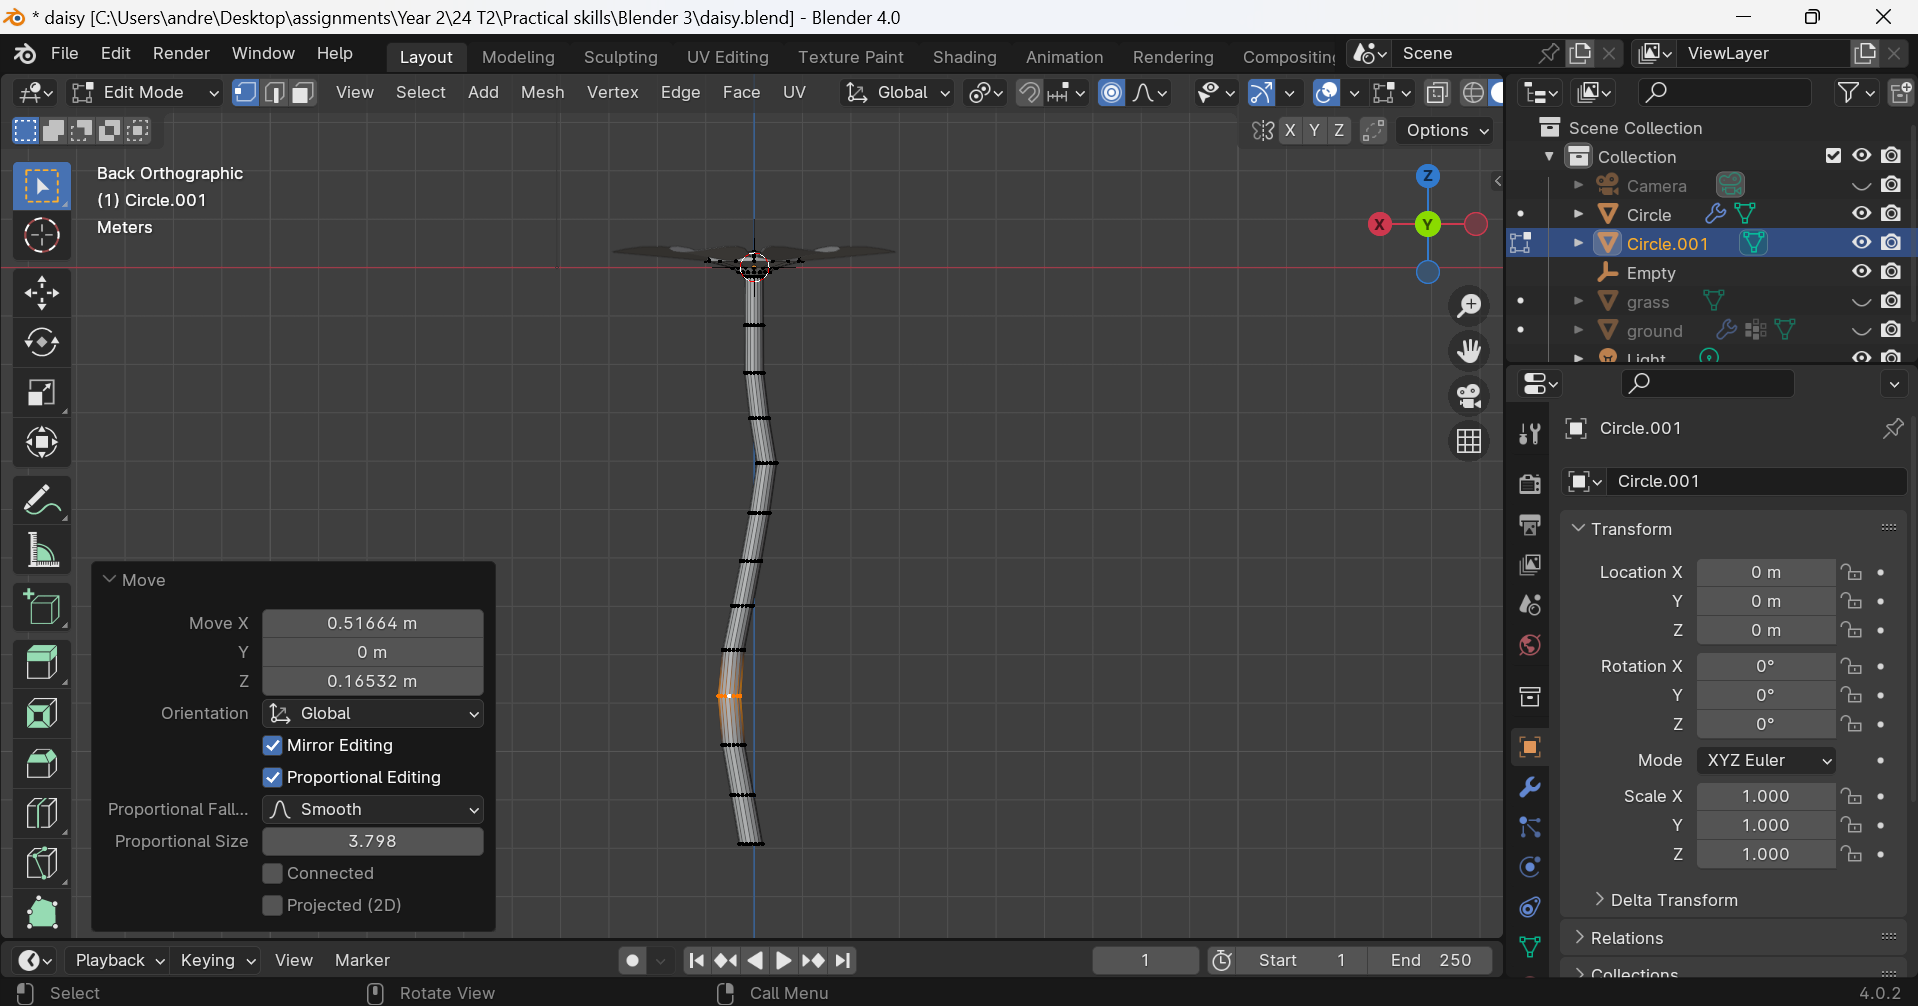
Image 13: Modelling the daisy by extruding and scaling the stem.
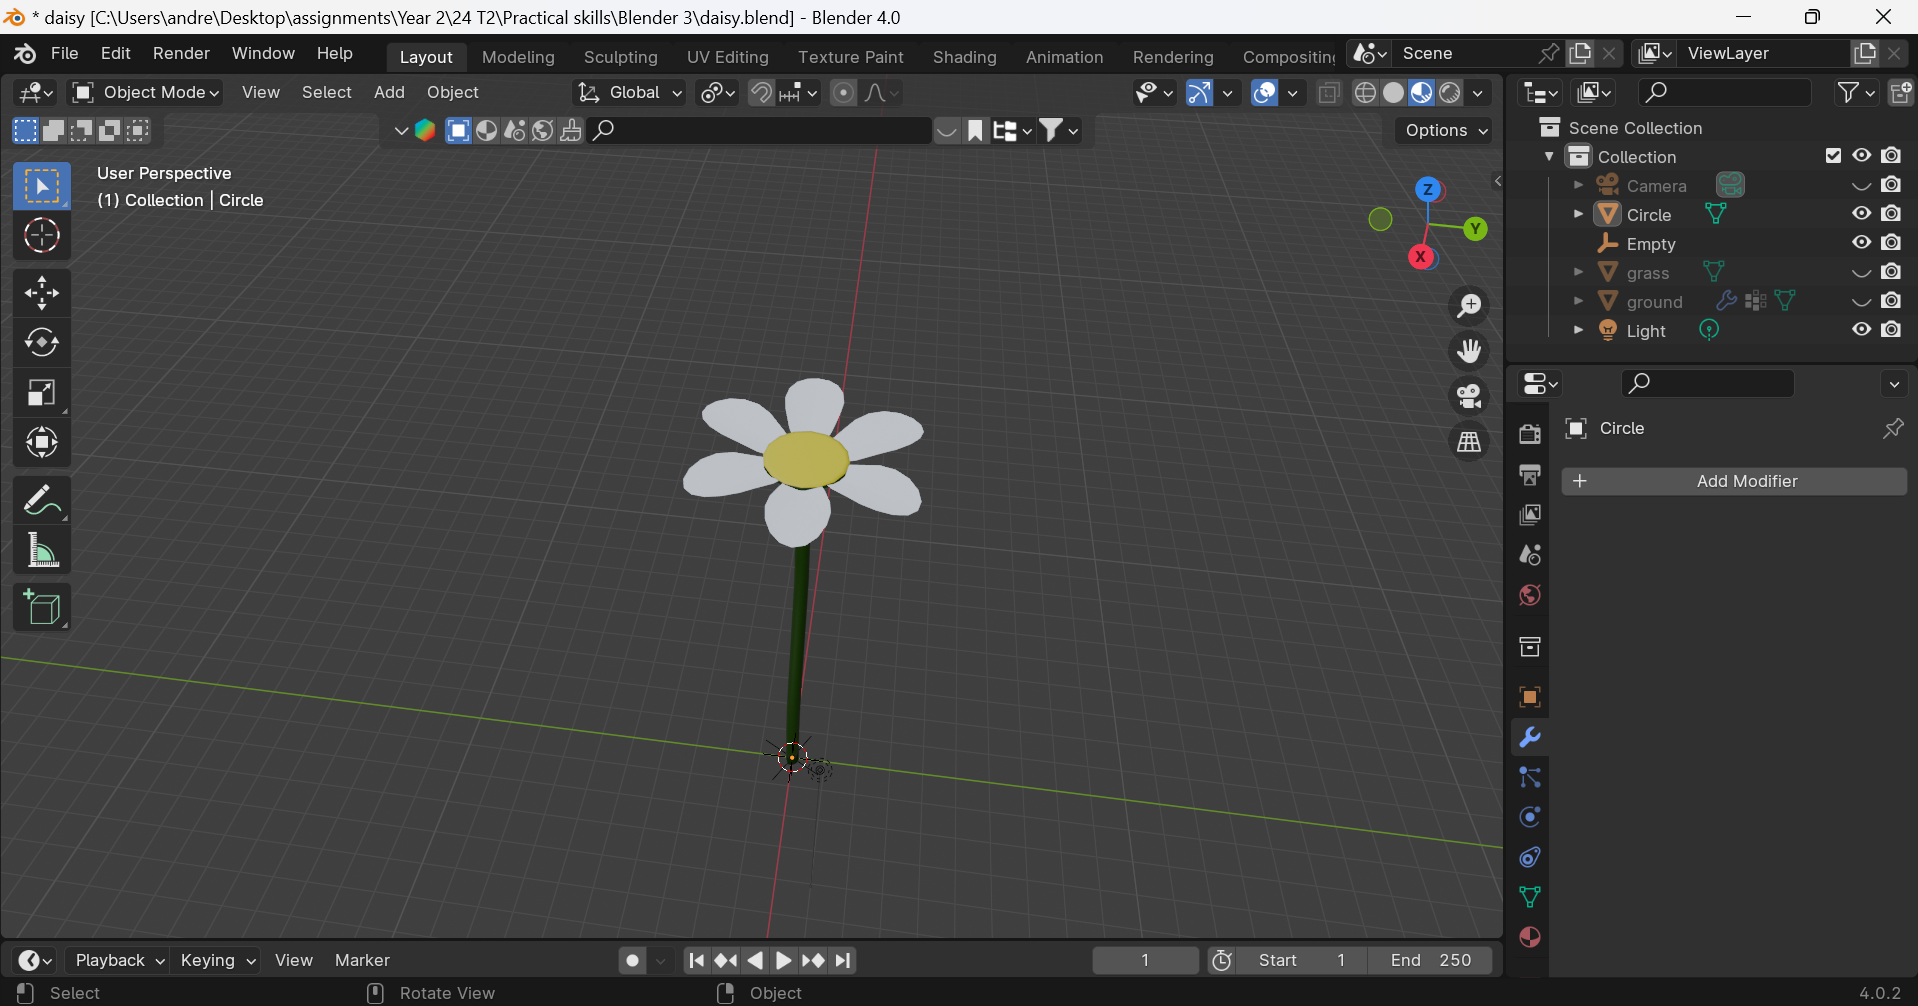
Image 14: Completed daisy model prepared for integration into the grass scene.
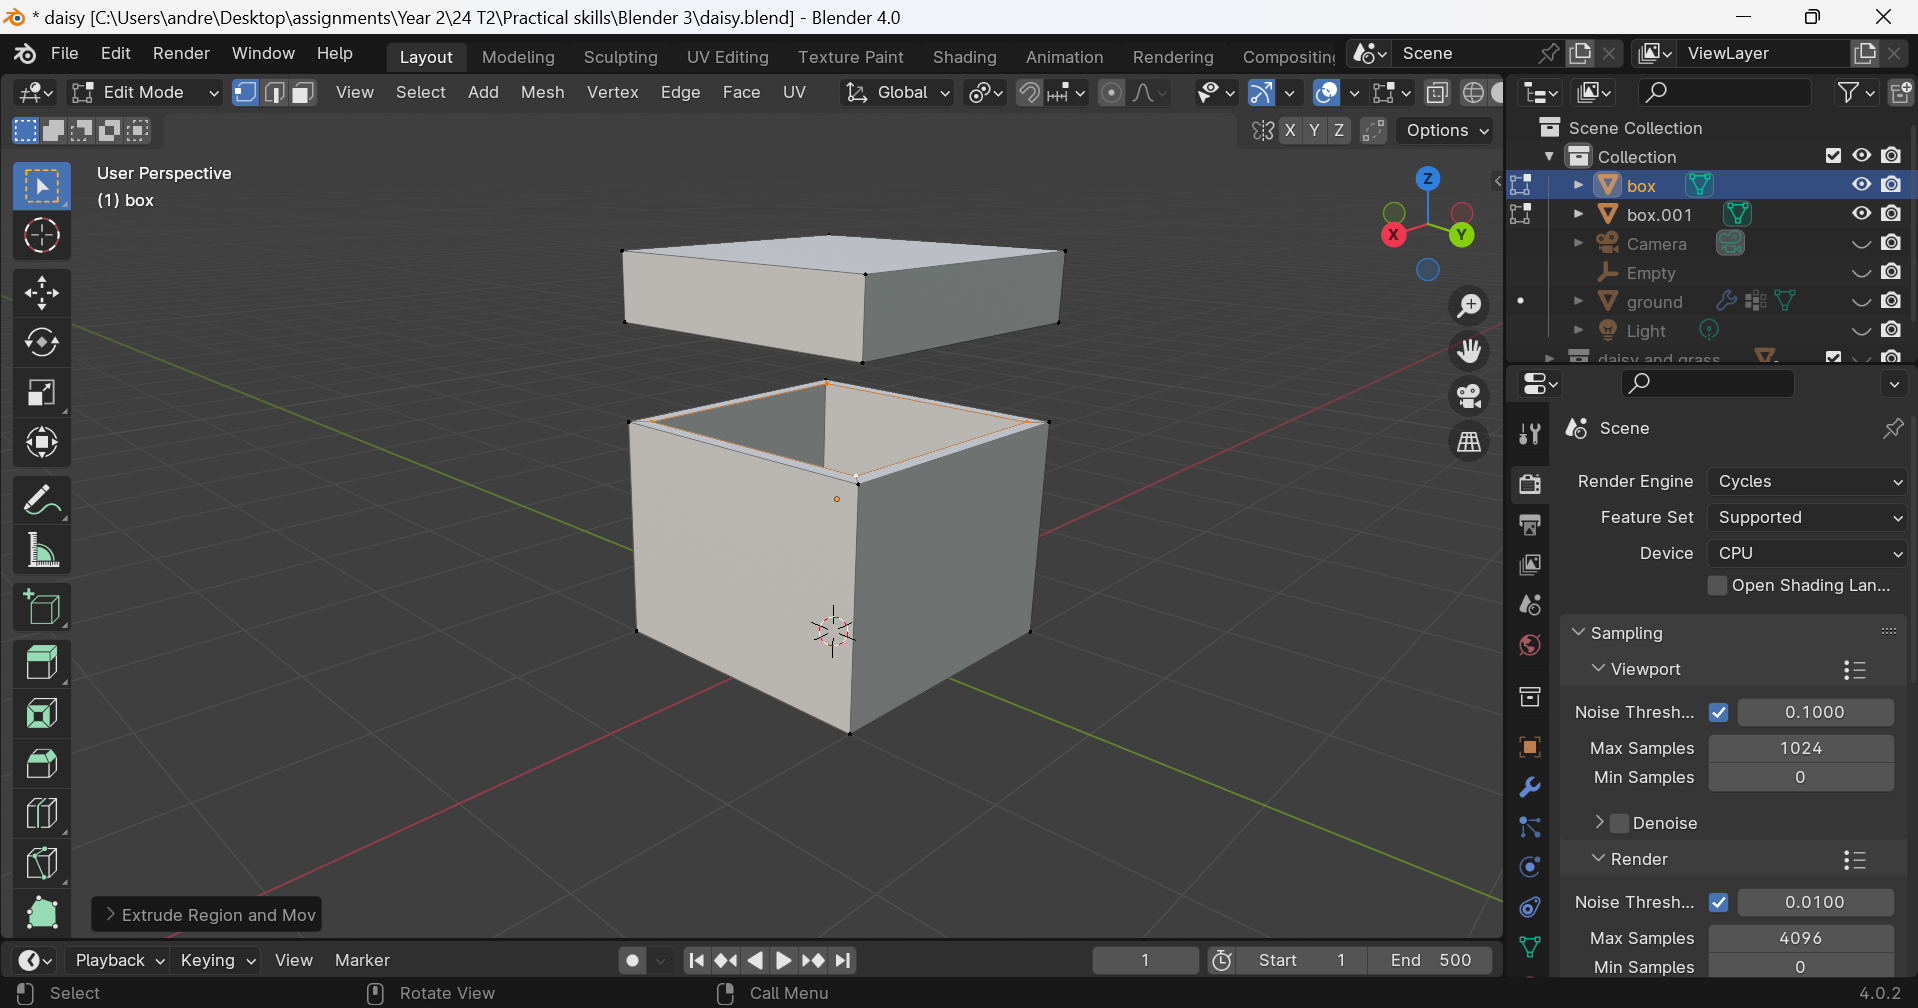
Image 15: The process of modeling the box.
Image 16: Completing the filling process and verifying the thickness inside the box.
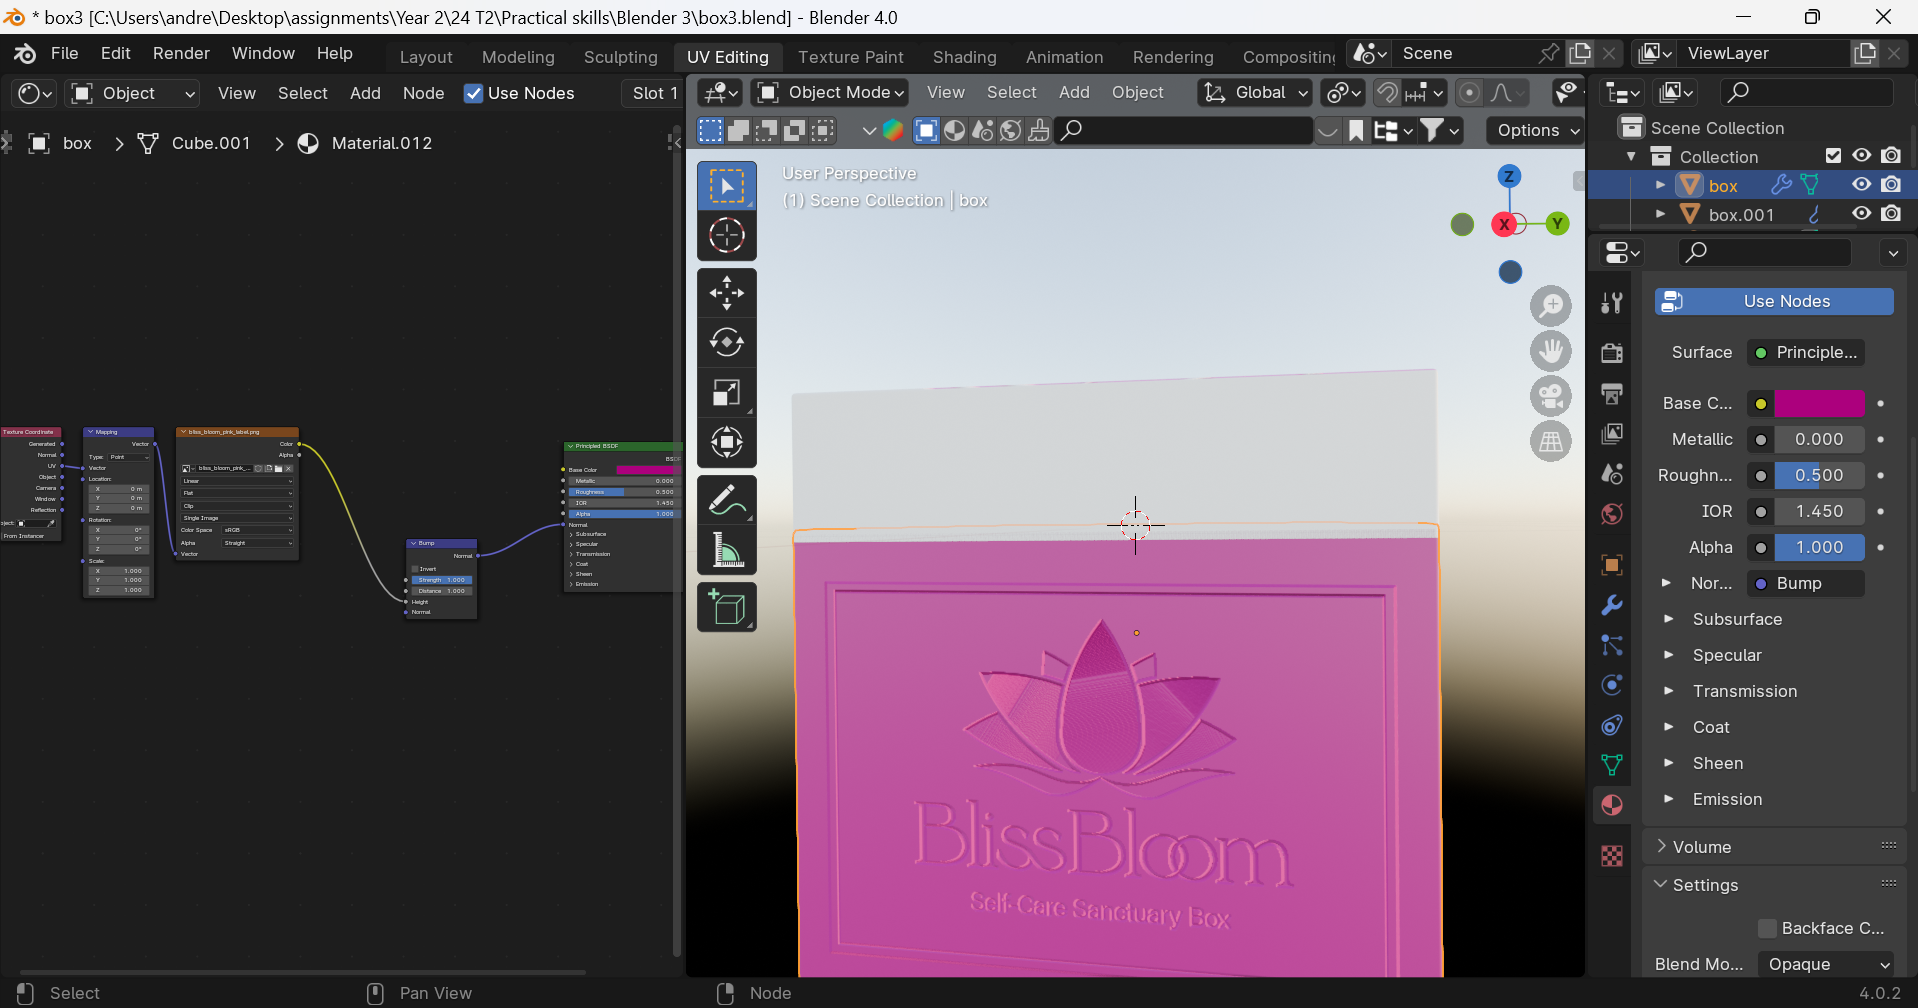
Image 17: Adding textures and branding details to the box.
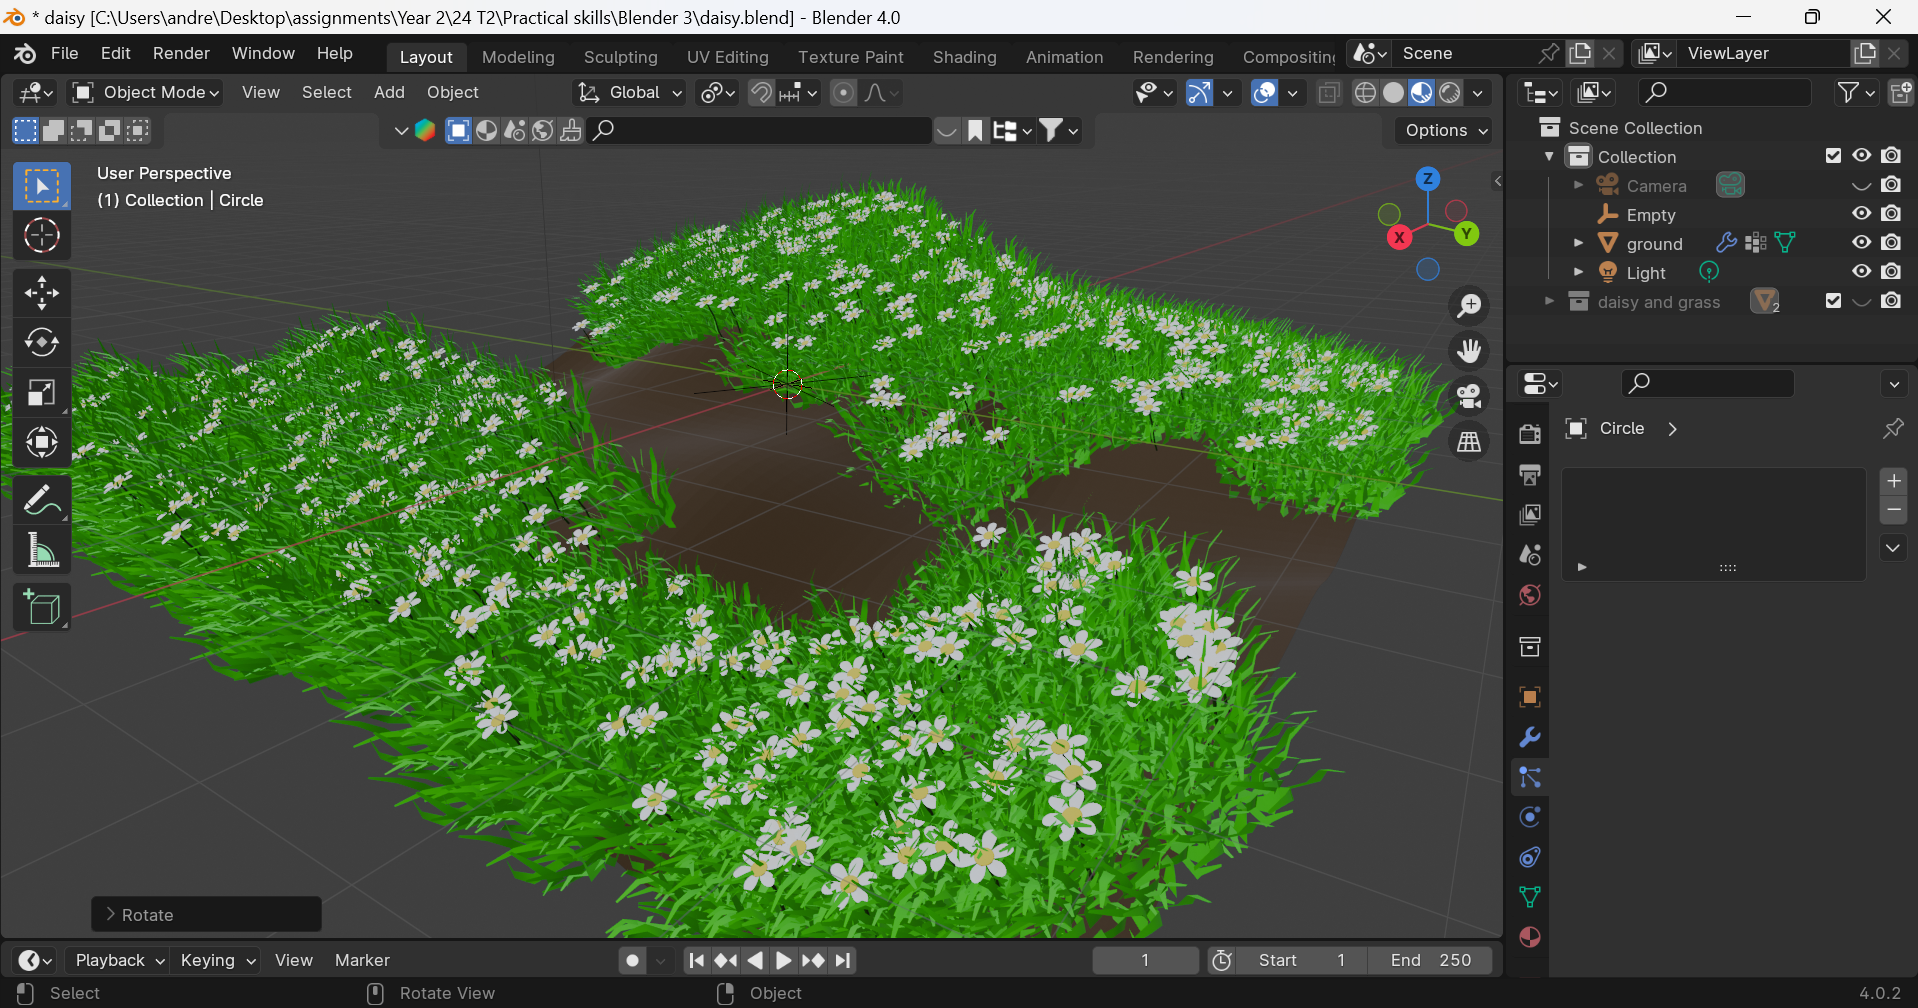
Image 18: Here is my final scene, meticulously modeled and adorned with textures and colors to attain the desired natural ambiance.
Final Animation:
I rendered all my images into a sequence, then I brought them into Premier Pro to put together a nice and smooth animation.
Engaging with 3D modelling software like Blender to complete my assignment project has been both challenging and rewarding. Initially, I felt a mix of excitement and apprehension as I delved into a new realm of creativity. As I navigated through the software’s interface, I encountered moments of frustration and confusion, grappling with complex tools and techniques. However, with perseverance and dedication, I gradually began to feel more confident in my abilities.
However, it has ignited a passion for digital creation and provided me with invaluable skills that I can carry forward into future endeavours.