3D Modelling of the Camper Van

3D Modelling

This post chronicles the creation of a 3D model of a van using Blender, a versatile and powerful graphics software. The primary aim is to design a detailed and visually appealing model that is vital in demonstrating the functionality of the augmented reality (AR) feature. As this project requires only one model, the focus here is exclusively on crafting the van. A subsequent phase will explore how this model is integrated into an AR experience.

Software

Blender was chosen for this project due to its advanced features and flexibility. Having gained experience with Blender during my second year of university, I wanted to apply these skills to a practical project. Although Blender can be challenging for beginners, its extensive toolset makes it ideal for producing precise, high-quality 3D models. This software offers the control and detail to bring the envisioned design to life.

Image Reference

To guide the design, I searched Google for a suitable reference image. While initially attempting to sketch my concept, I found the results lacked the detail necessary for this project. During my search, I selected a Mercedes Sprinter Van as the reference due to its spacious design and popularity among van enthusiasts, particularly in online communities such as van conversion Facebook groups. This model’s design elements provided a solid foundation for my 3D creation, as shown in Figure 1.

Figure 1: Reference image I used of the ‘Mercedes Benz Sprinter 2018 Van’ for the modelling phase.

Design Process

With the reference image ready, I imported it into Blender and began modelling. To capture the entire journey, I recorded a timelapse of my work, which offers a dynamic perspective of the van’s development, which includes key moments.

Starting with Blender’s extrude and scale tools, I shaped an essential low poly body for the van’s foundation. Once the overall structure was defined, I added finer details such as windows, doors, and handles, ensuring symmetry and consistency throughout the model. The extrude tool proved invaluable for achieving these features efficiently and effectively.

I manipulated a single plane for the van’s front and back sections by adjusting its vertices to create a rounded profile. By extruding and refining these areas, I achieved realistic proportions and a smooth finish, repeating the process to complete the entire model.

With the structure finalised, I applied vibrant colours to enhance the model’s visual appeal, bringing the design to life. The timelapse video in Figure 2 illustrates some of the steps in the transformation from a simple shape to a vibrant 3D van.

Figure 2: Time laps video evidencing the 3D modelling process of the camper van.

Complete Model

Upon completing the modelling process, I rendered the final design using Blender’s lighting tools, ensuring the colours appeared vivid and engaging. The rendering process provided a polished and professional look, offering a glimpse of the final product. The model was then exported as an FBX file, preparing it for the next phase of the project—developing the AR feature that will make this 3D model an interactive and immersive experience.

Figure 3: Left-side view of the rendered van.
Figure 3.1: Right-side view of the rendered van.
Figure 3.2: Front view of the rendered van.
Figure 3.3: Back view of the rendered van.
Virtual Tour (Interior View)
 
In developing the 3D content for my project, I decided to focus solely on designing a single camper van due to the limited time available for the modelling process. With various components and elements of the project demanding attention, it became clear that creating additional models or content would not be feasible within my timeline constraints.
 
I utilised VanSpace 3D, a user-friendly desktop application compatible with Windows and Mac operating systems, to facilitate the design process. What sets VanSpace 3D apart from more complex software like Blender is its accessibility; it does not require extensive 3D modelling skills, making it ideal for someone working under time pressure.
 

The application includes a robust library of pre-existing models, furniture, materials, and other design elements that can be easily integrated into projects. This feature significantly simplified my workflow, allowing me to focus on crafting a detailed and visually appealing camper van design that aligns with the project’s goals. By leveraging these pre-made resources, I was able to deliver a polished result without compromising quality or functionality, despite the time limitations.

One challenge I anticipate is exporting and converting models from VanSpace 3D into a format compatible with my augmented reality experience. The software’s output format differs from the requirements for AR integration, and I will need to explore solutions to ensure the models can be used effectively in the final product. This technical hurdle is a critical focus moving forward, as it directly impacts the immersive quality of the AR experience.

Figure 4: Showcases my web profile dashboard, which serves as a centralized hub for managing all aspects of my camper van design projects.
Figure 4.1: Showcases my profile in VanSpace 3D, highlighting the personalized dashboard that allows me to manage and access my camper van projects effortlessly.
Figure 4.2: Left view of the Voyager van interior.
Figure 4.3: Right view of the Voyager van interior.
Figure 4.4: Back view of the Voyager van interior.
Figure 4.5: Top view of the Voyager van interior.
Figure 4.6: Left view of the Wayfarers van interior.
Figure 4.7: Right view of the Wayfarers van interior.
Figure 4.8: Back view of the Wayfarers van interior.
Figure 4.9: Top view of the Wayfarers van interior.

Figure 4.10: Animated GIF showcasing the design of the Wayfarers van.

Figure 4.11: Left view of the Evergreen van interior
Figure 4.12: Right view of the Evergreen van interior.
Figure 4.13: Back view of the Evergreen van interior.
Figure 4.14: Top view of the Evergreen van interior.

3D Model Development in VanSpace 3D

As part of my design process, I created three distinct camper van models in VanSpace 3D, each tailored to different user needs: Voyager (solo), Wayfarers (couple), and Evergreen (family). These models showcase thoughtful layouts, maximising space efficiency and functionality while aligning with Wander Wheels’ vision.

The design experience with VanSpace 3D was seamless and highly intuitive, allowing me to experiment with various furniture arrangements, materials, and configurations. However, I encountered an unexpected limitation: I could not export my models, a crucial feature not clearly stated before purchasing the software. This presents a significant challenge, as my initial plan was to integrate these models into the app’s augmented reality (AR) component.

Potential Solutions

Since direct export is not an option, I must explore alternative methods to incorporate my designs beyond static preview images in the app. Some possible approaches include:

  • 3D Reconstruction in Blender – Using the VanSpace 3D models as a reference, I could manually recreate them in Blender, allowing complete control over textures, lighting, and eventual AR implementation.
  • Screen Captures and Interactive Walkthroughs – If exporting is not feasible, I could generate high-quality renders and interactive video walkthroughs to simulate a virtual tour within the app.
  • Exploring Workarounds for Exporting – Some users have reportedly used third-party software to extract or convert VanSpace 3D files. Researching potential tools or contacting the VanSpace 3D support team may reveal a workaround.

Despite this limitation, the models are a strong foundation for visualising the camper van interiors. Moving forward, I will assess the best approach to ensure these designs remain integral to the app’s user experience.

Time Management Reflection

At the beginning of the project, I anticipated that using 3D models would significantly enhance the user experience by providing an immersive and visually engaging way to explore camper van conversions. Initially, I attempted to model the vans in Blender, believing this would give me full creative control over the design. However, I quickly realised that my 3D modelling skills were not at a level that would allow me to complete the models efficiently within my timeframe. Blender’s complexity and the steep learning curve made it clear that I needed an alternative approach to stay on schedule.

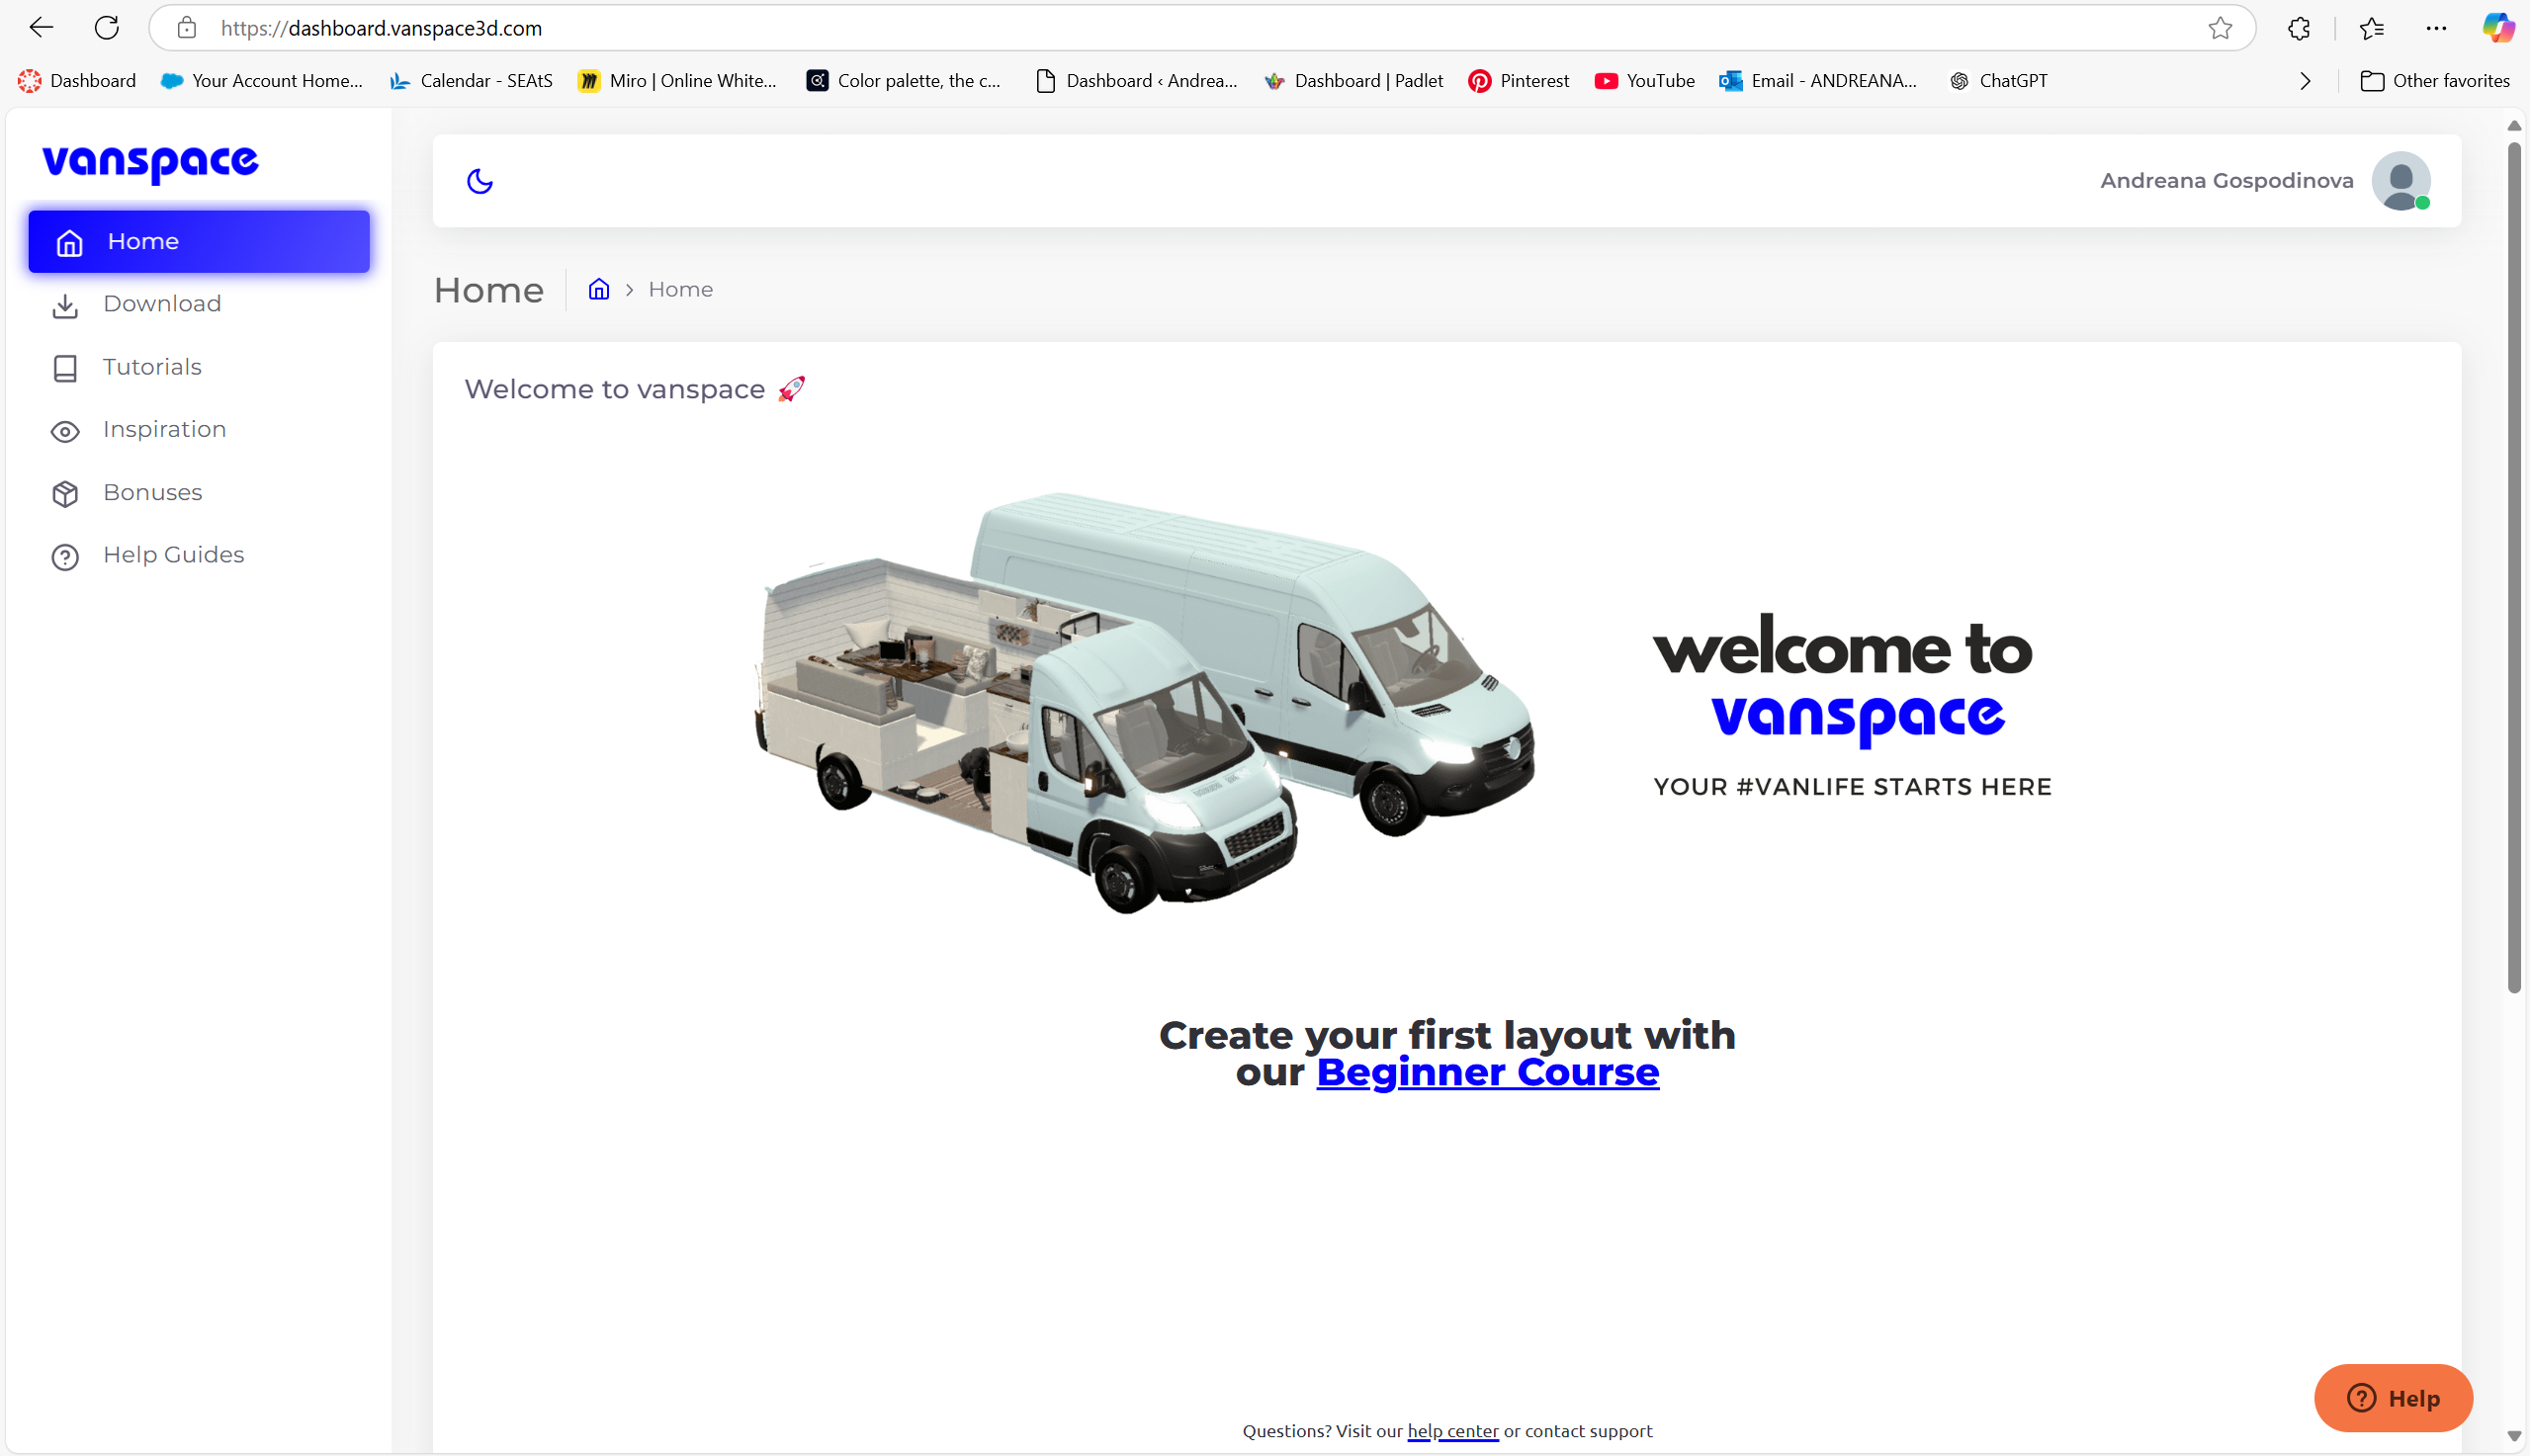
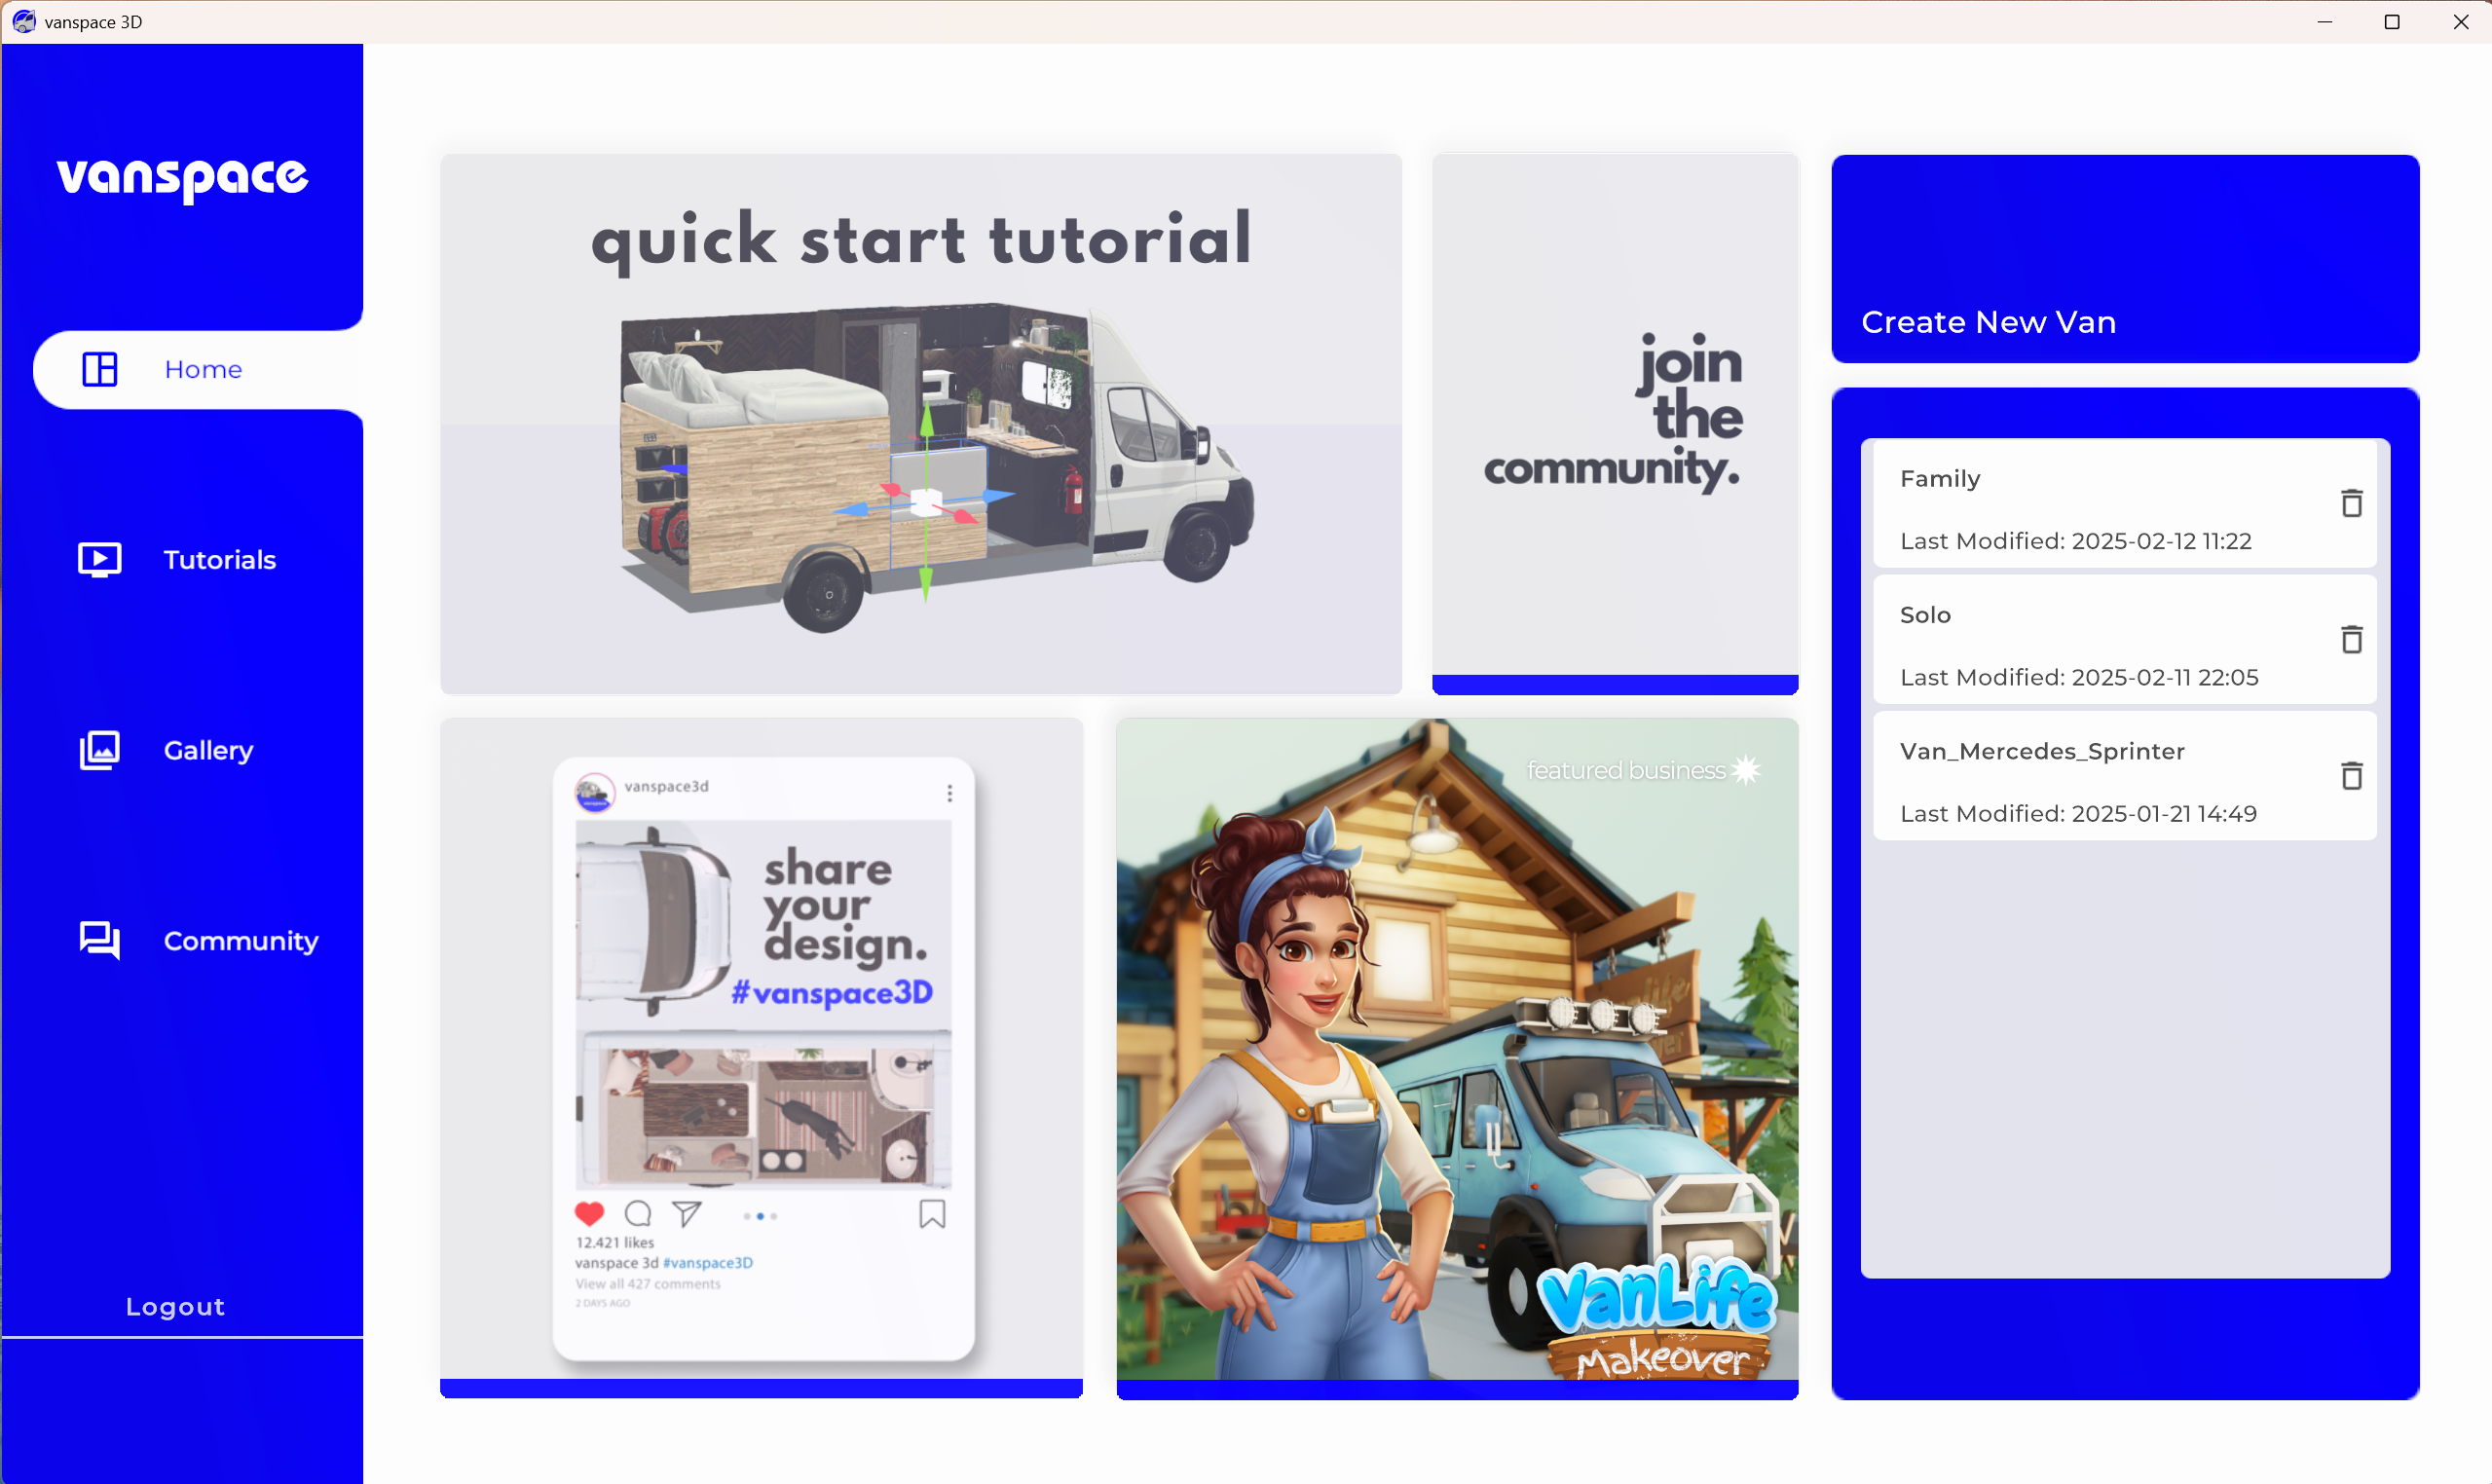
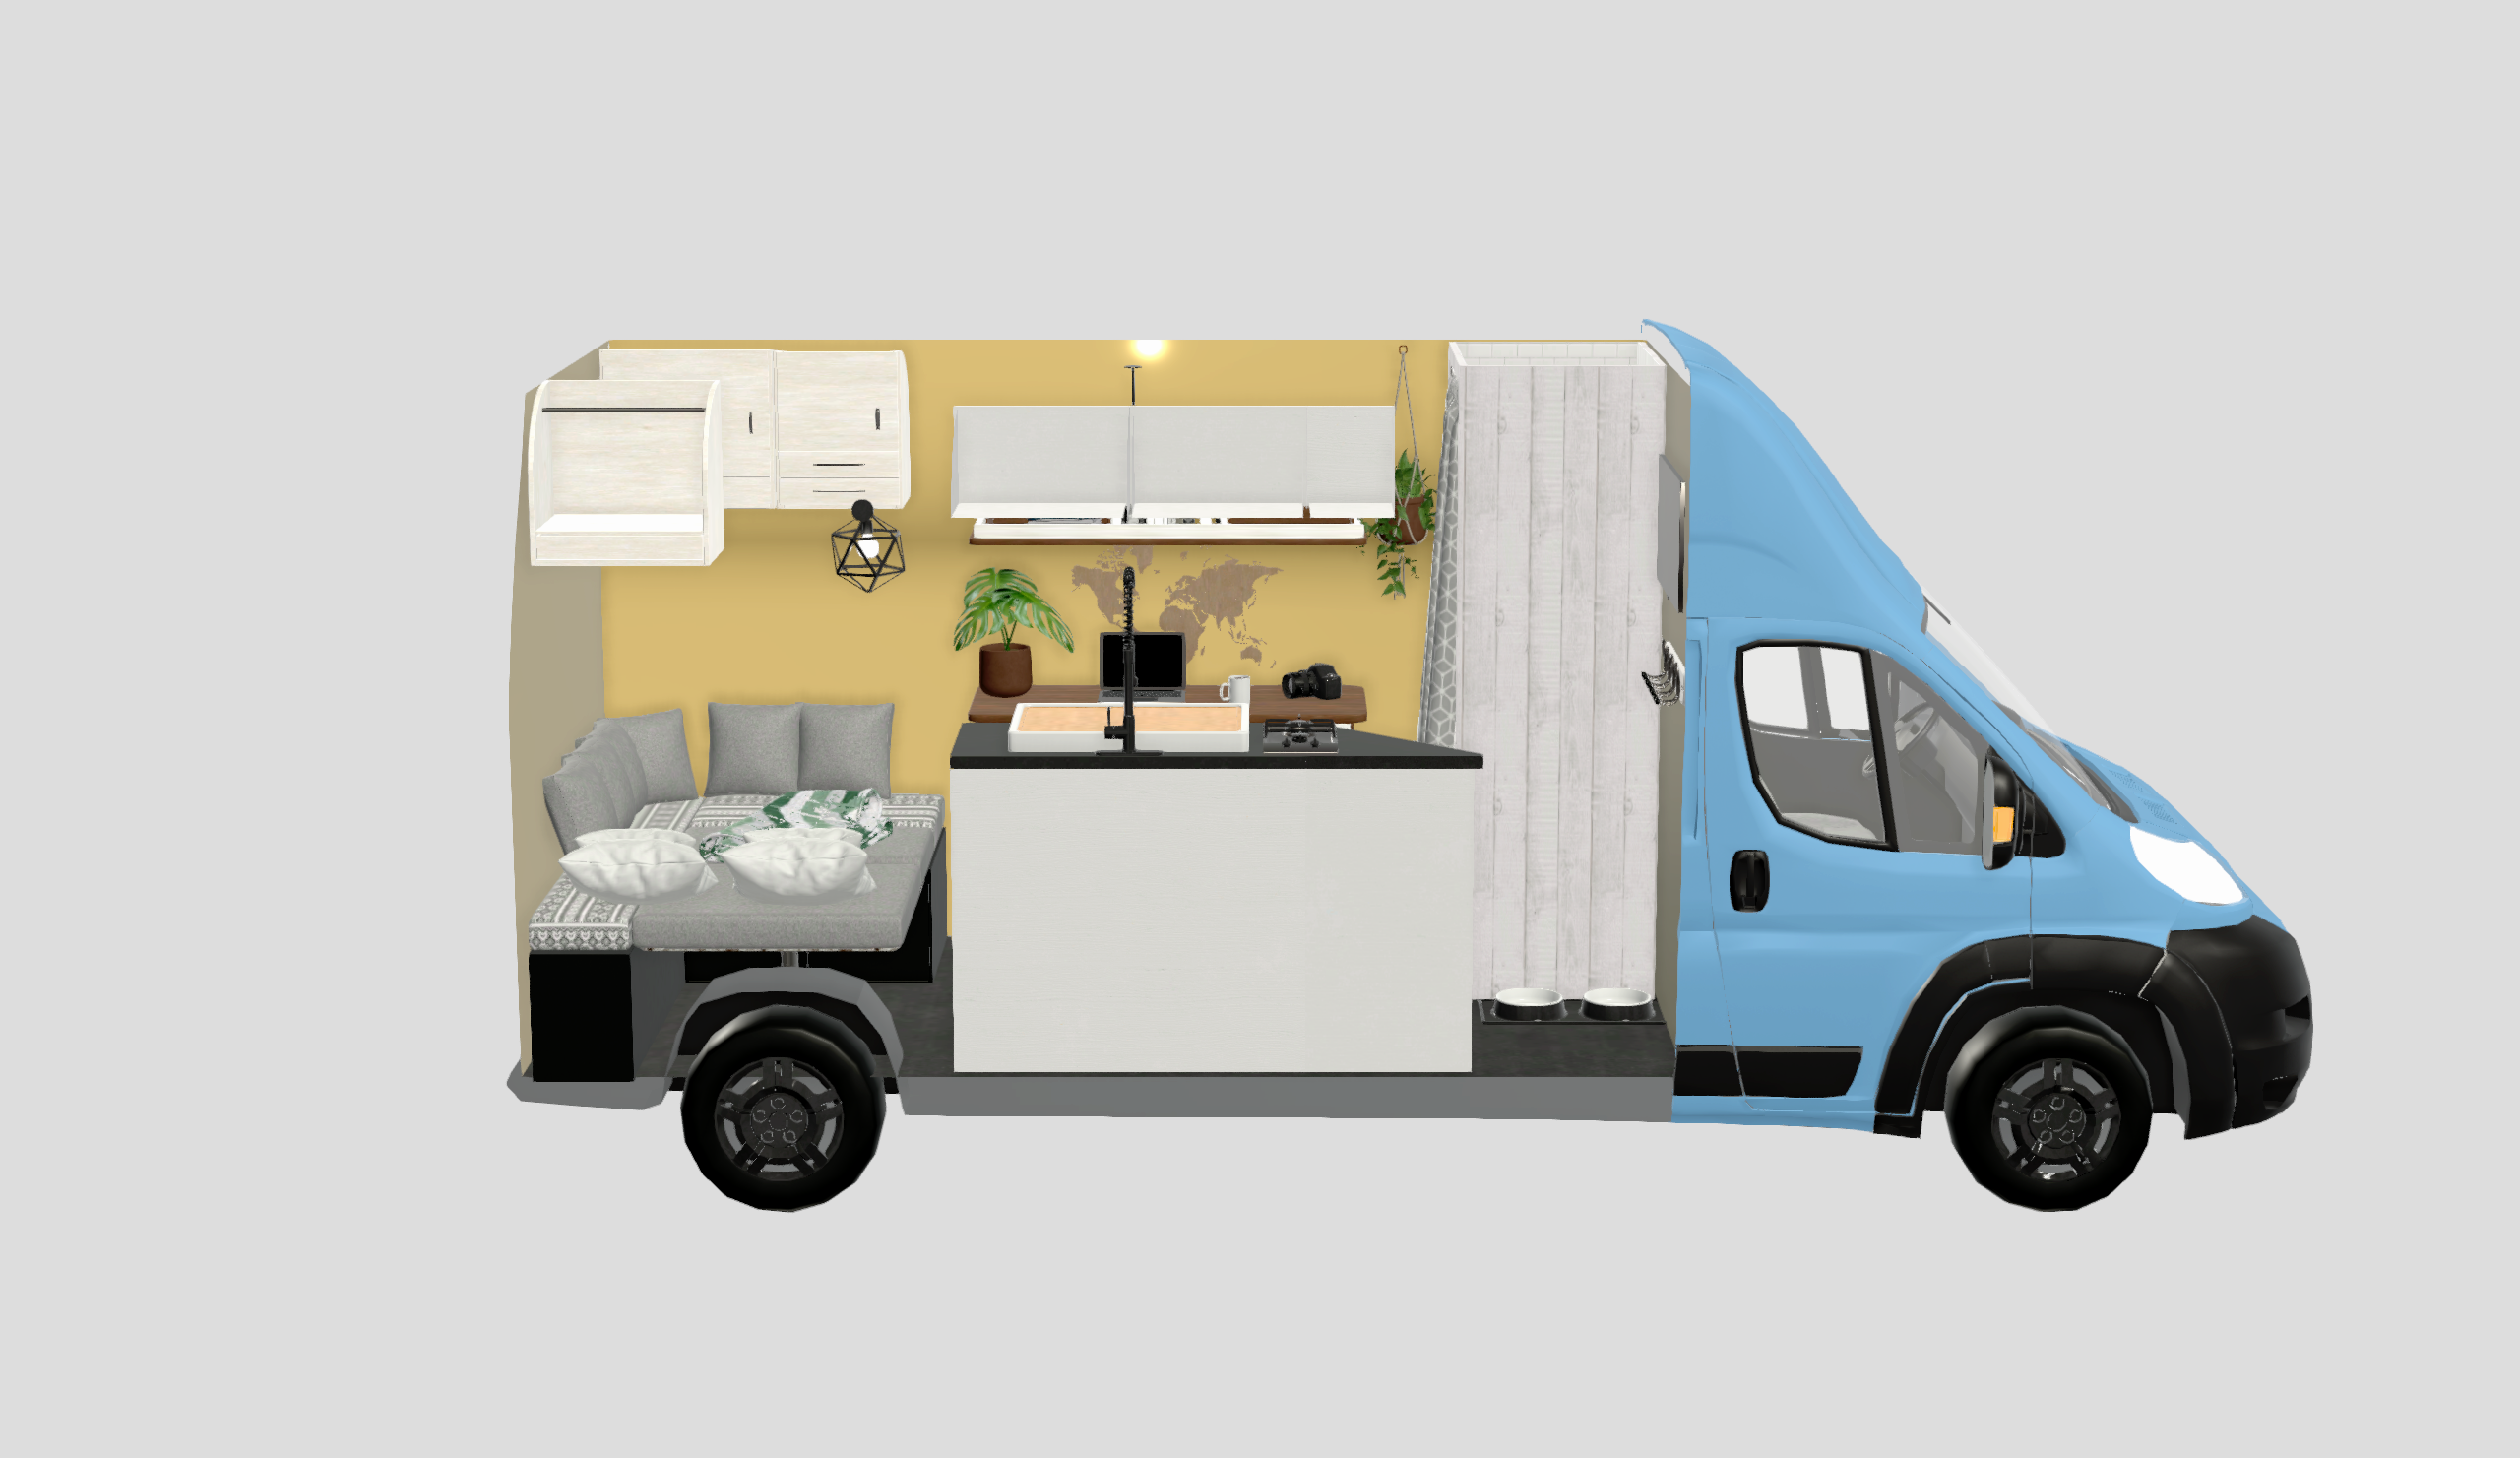
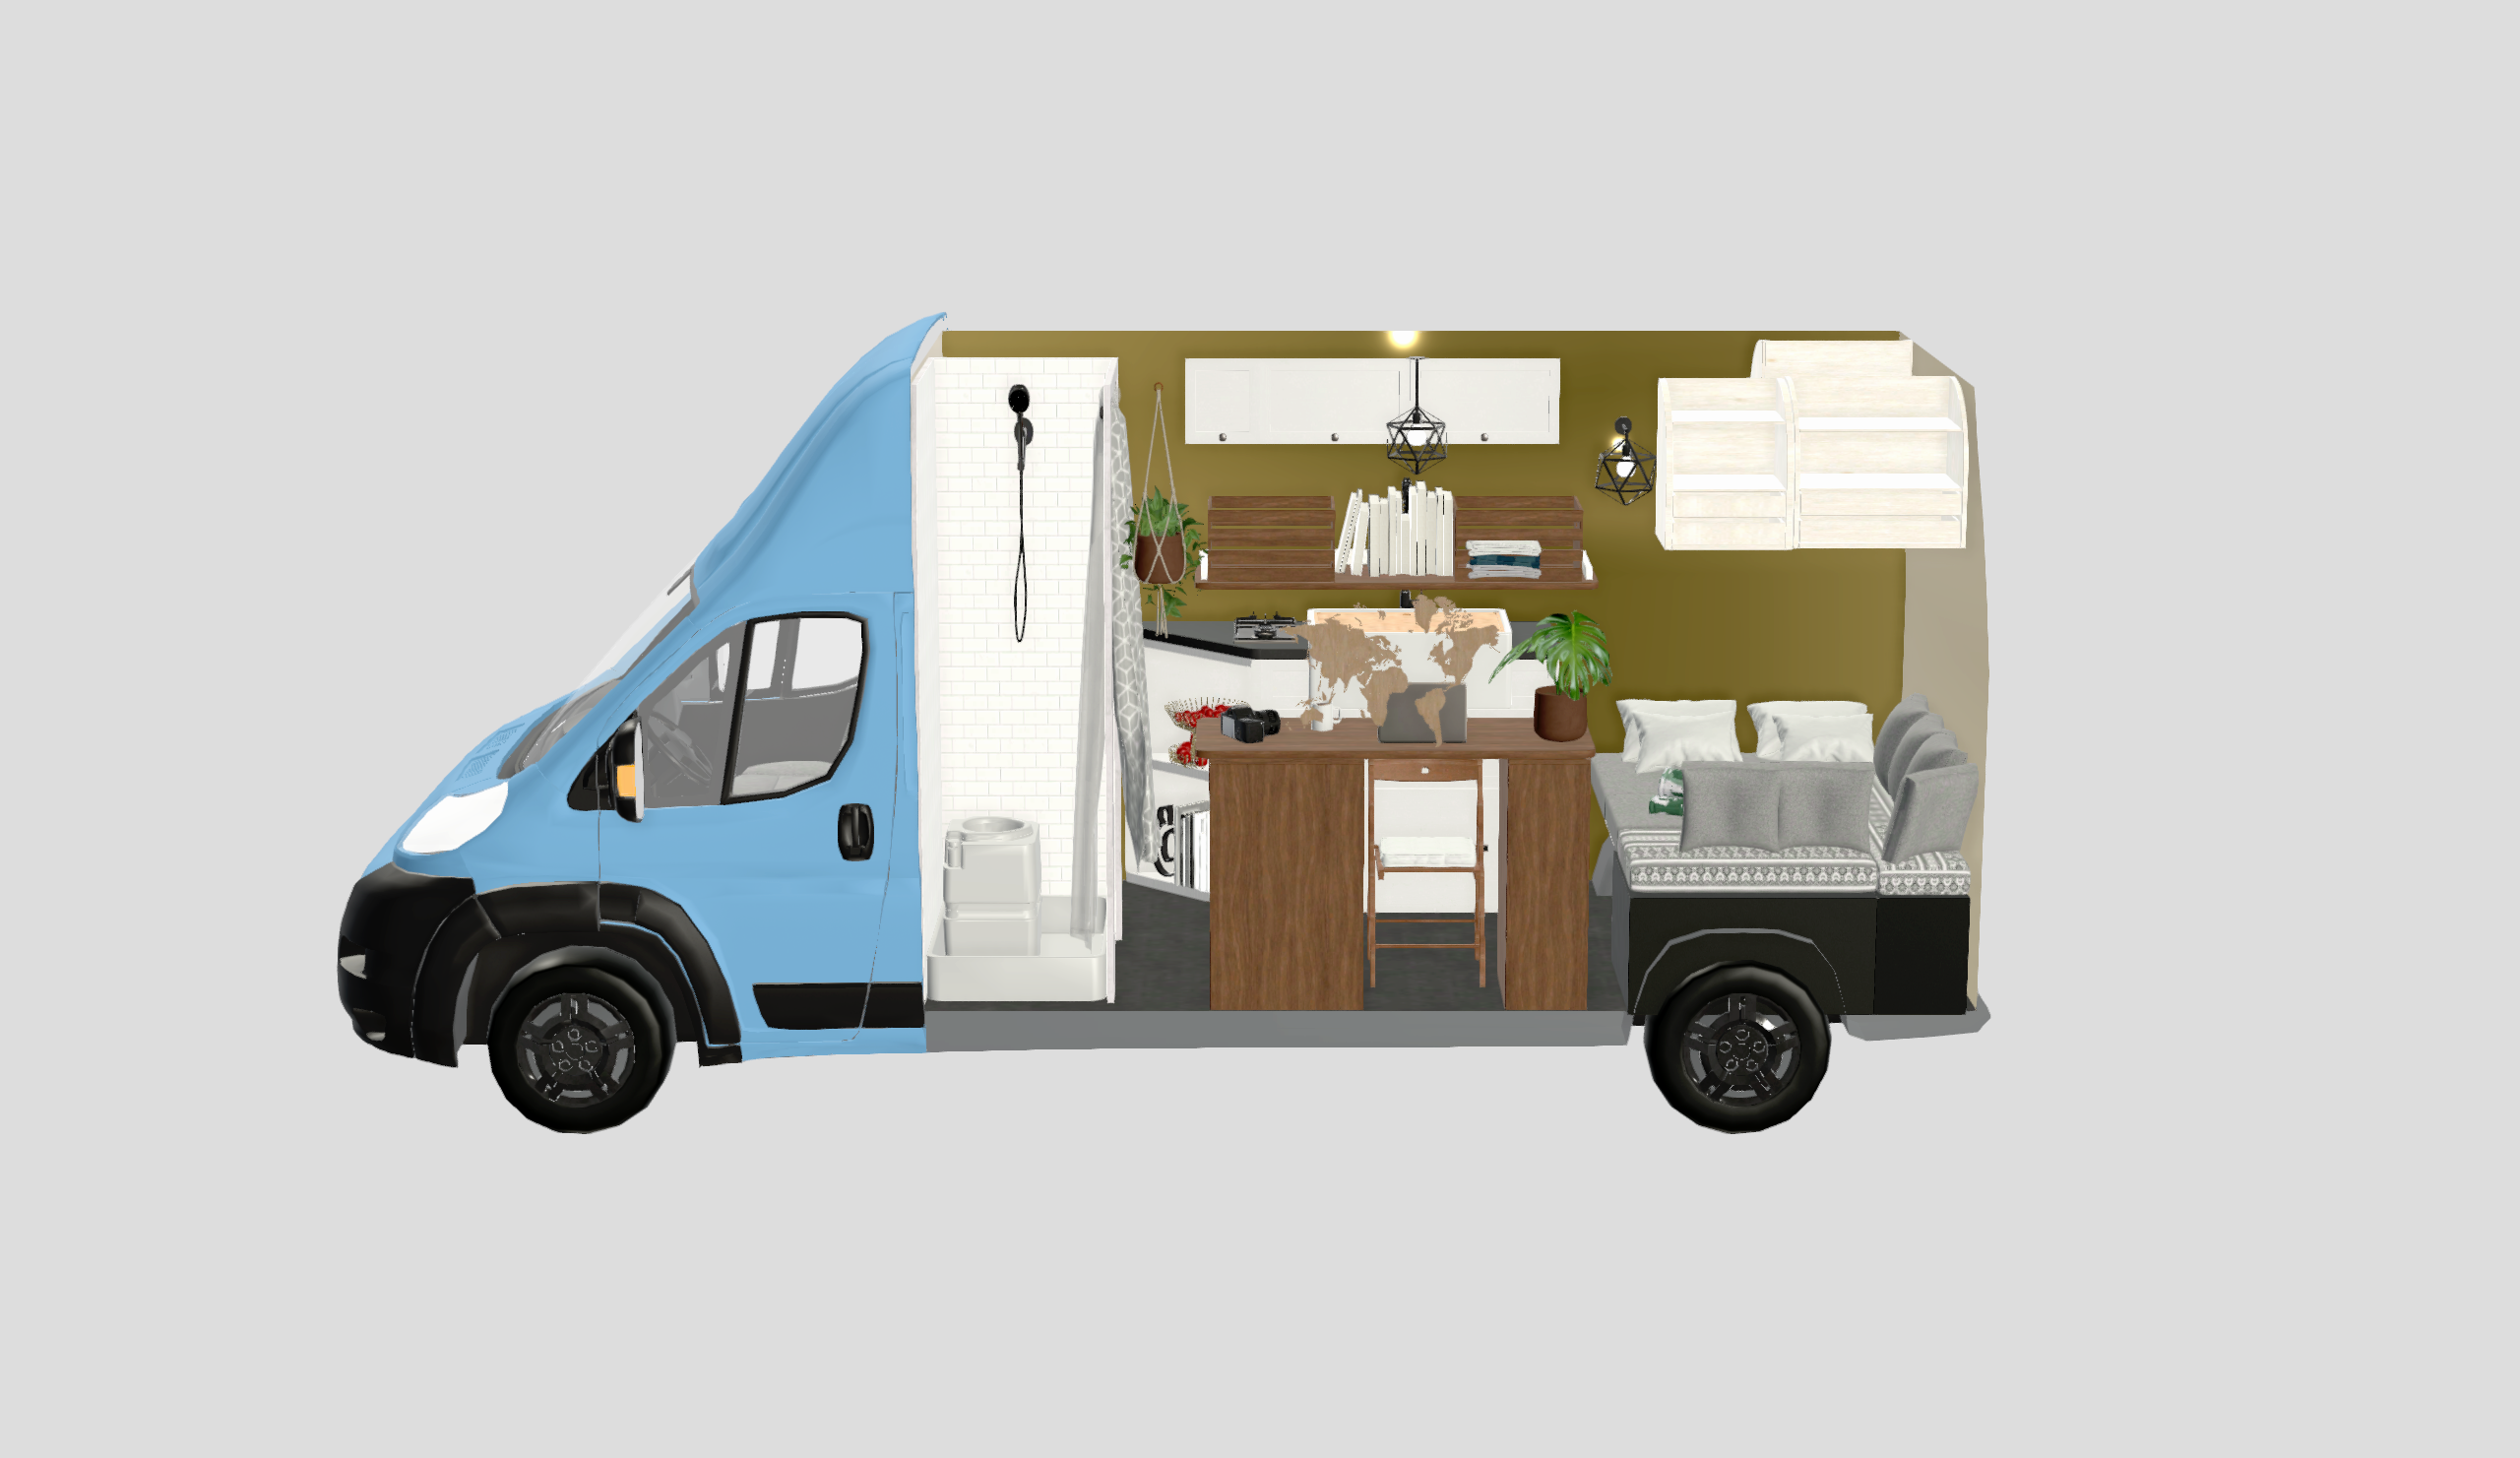
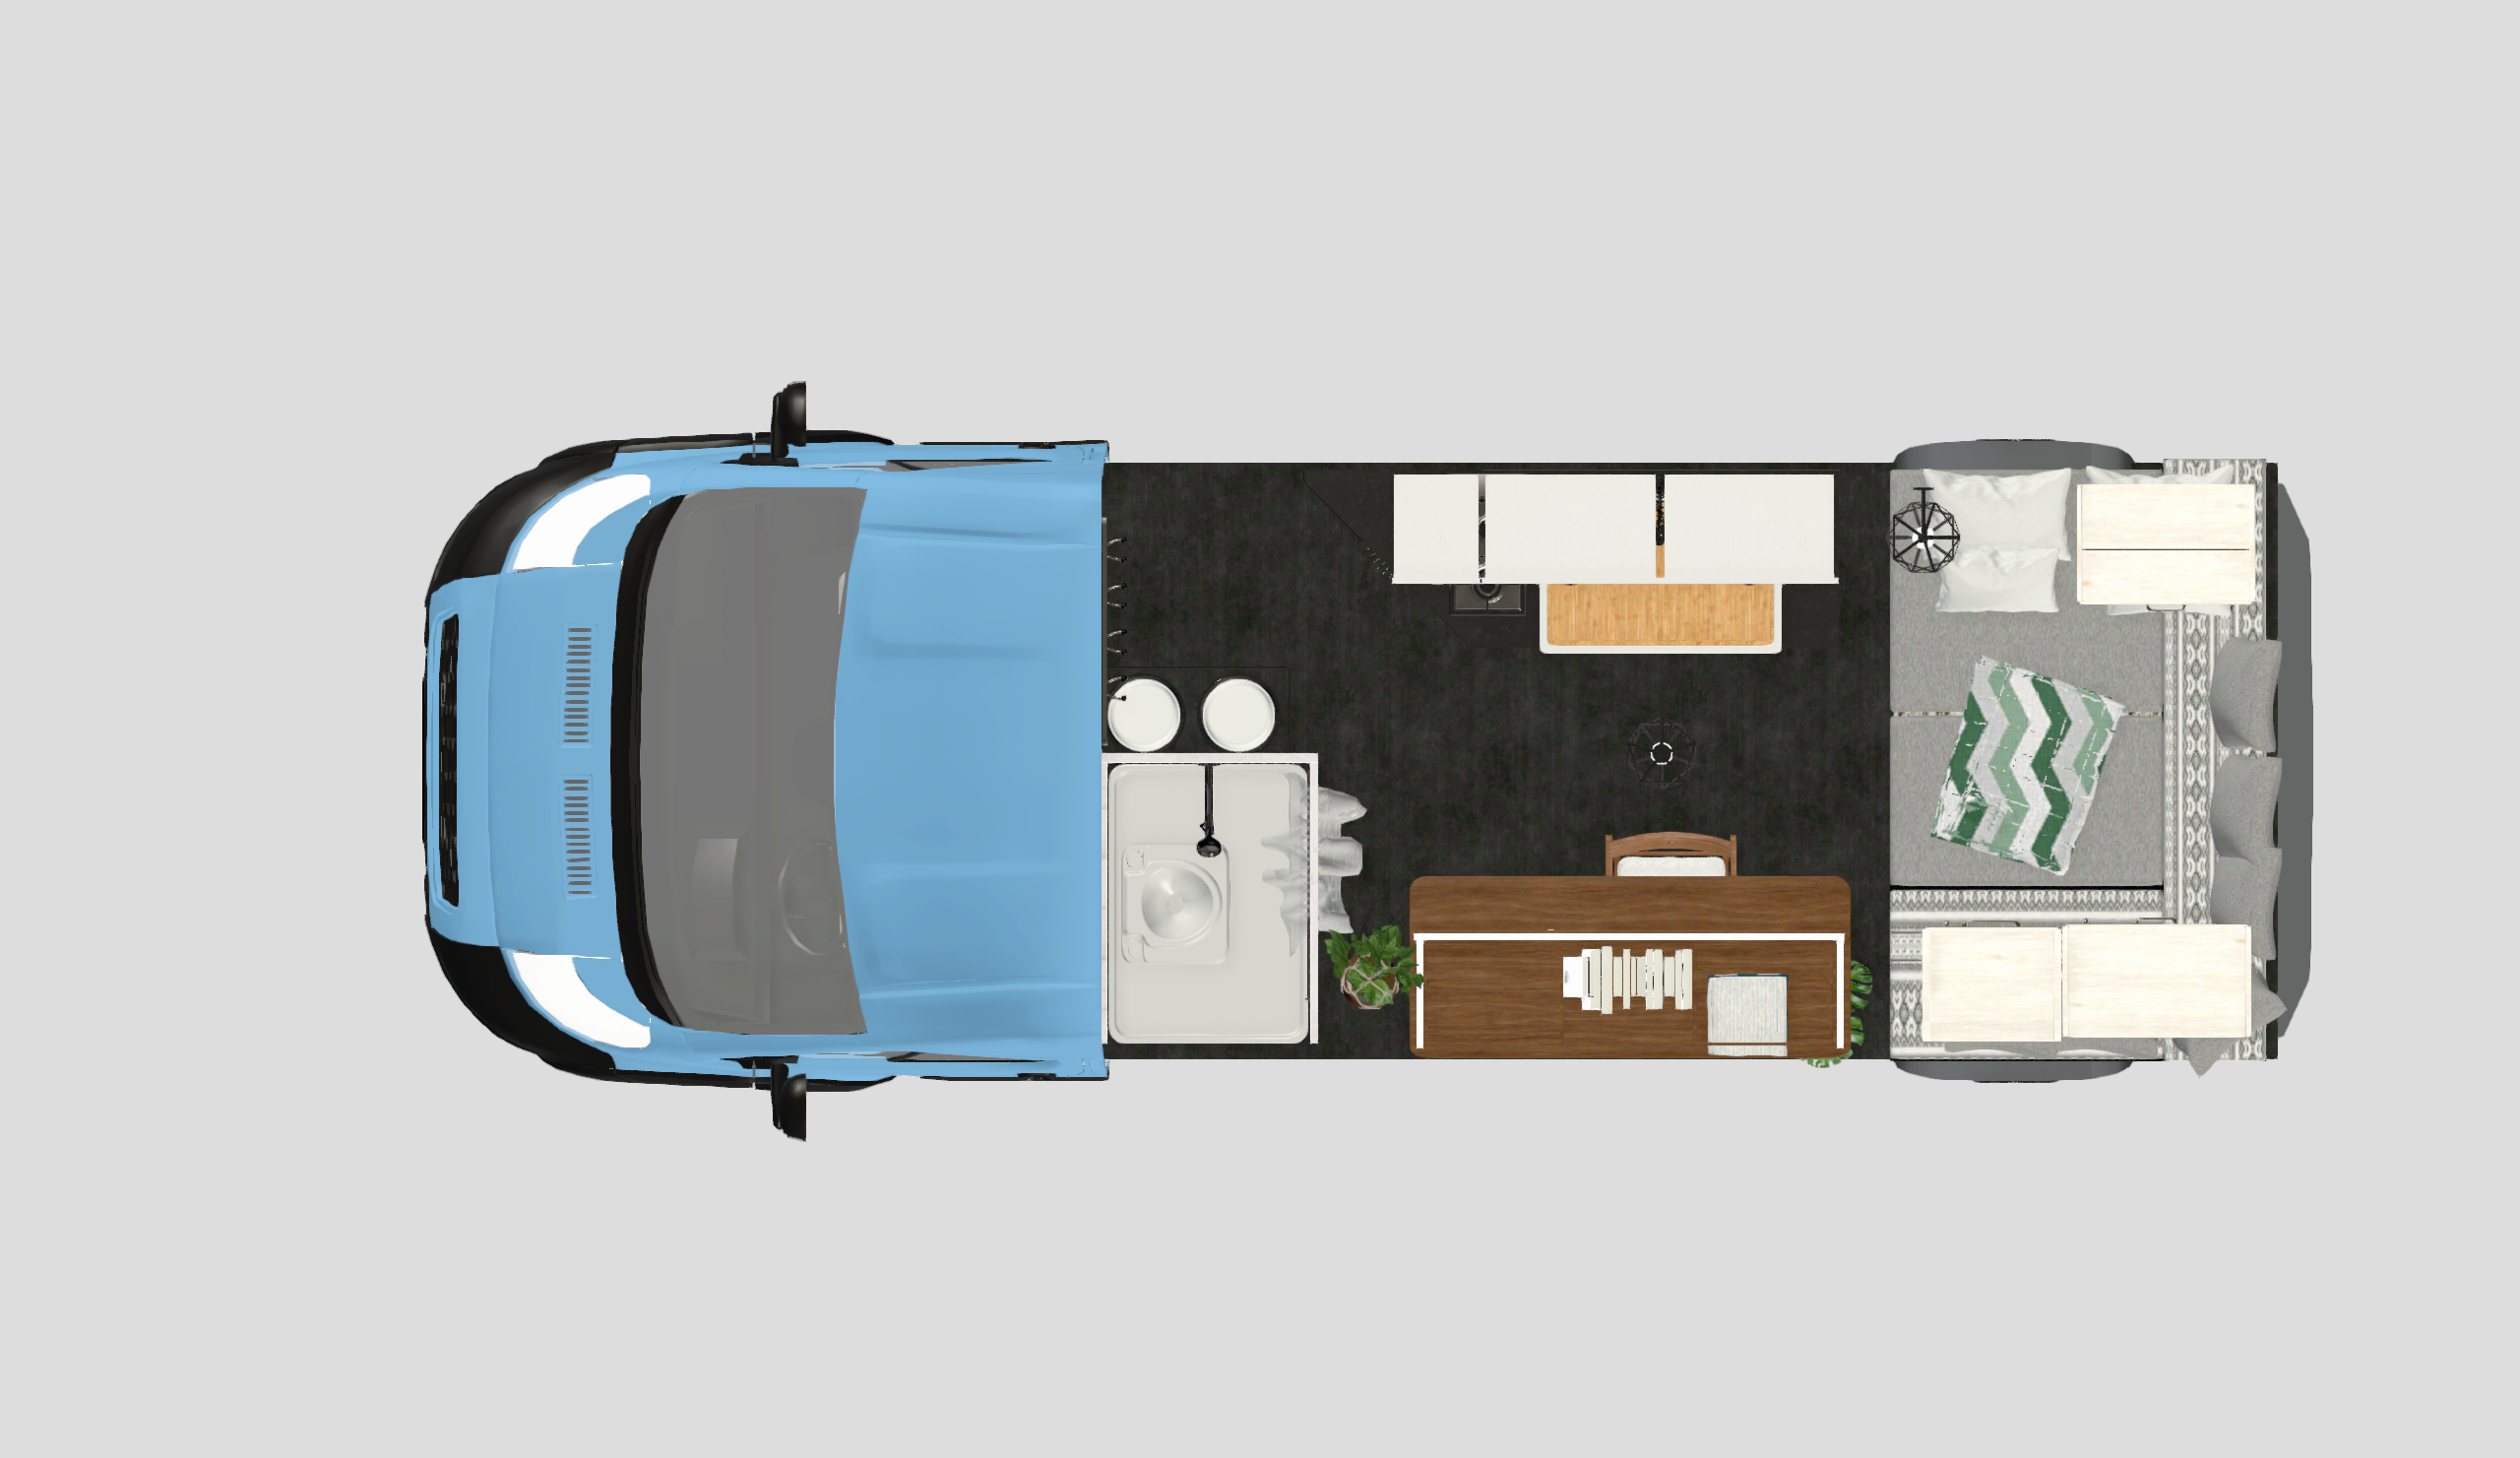
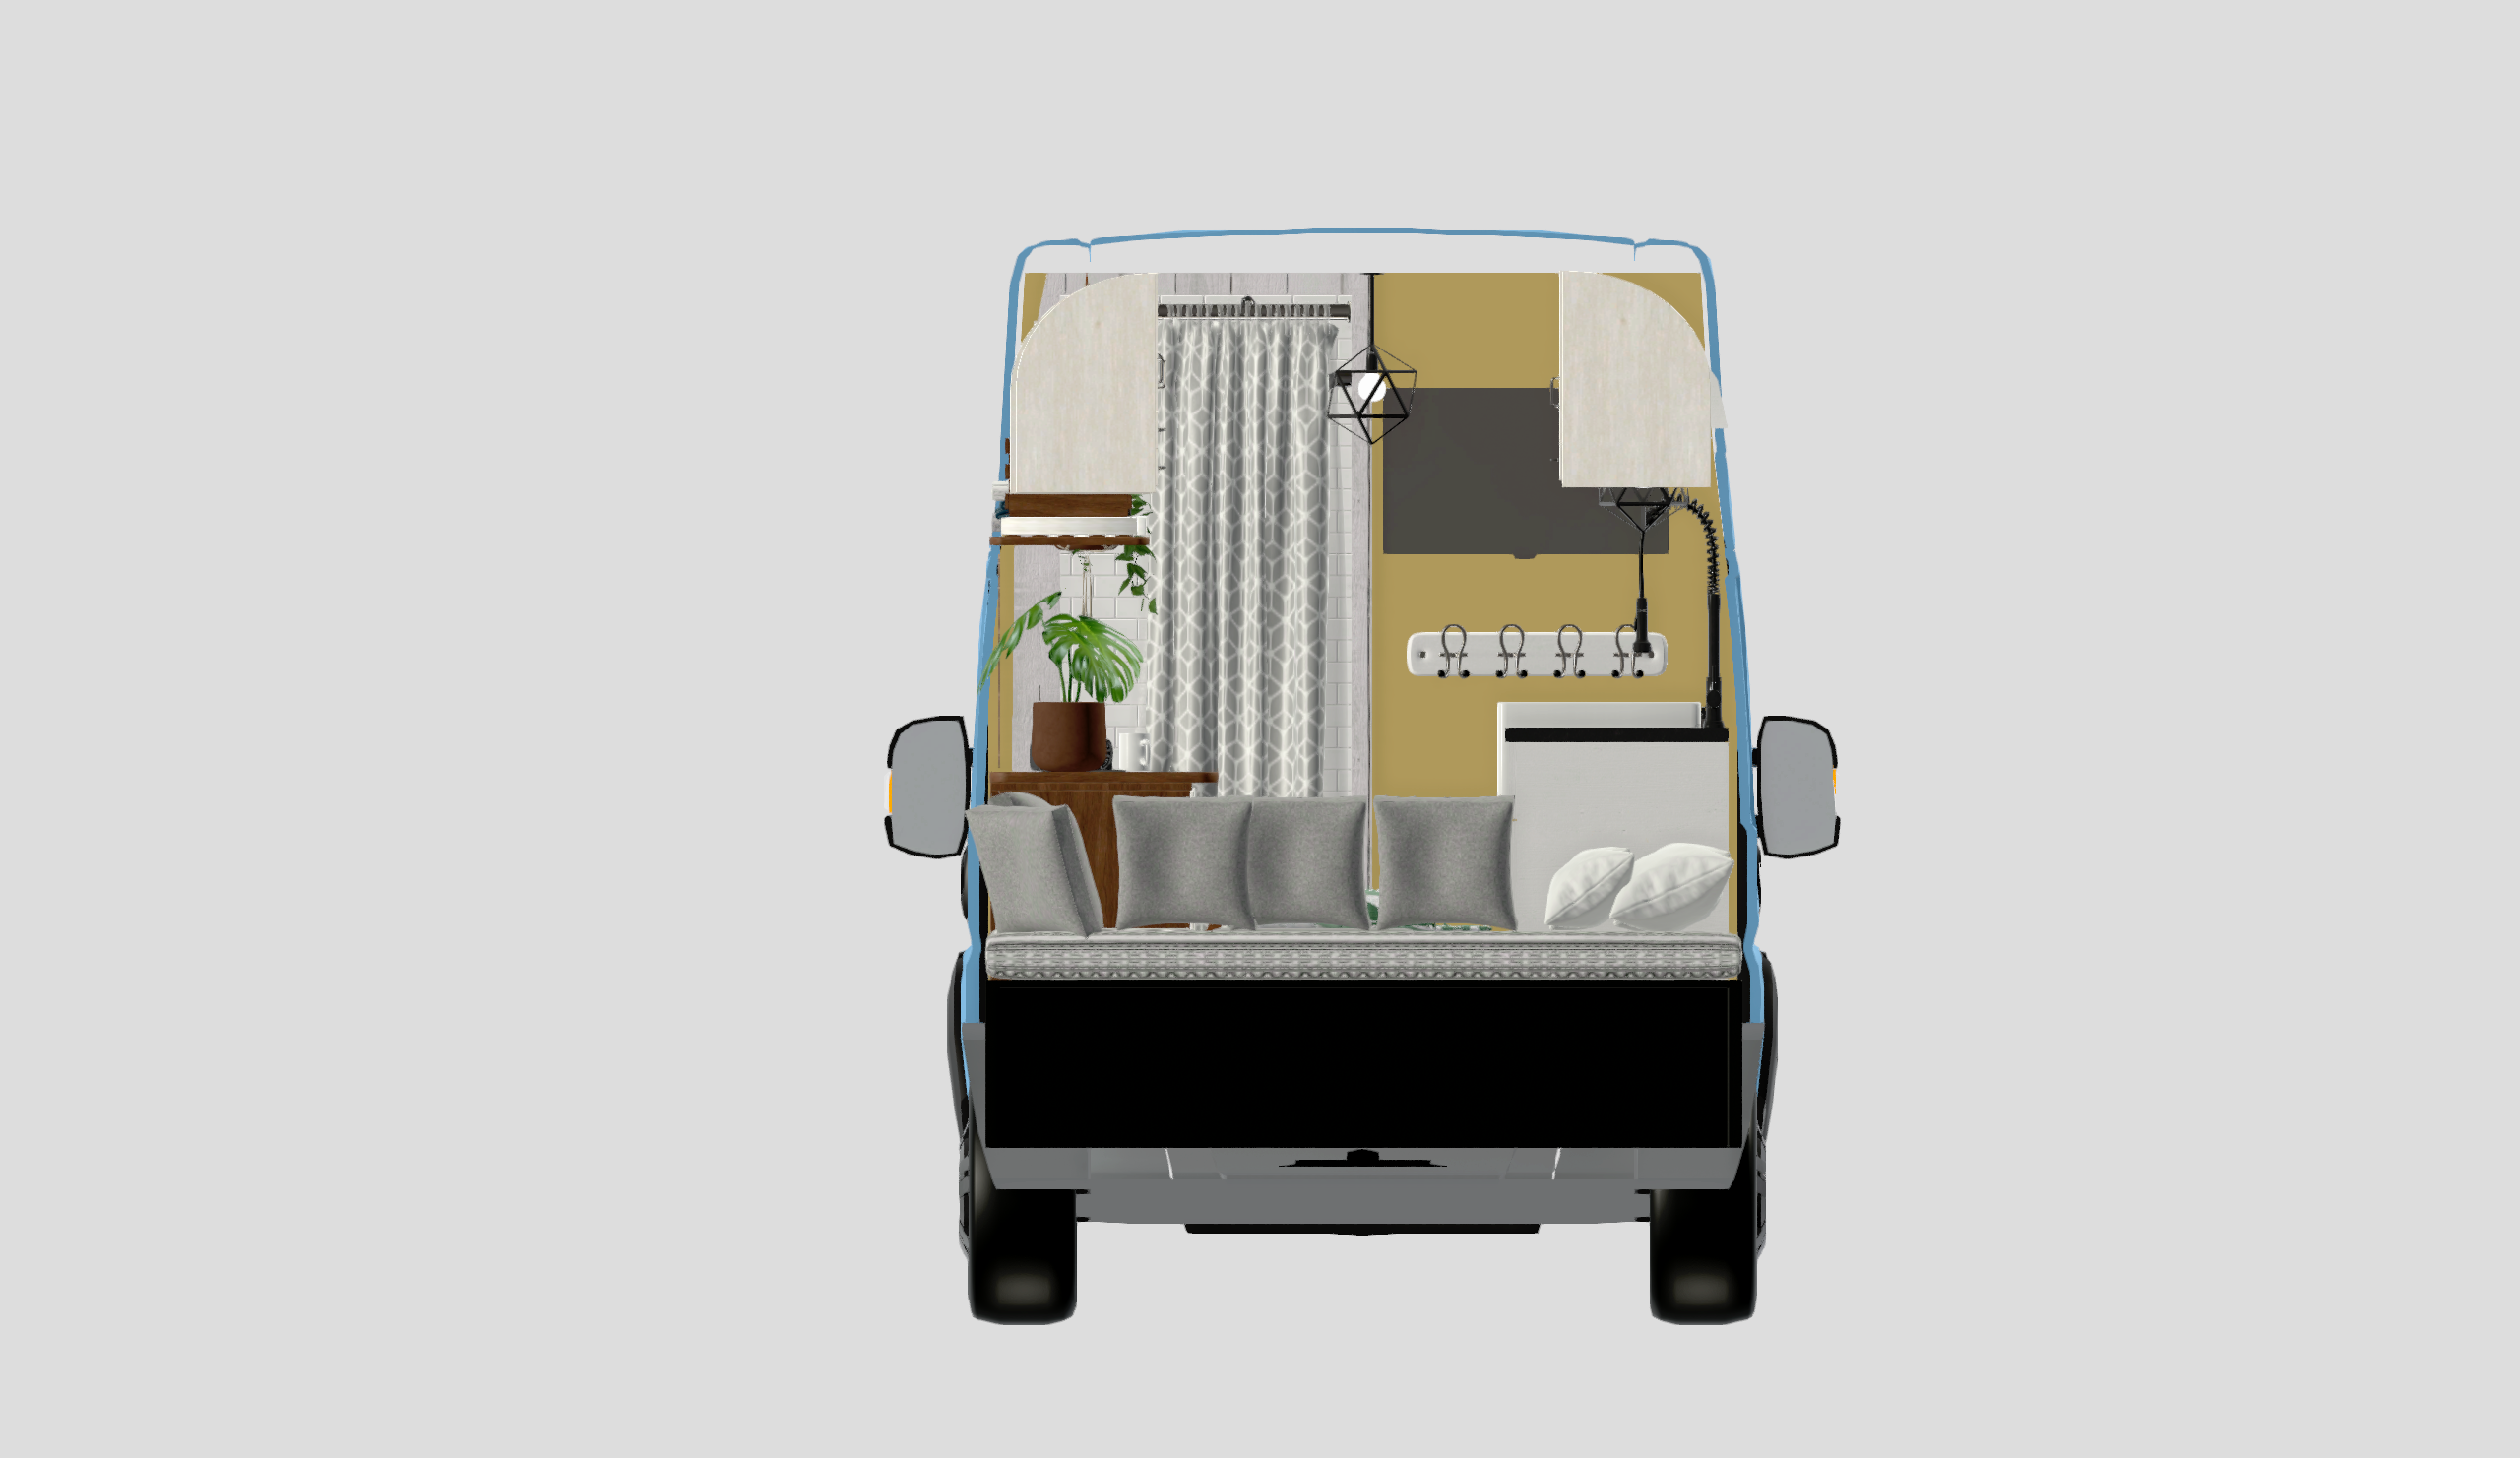
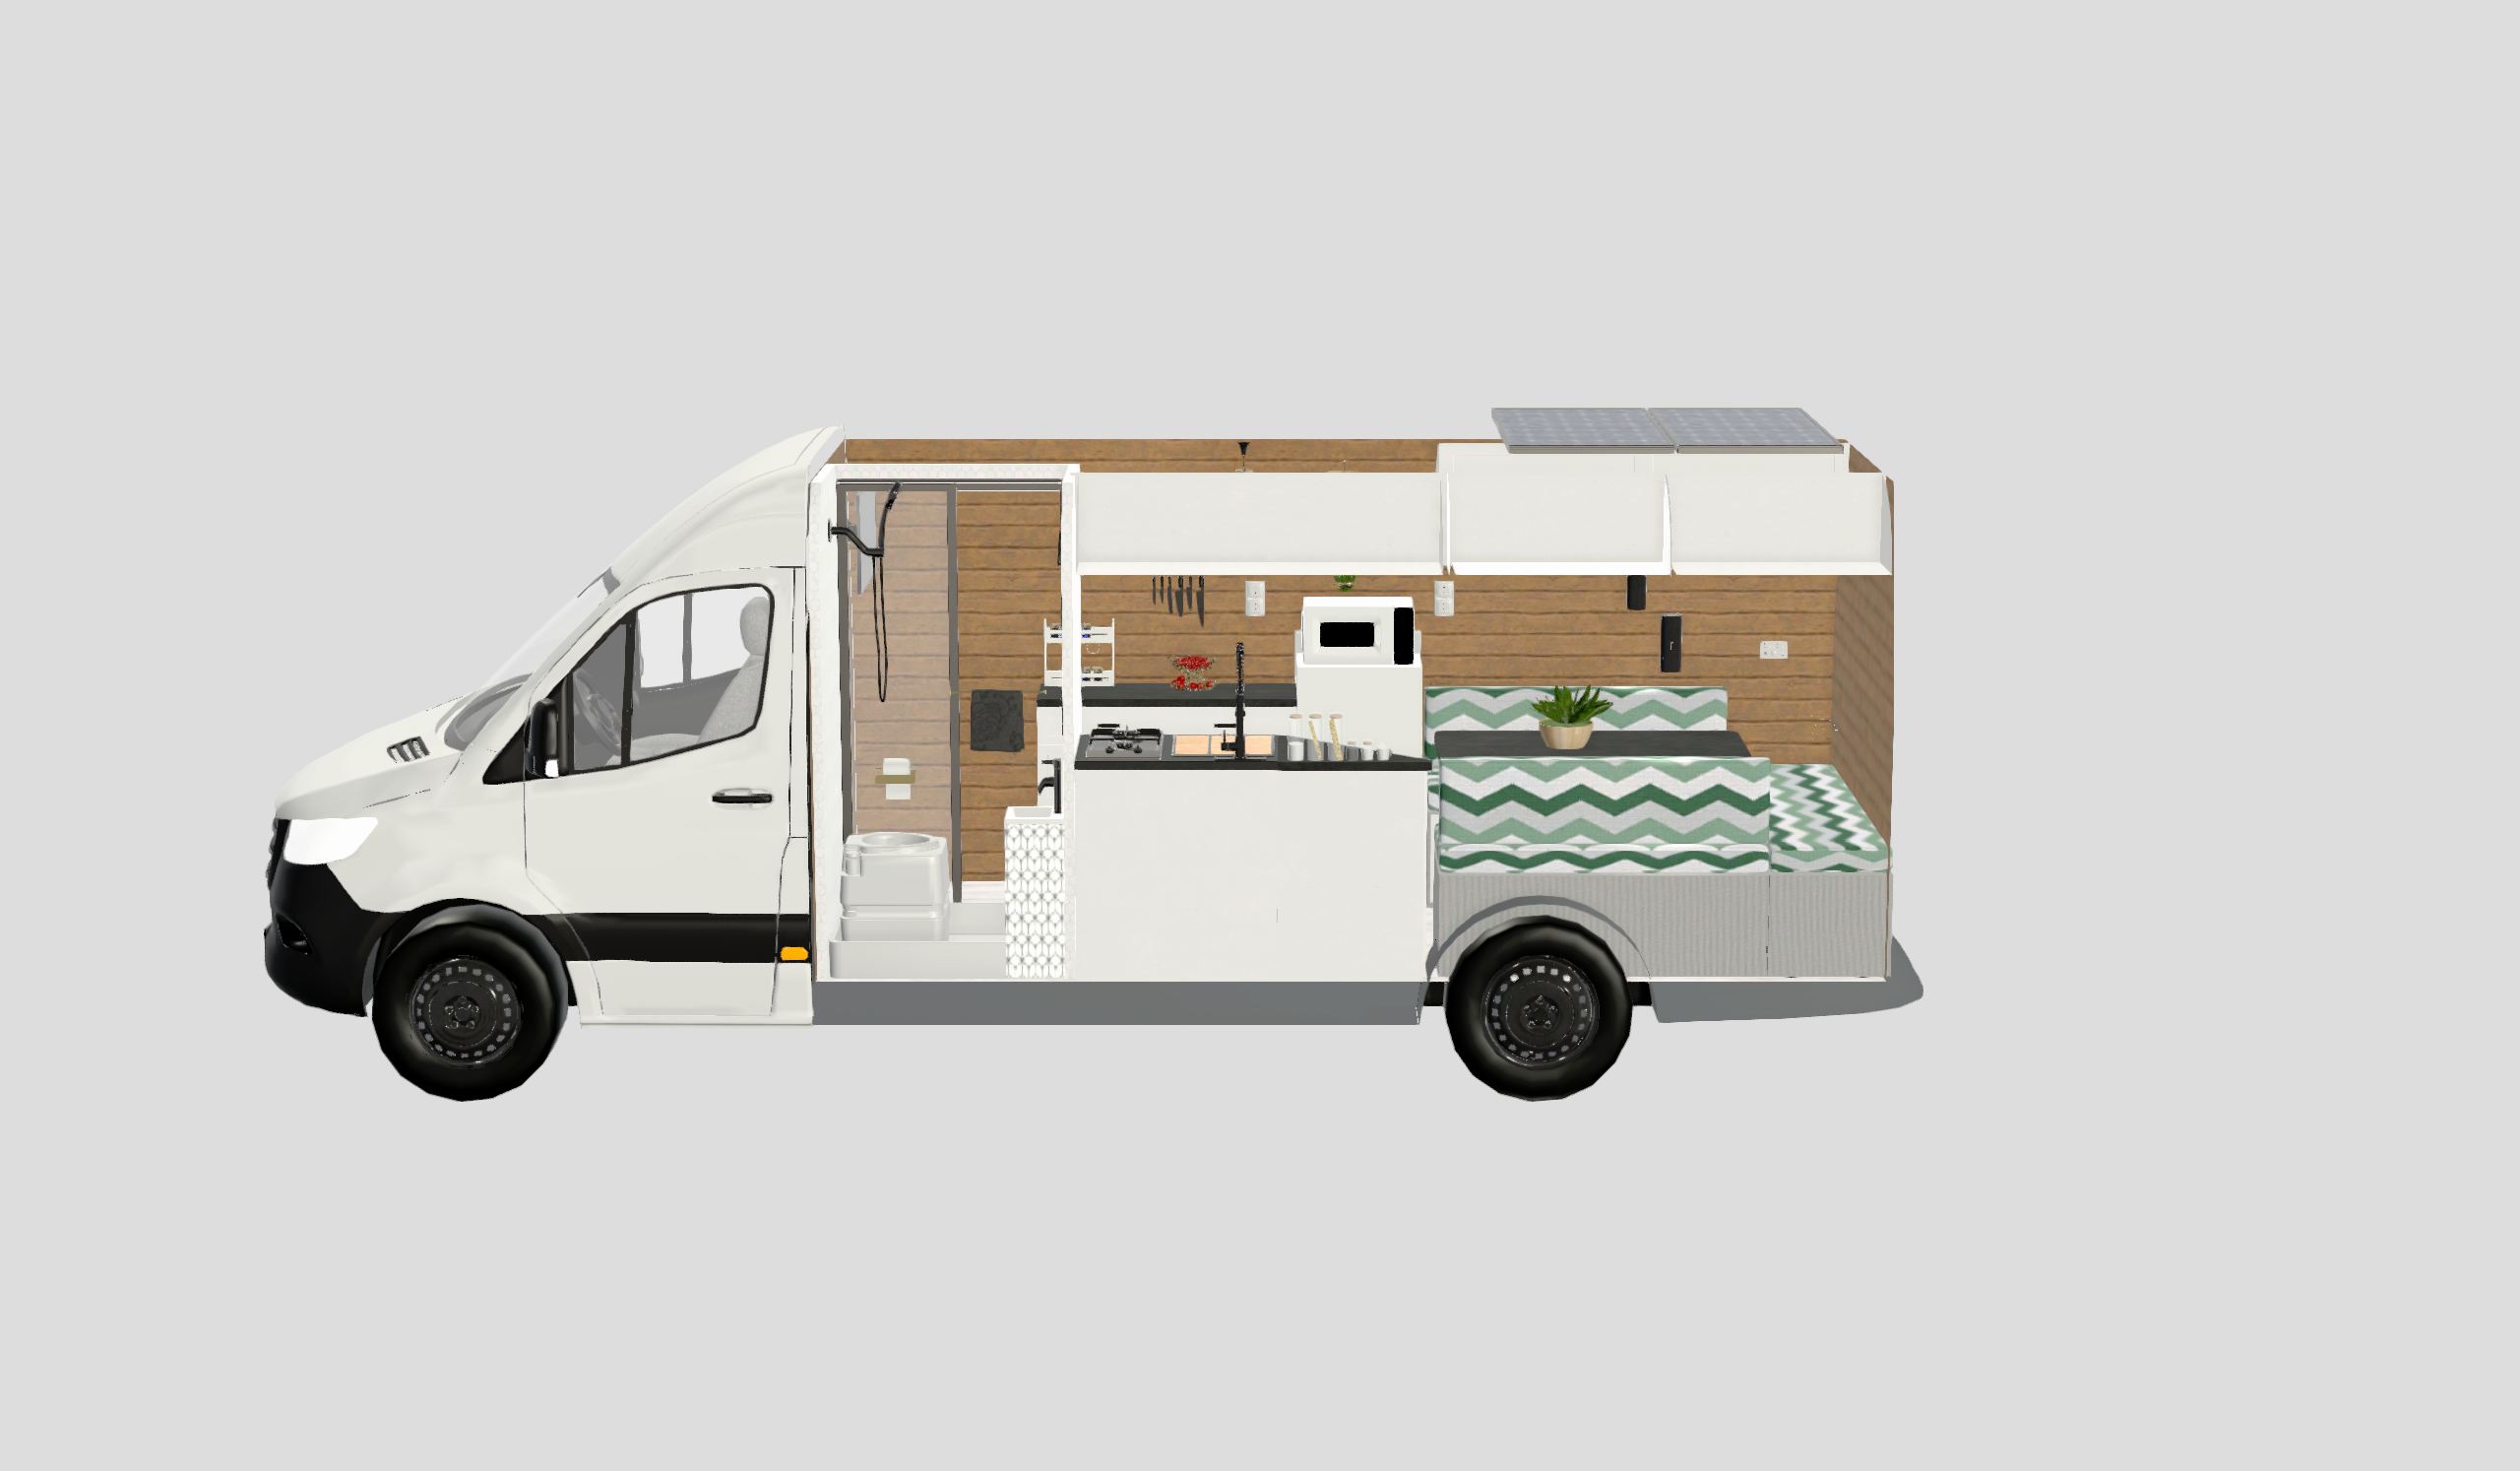
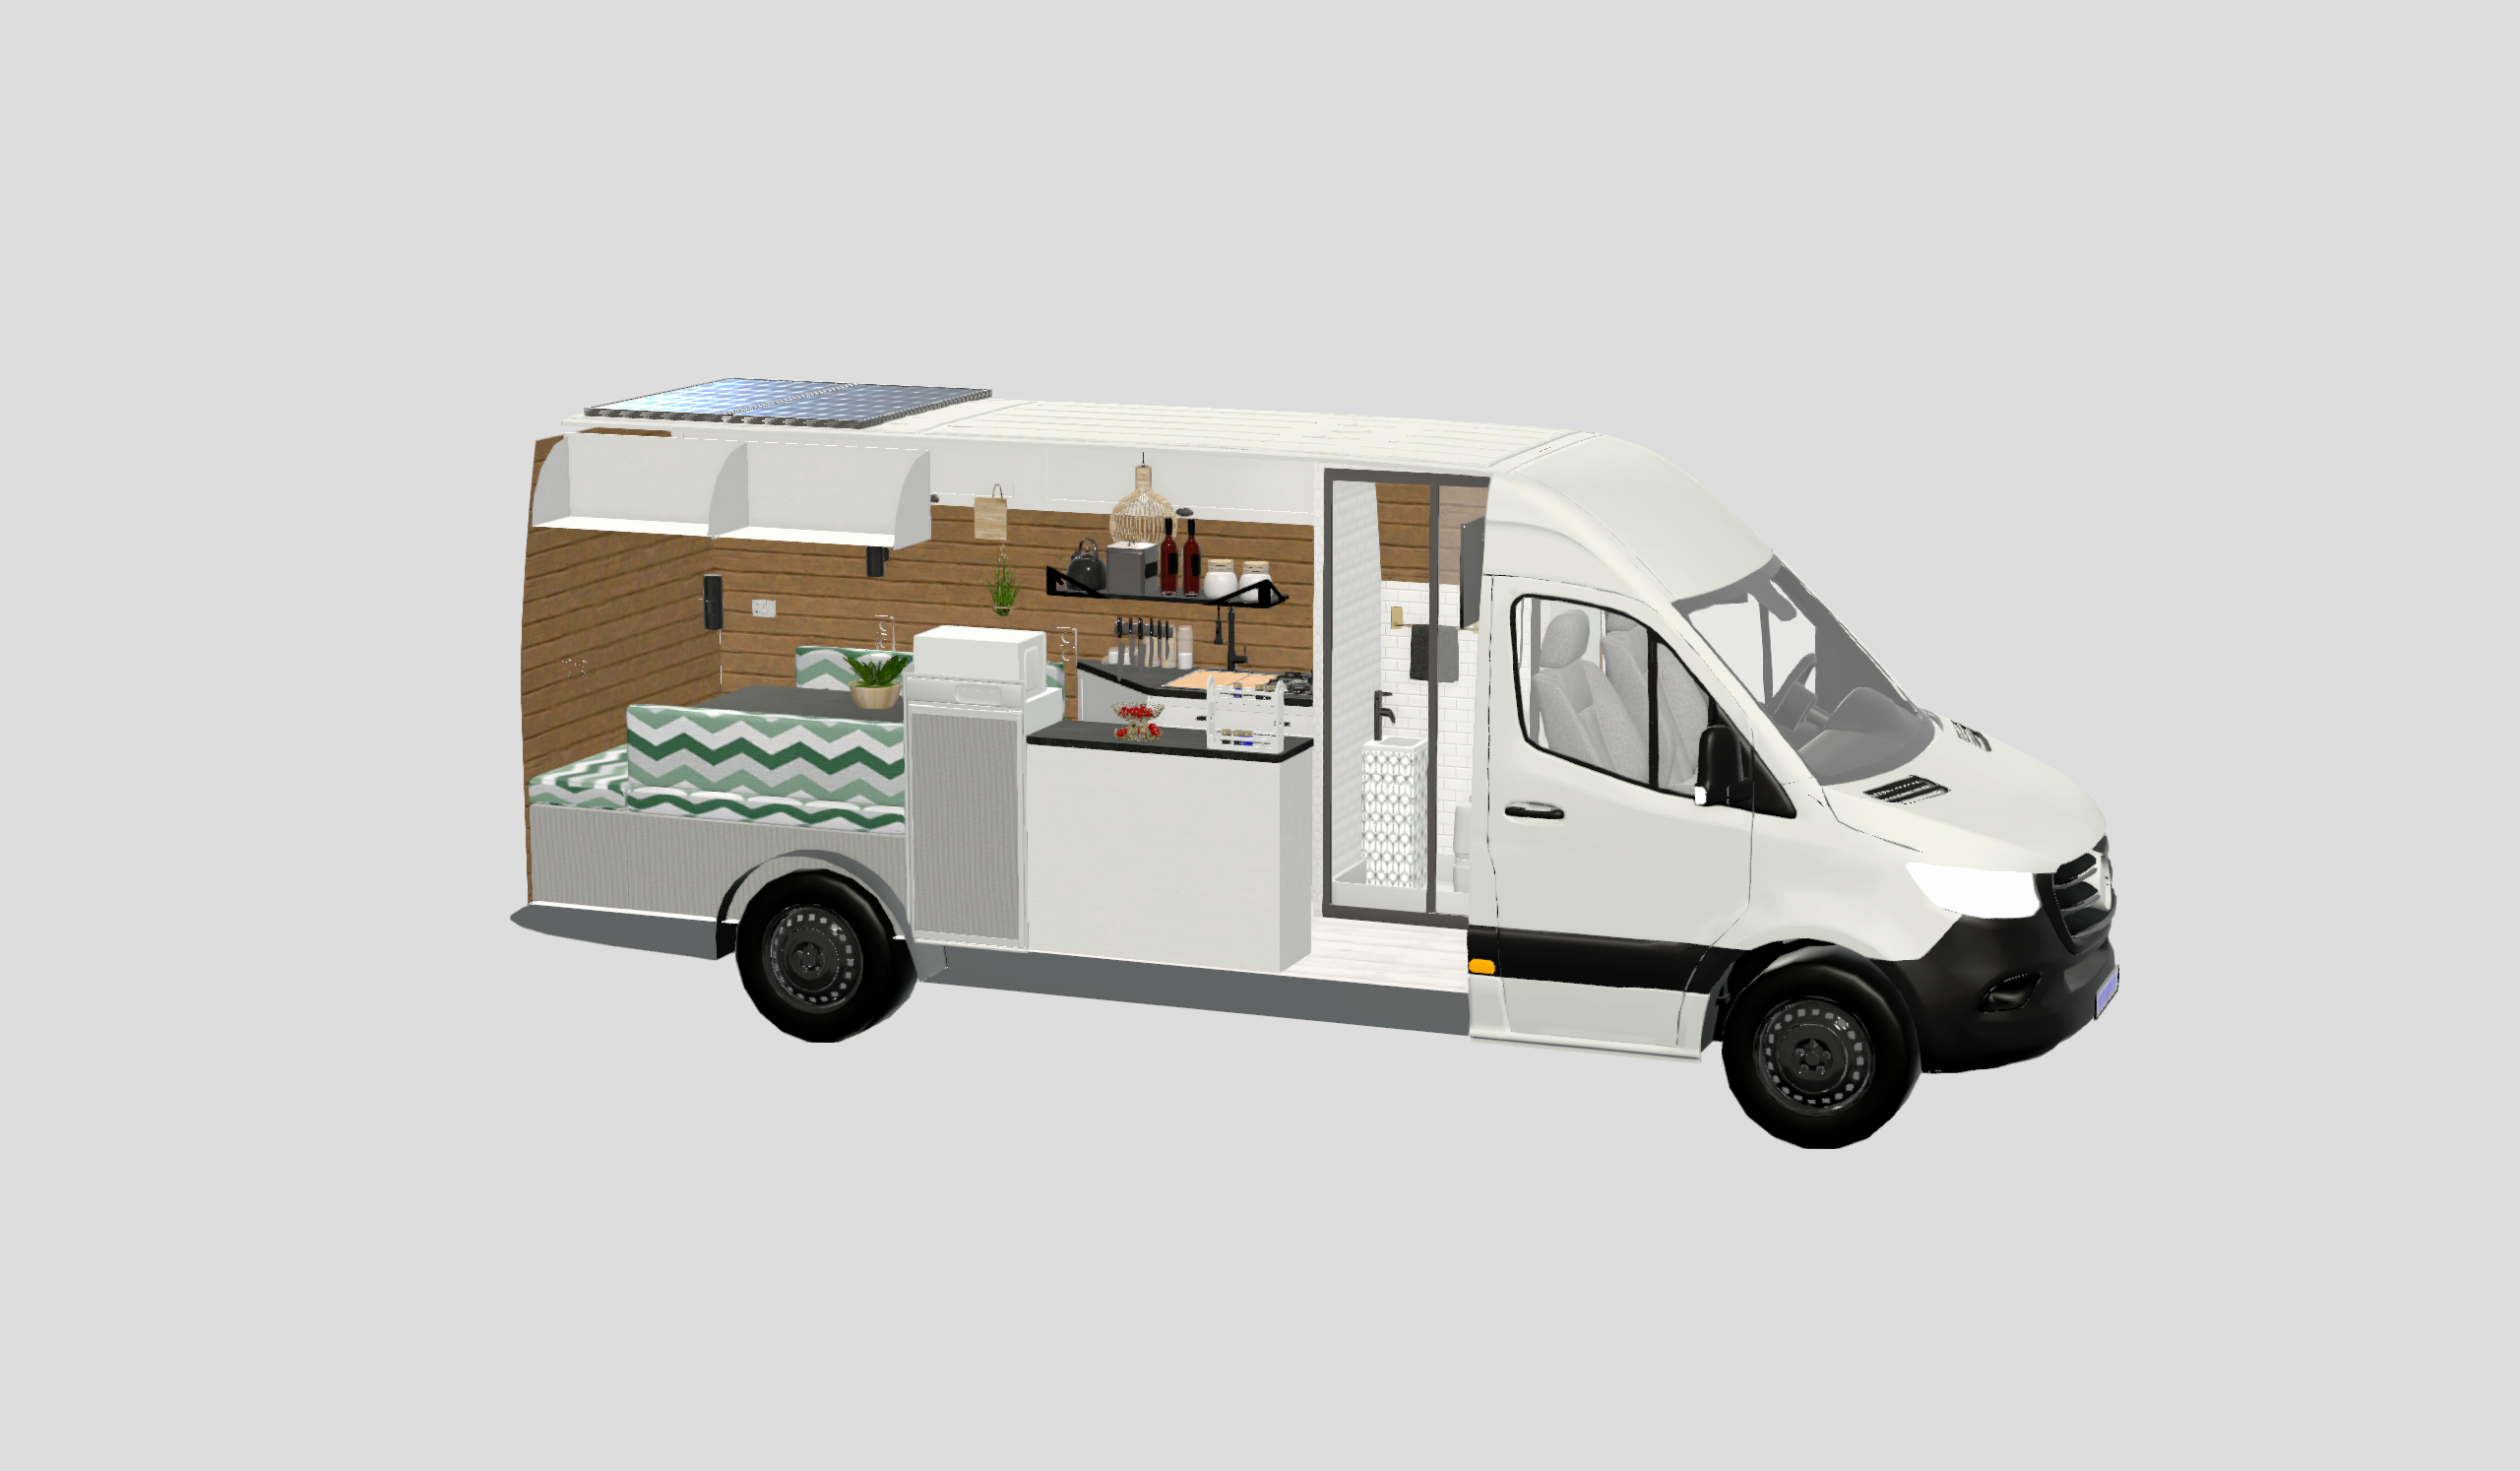
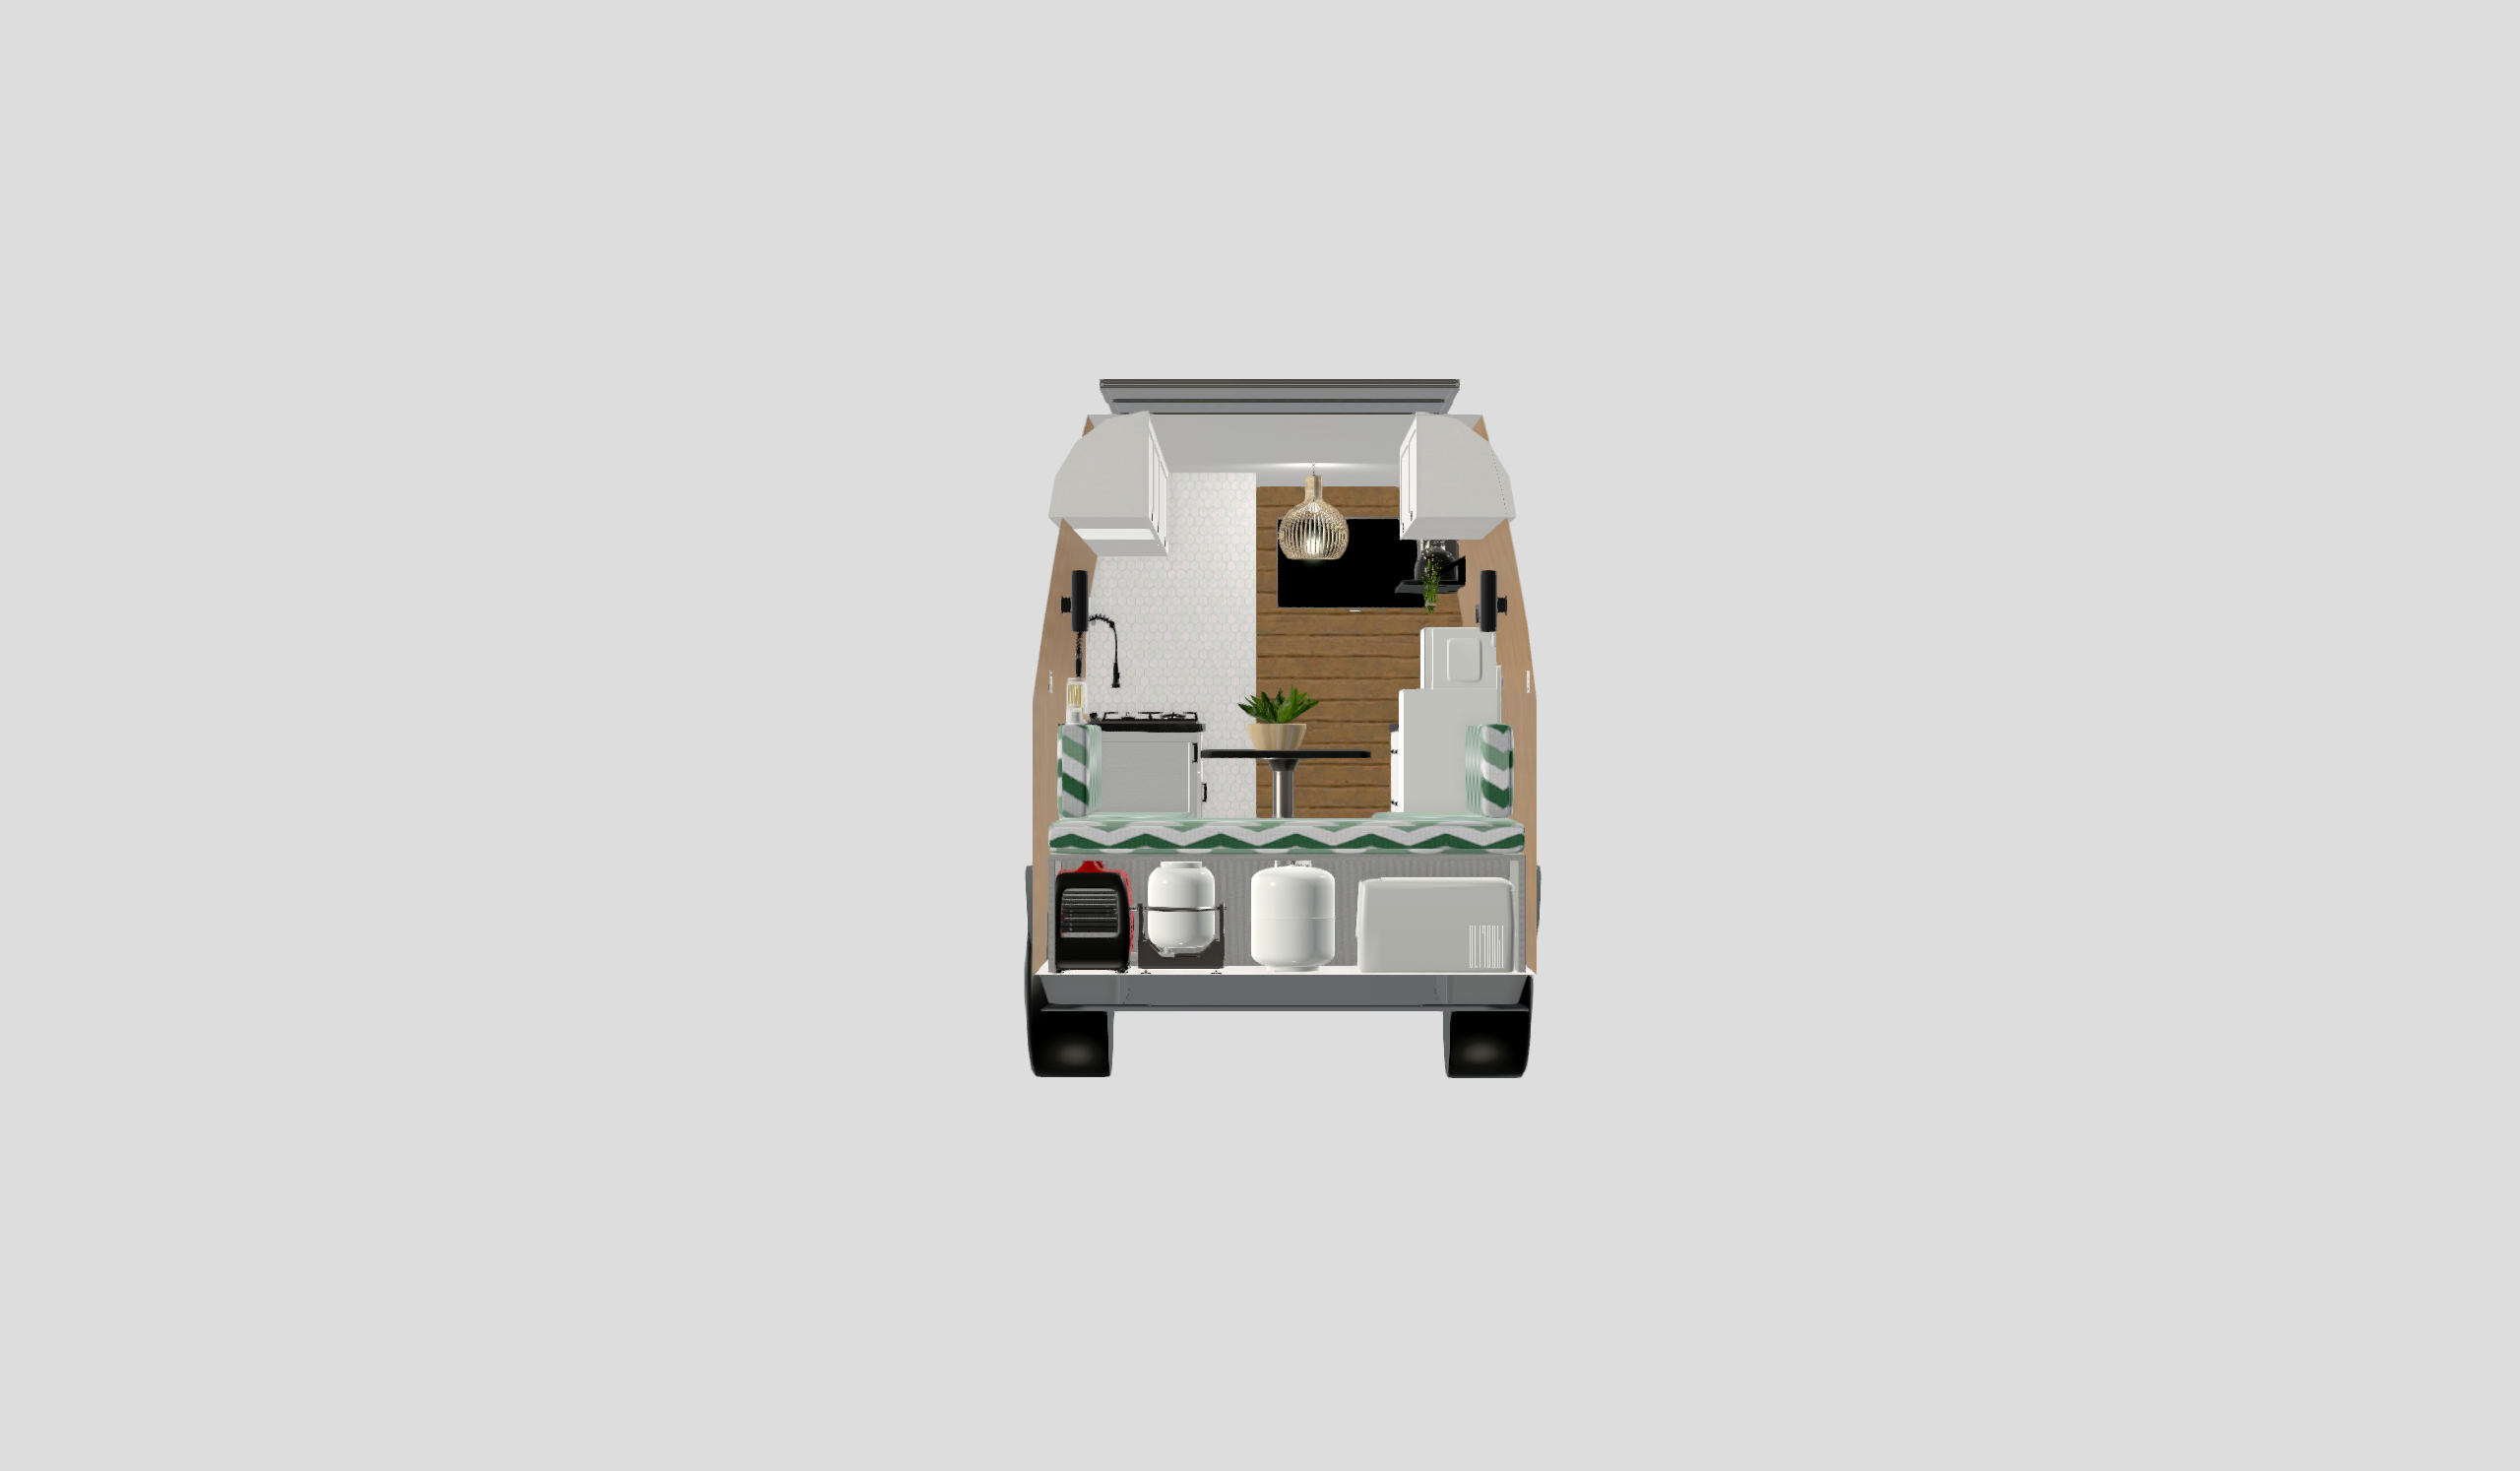
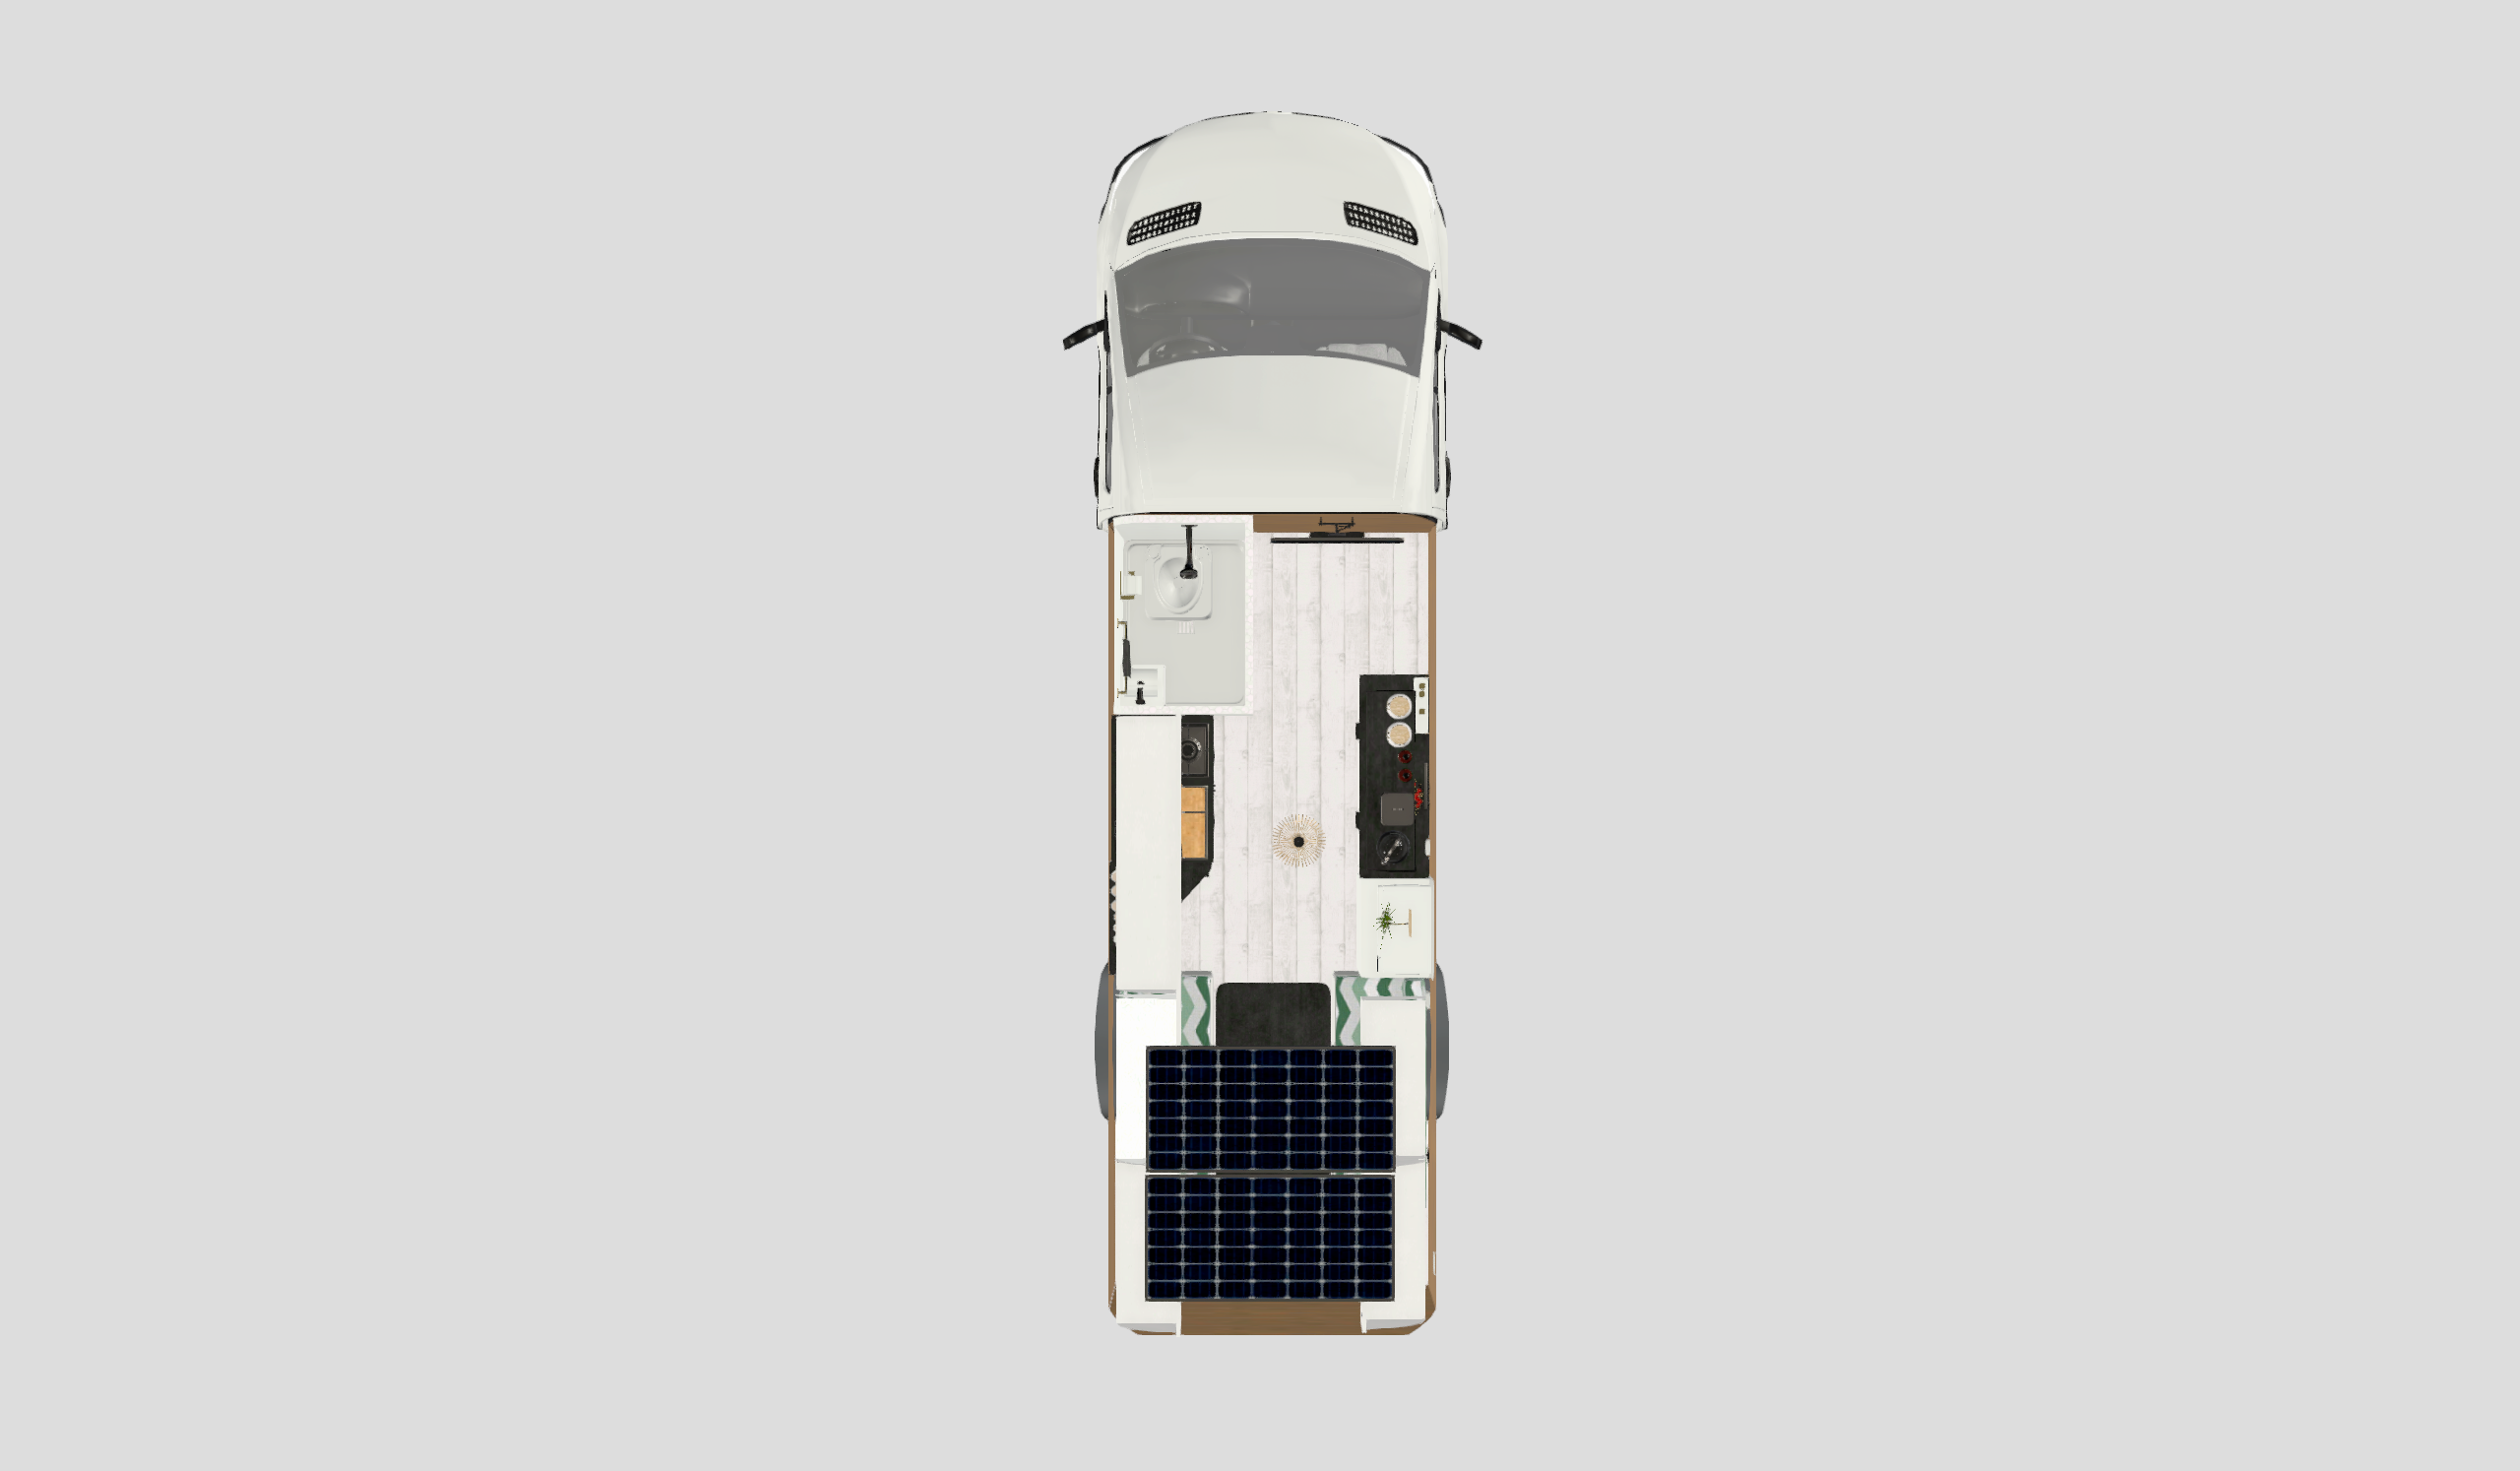
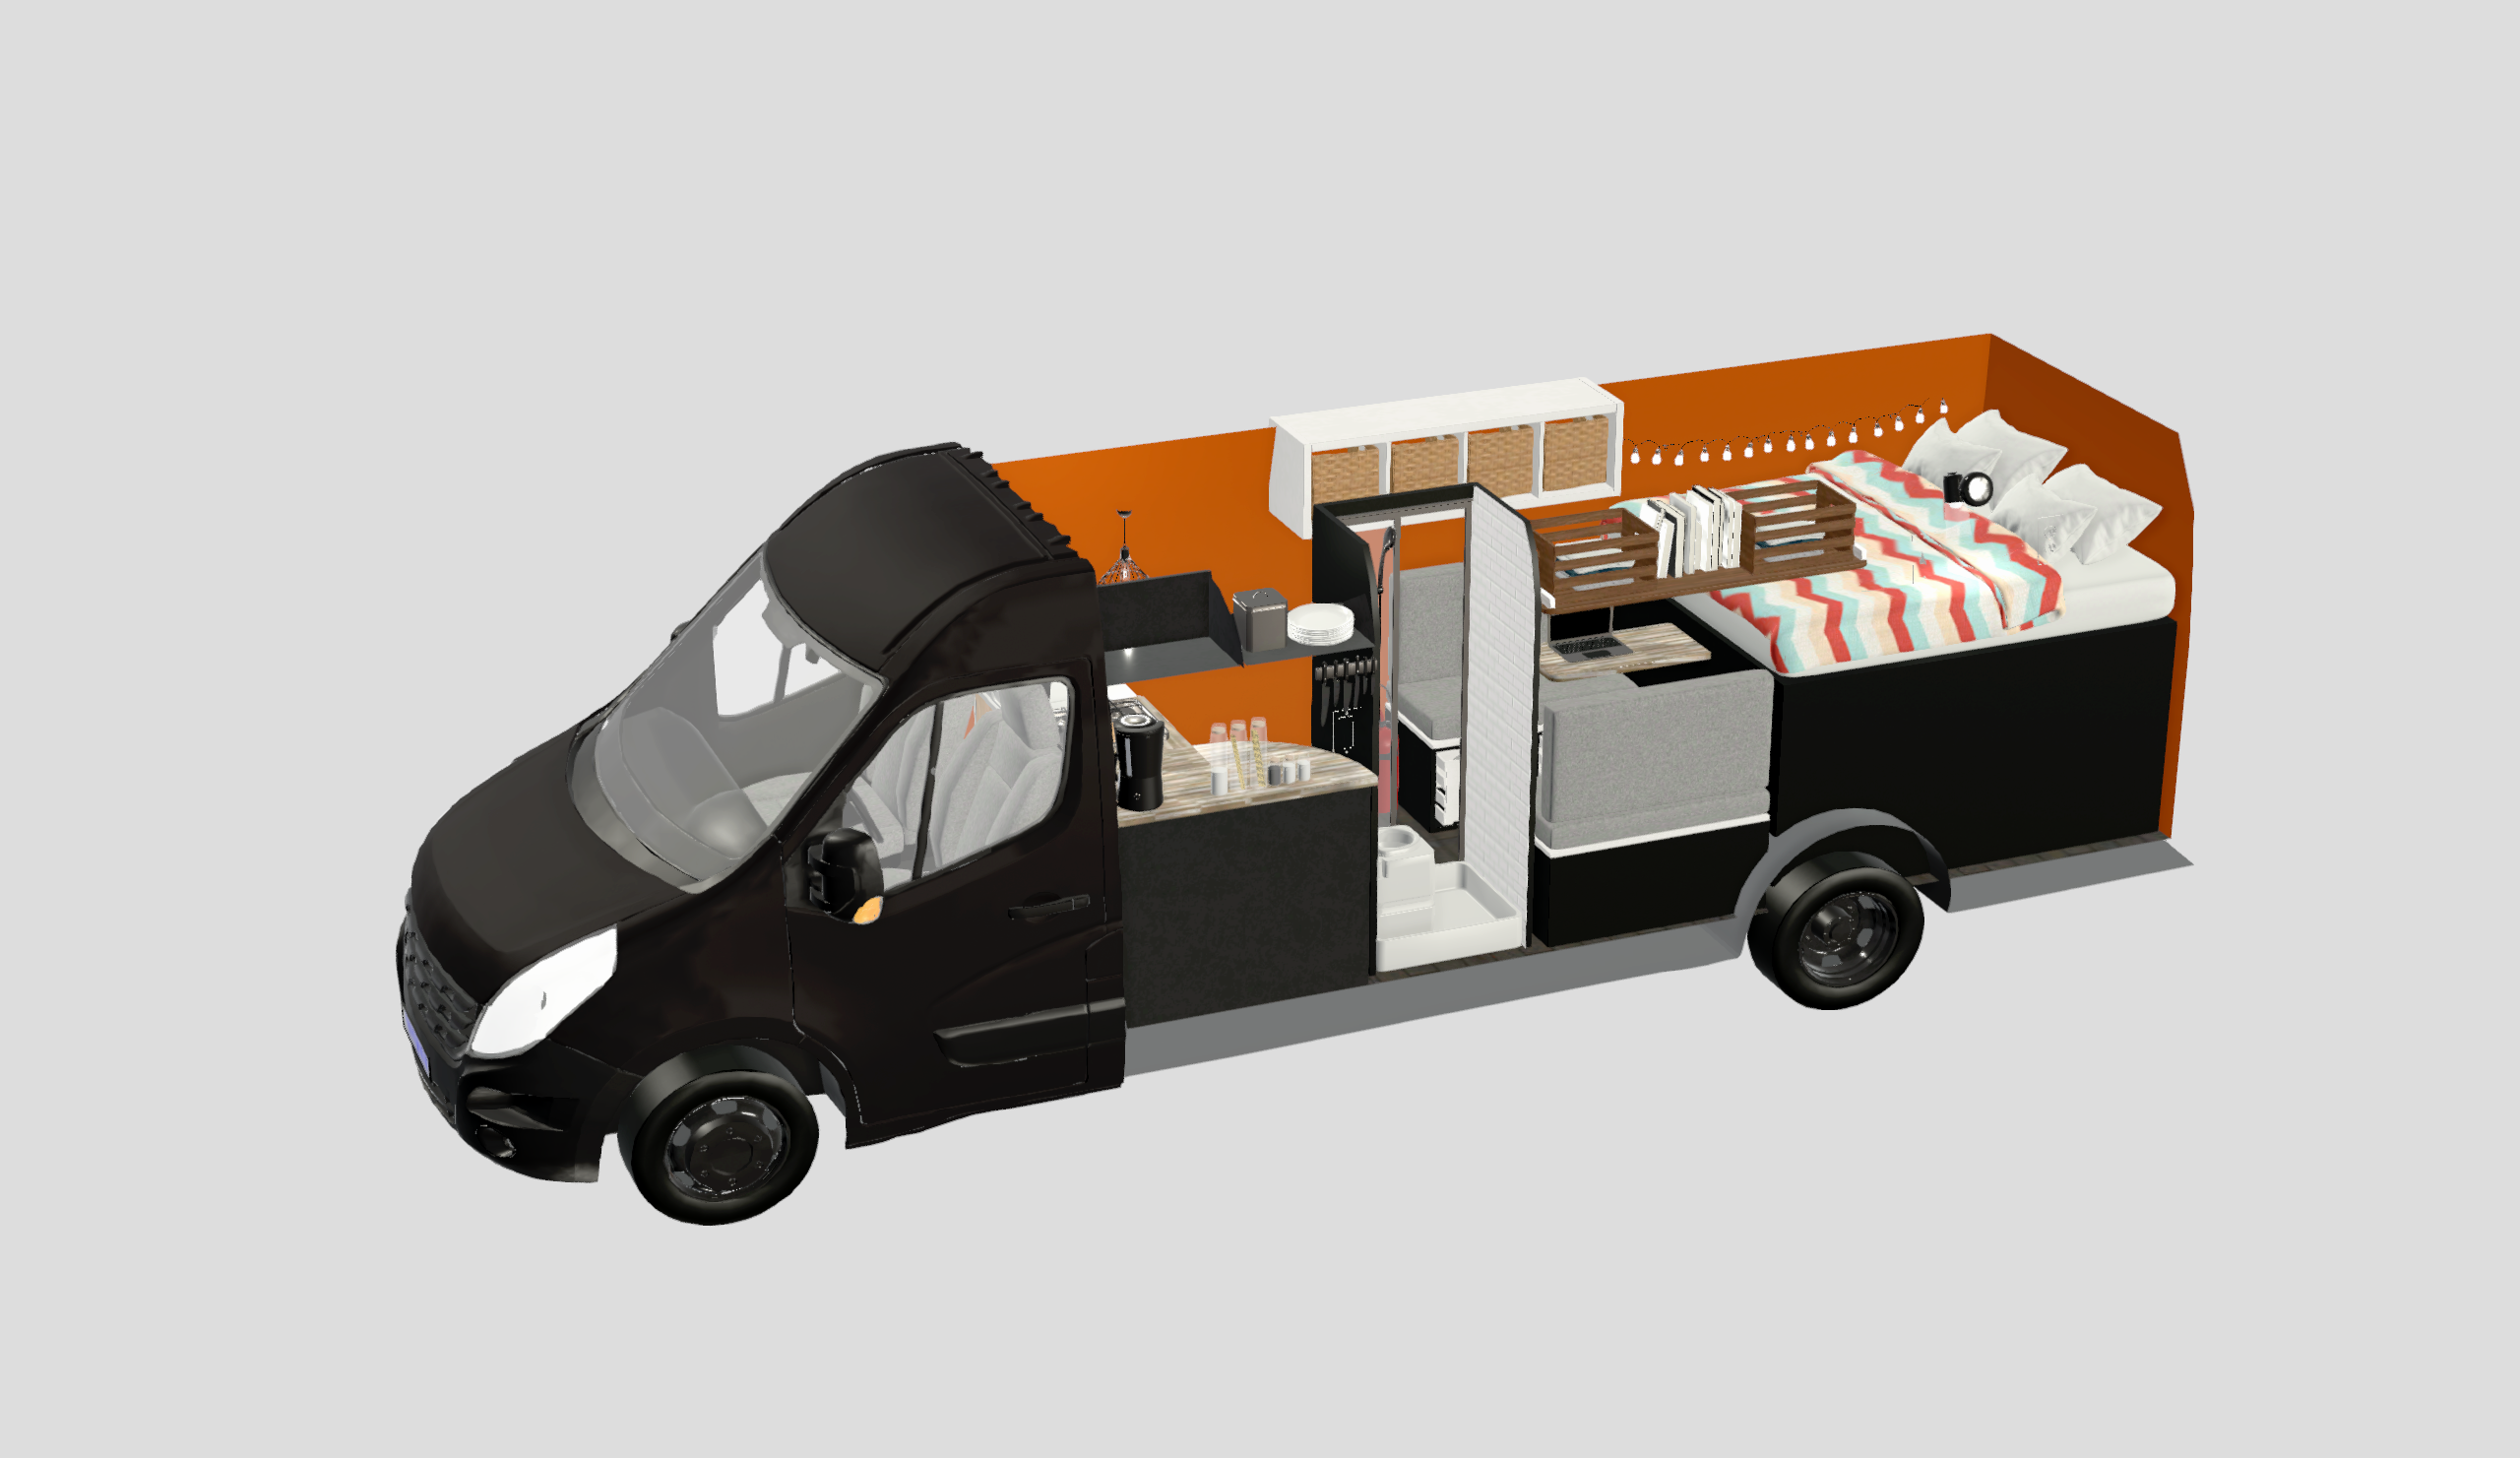
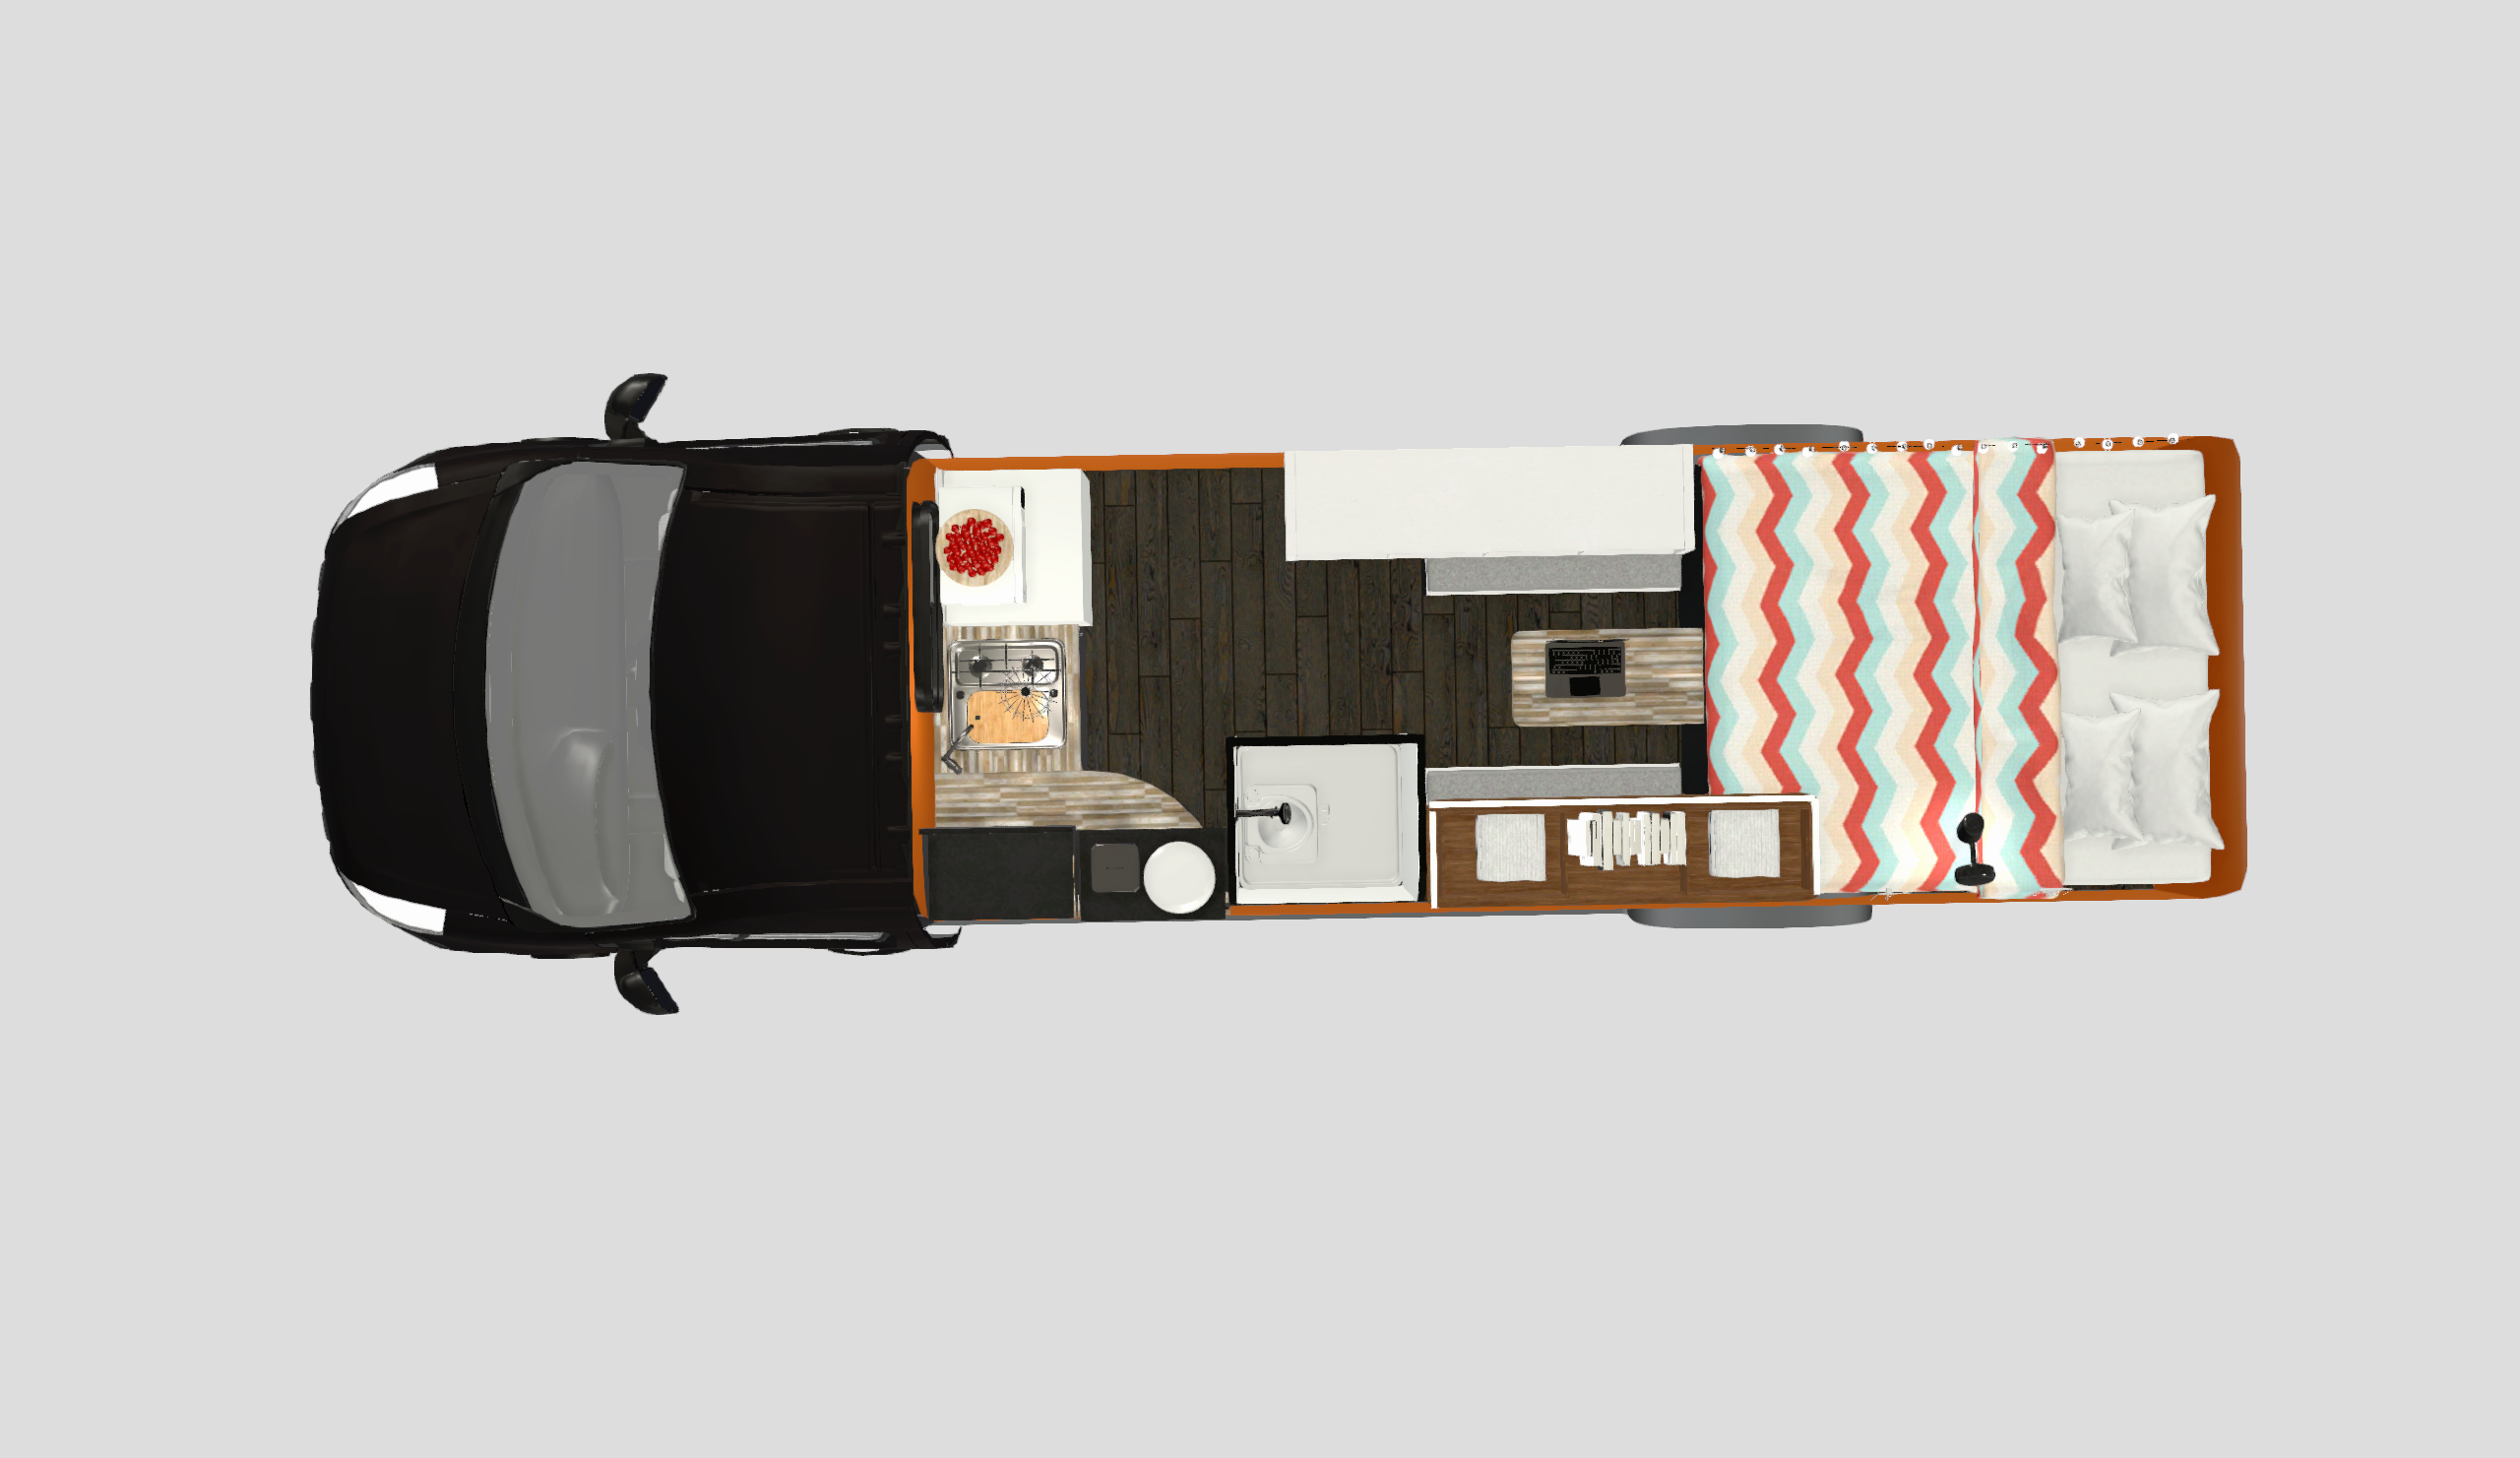
I purchased VanSpace 3D, a software specifically designed for van conversions to streamline the process. This decision allowed me to focus on the interior layouts rather than struggling with modelling from scratch. VanSpace 3D provided pre-made components, which helped me visualise and refine the designs more quickly. However, an unexpected issue arose—I discovered that the software does not allow for model exports, which I had planned to integrate into my augmented reality experience. This limitation forced me to reconsider how I would incorporate my models into the app, adding an extra layer of problem-solving to my workflow.

Despite these challenges, the experience has reinforced the importance of flexibility and adaptability in project management. While my initial time estimates did not account for these setbacks, I adjusted my approach to keep the project moving. I will continue exploring ways to use the VanSpace 3D models effectively, whether through high-quality renders, interactive walkthroughs, or alternative modelling techniques.


Progress Meeting Reflection

Regularly presenting my work to both Yang and Rob has been an essential part of refining my project. Their feedback has helped me identify key areas for improvement and ensure that my designs meet a high standard.

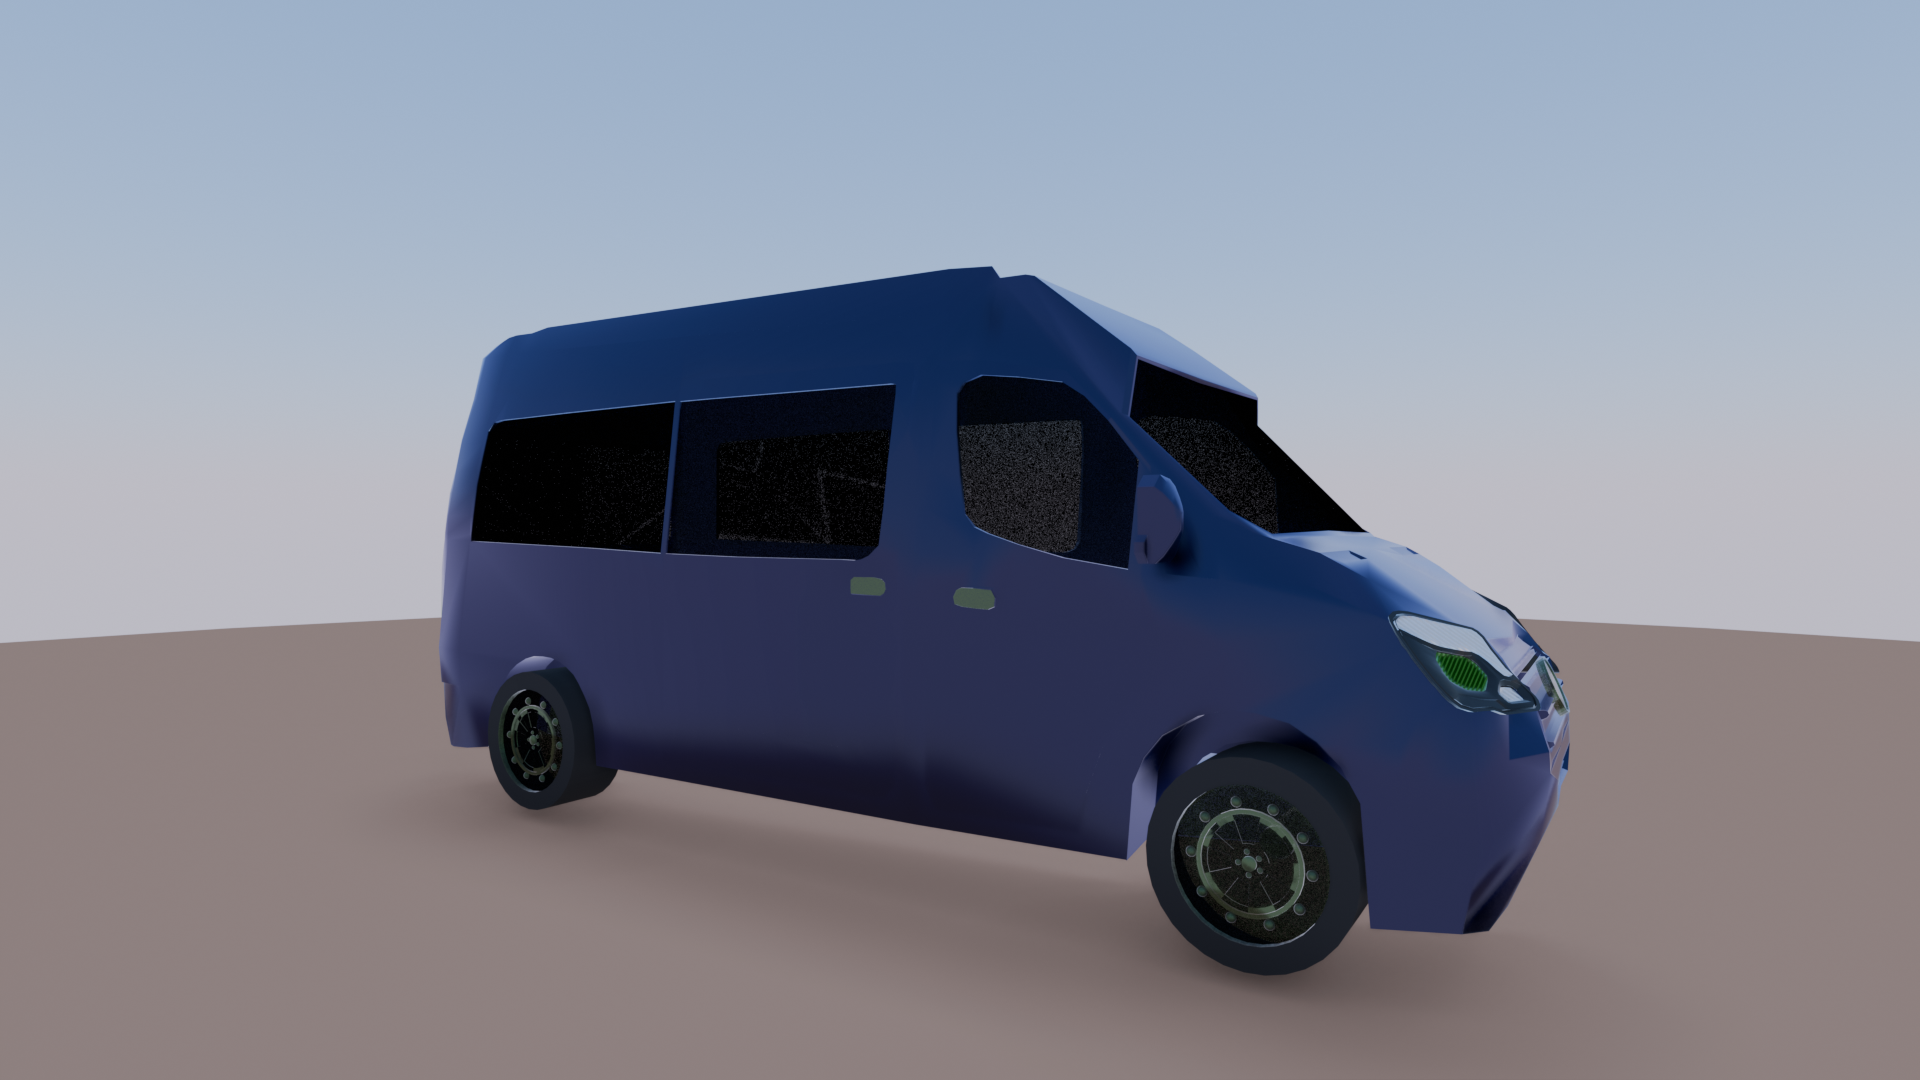
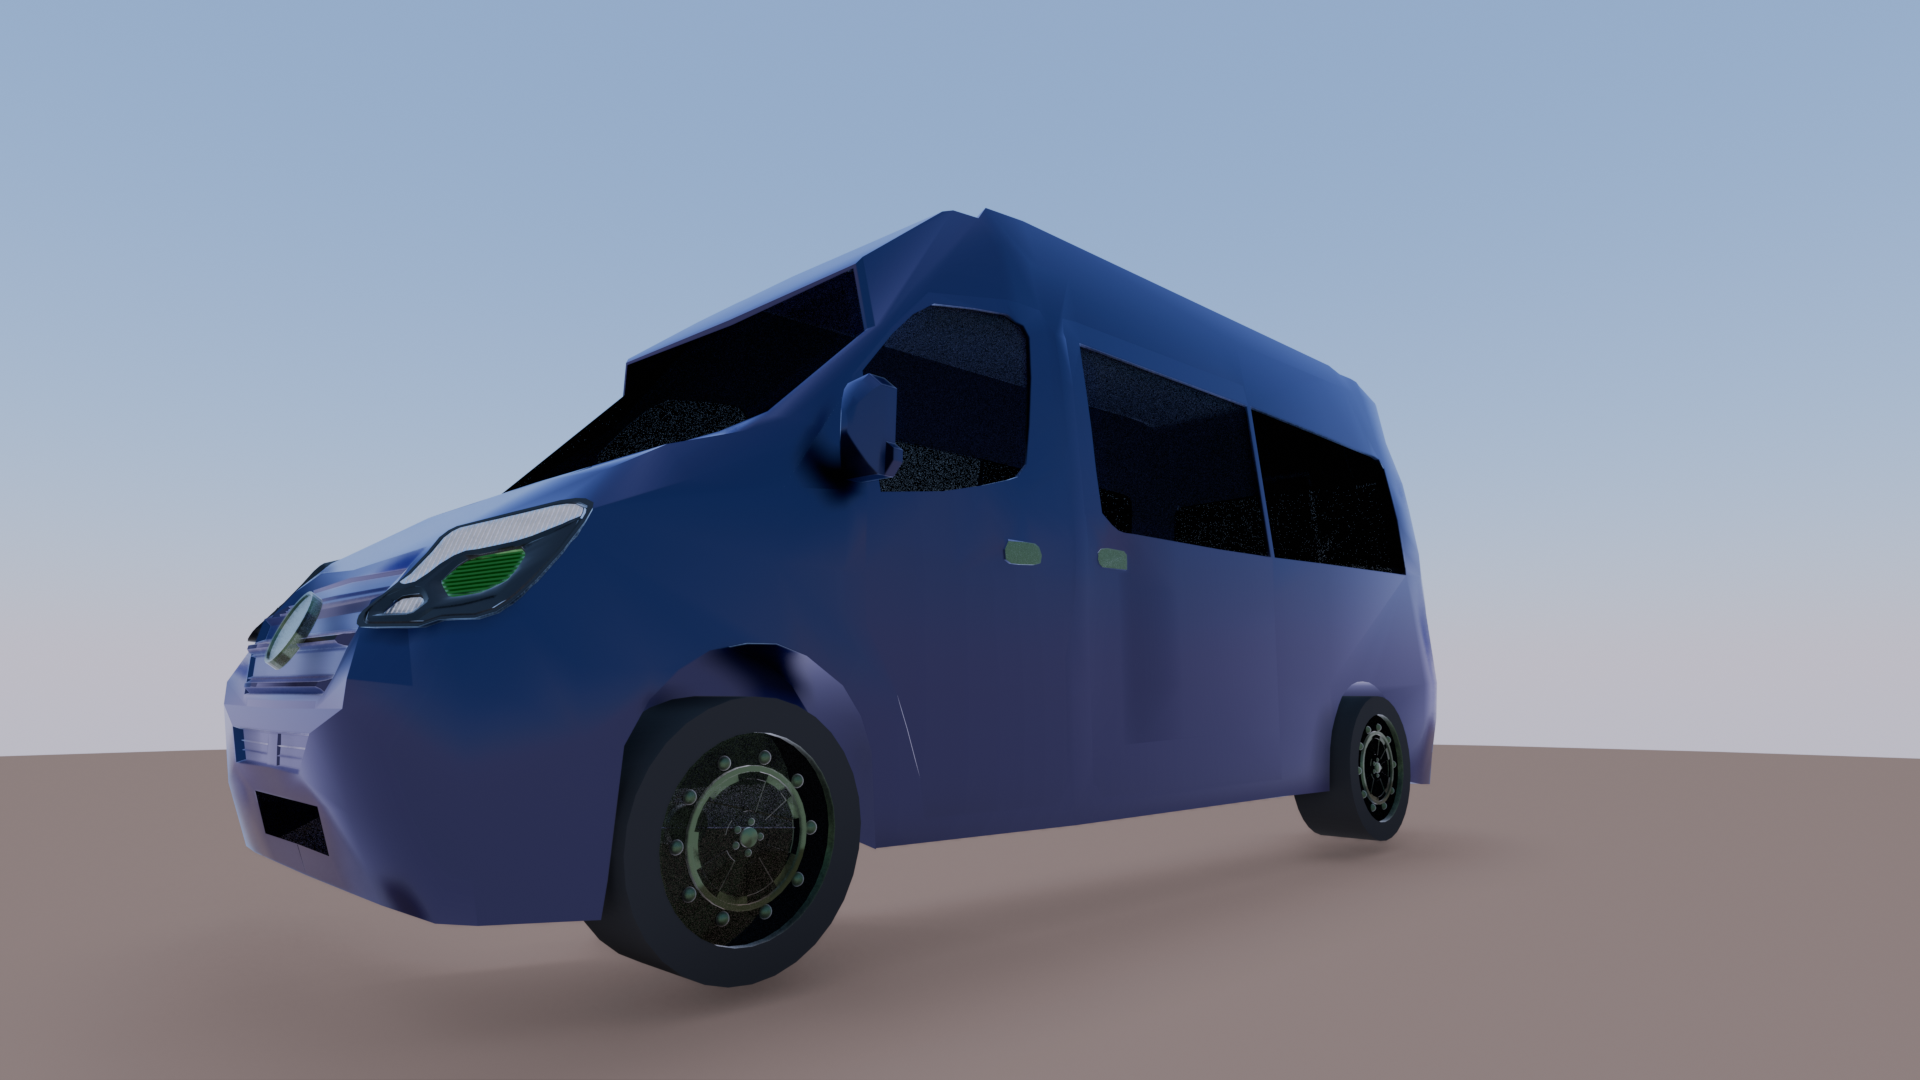
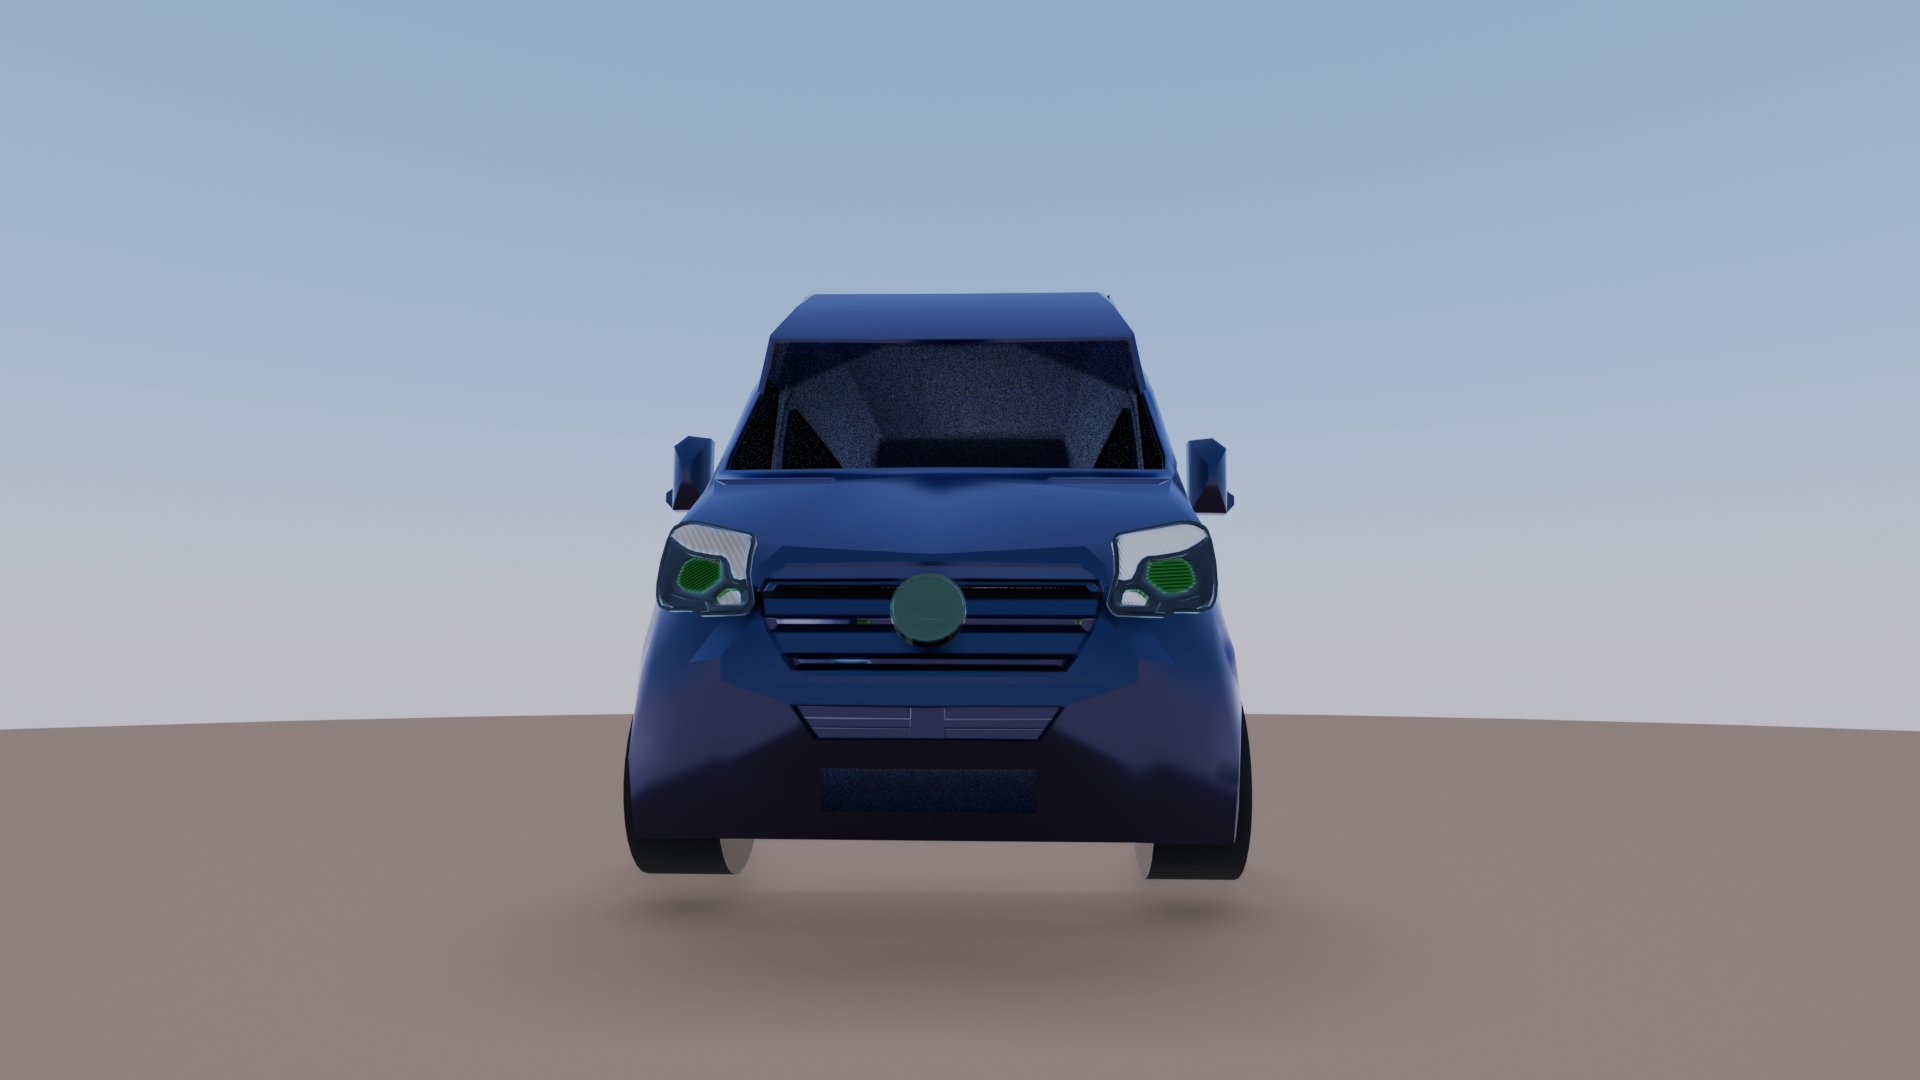
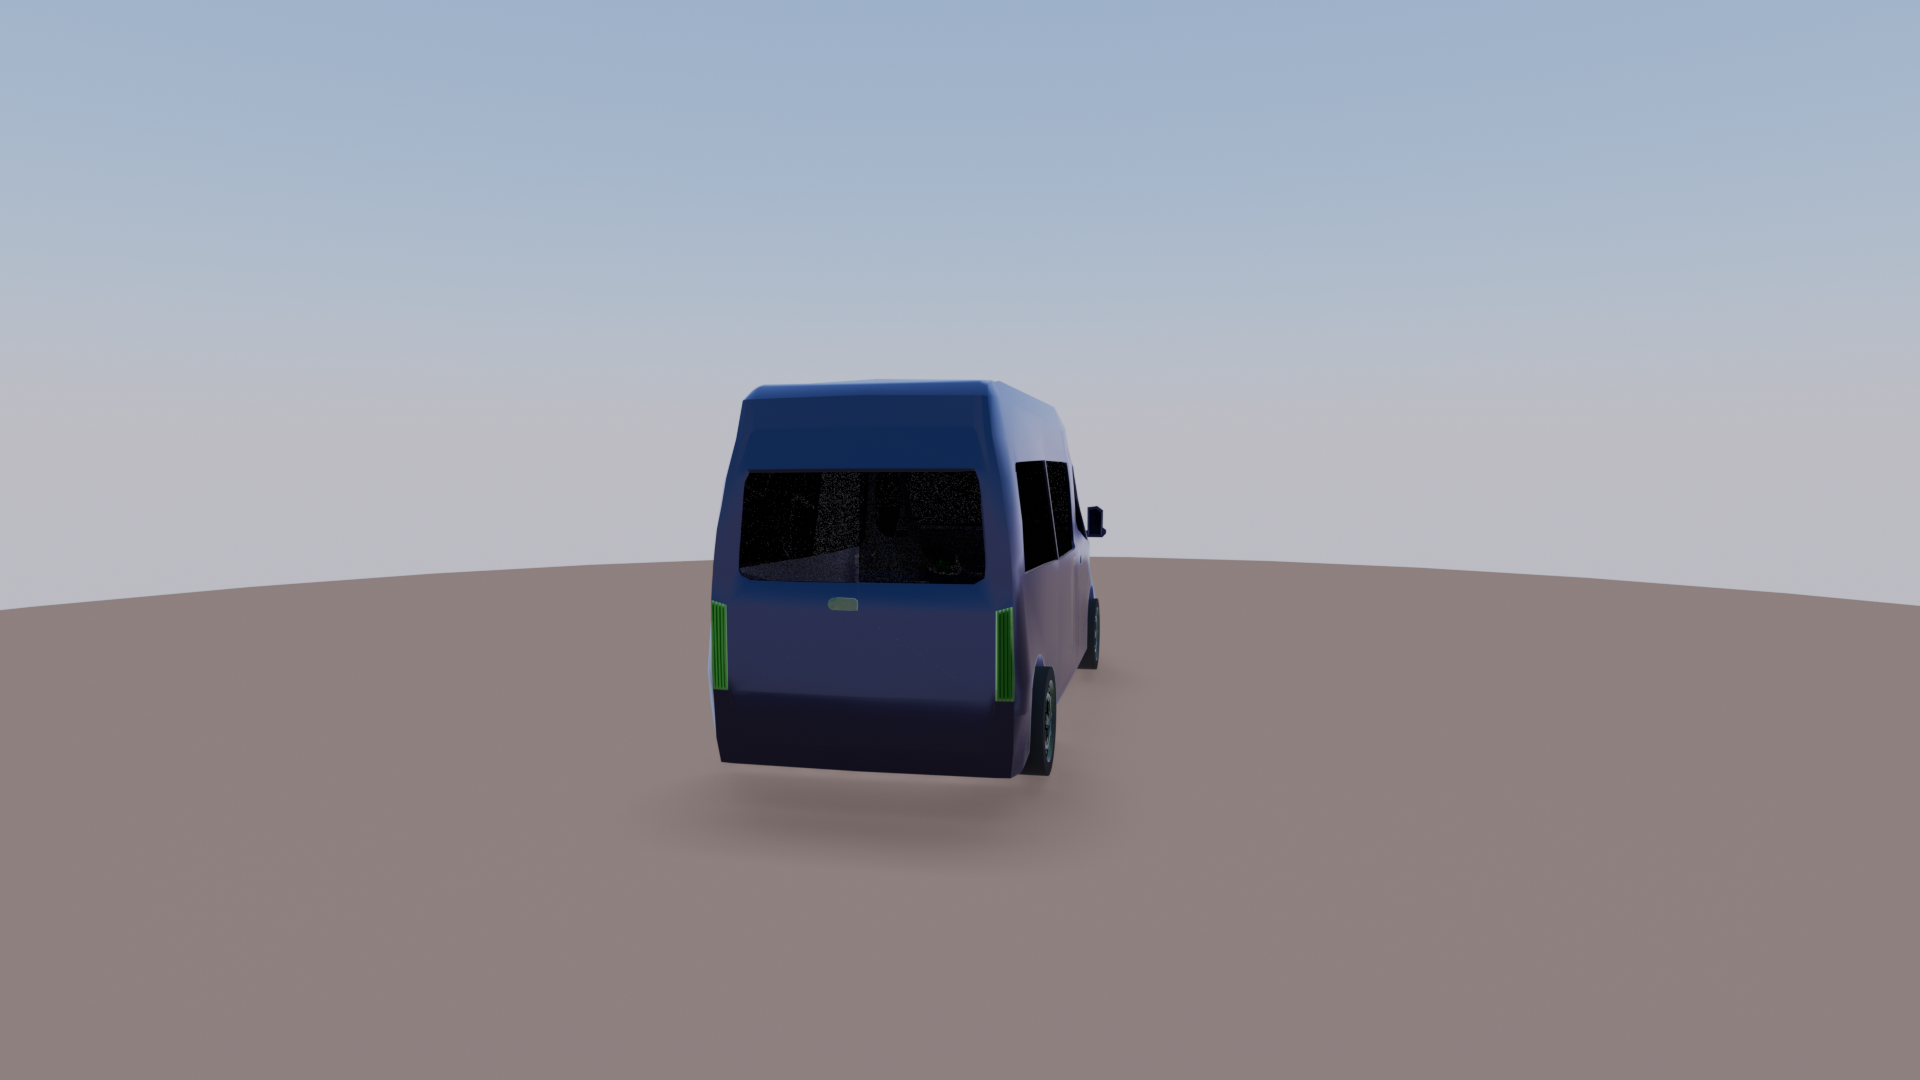
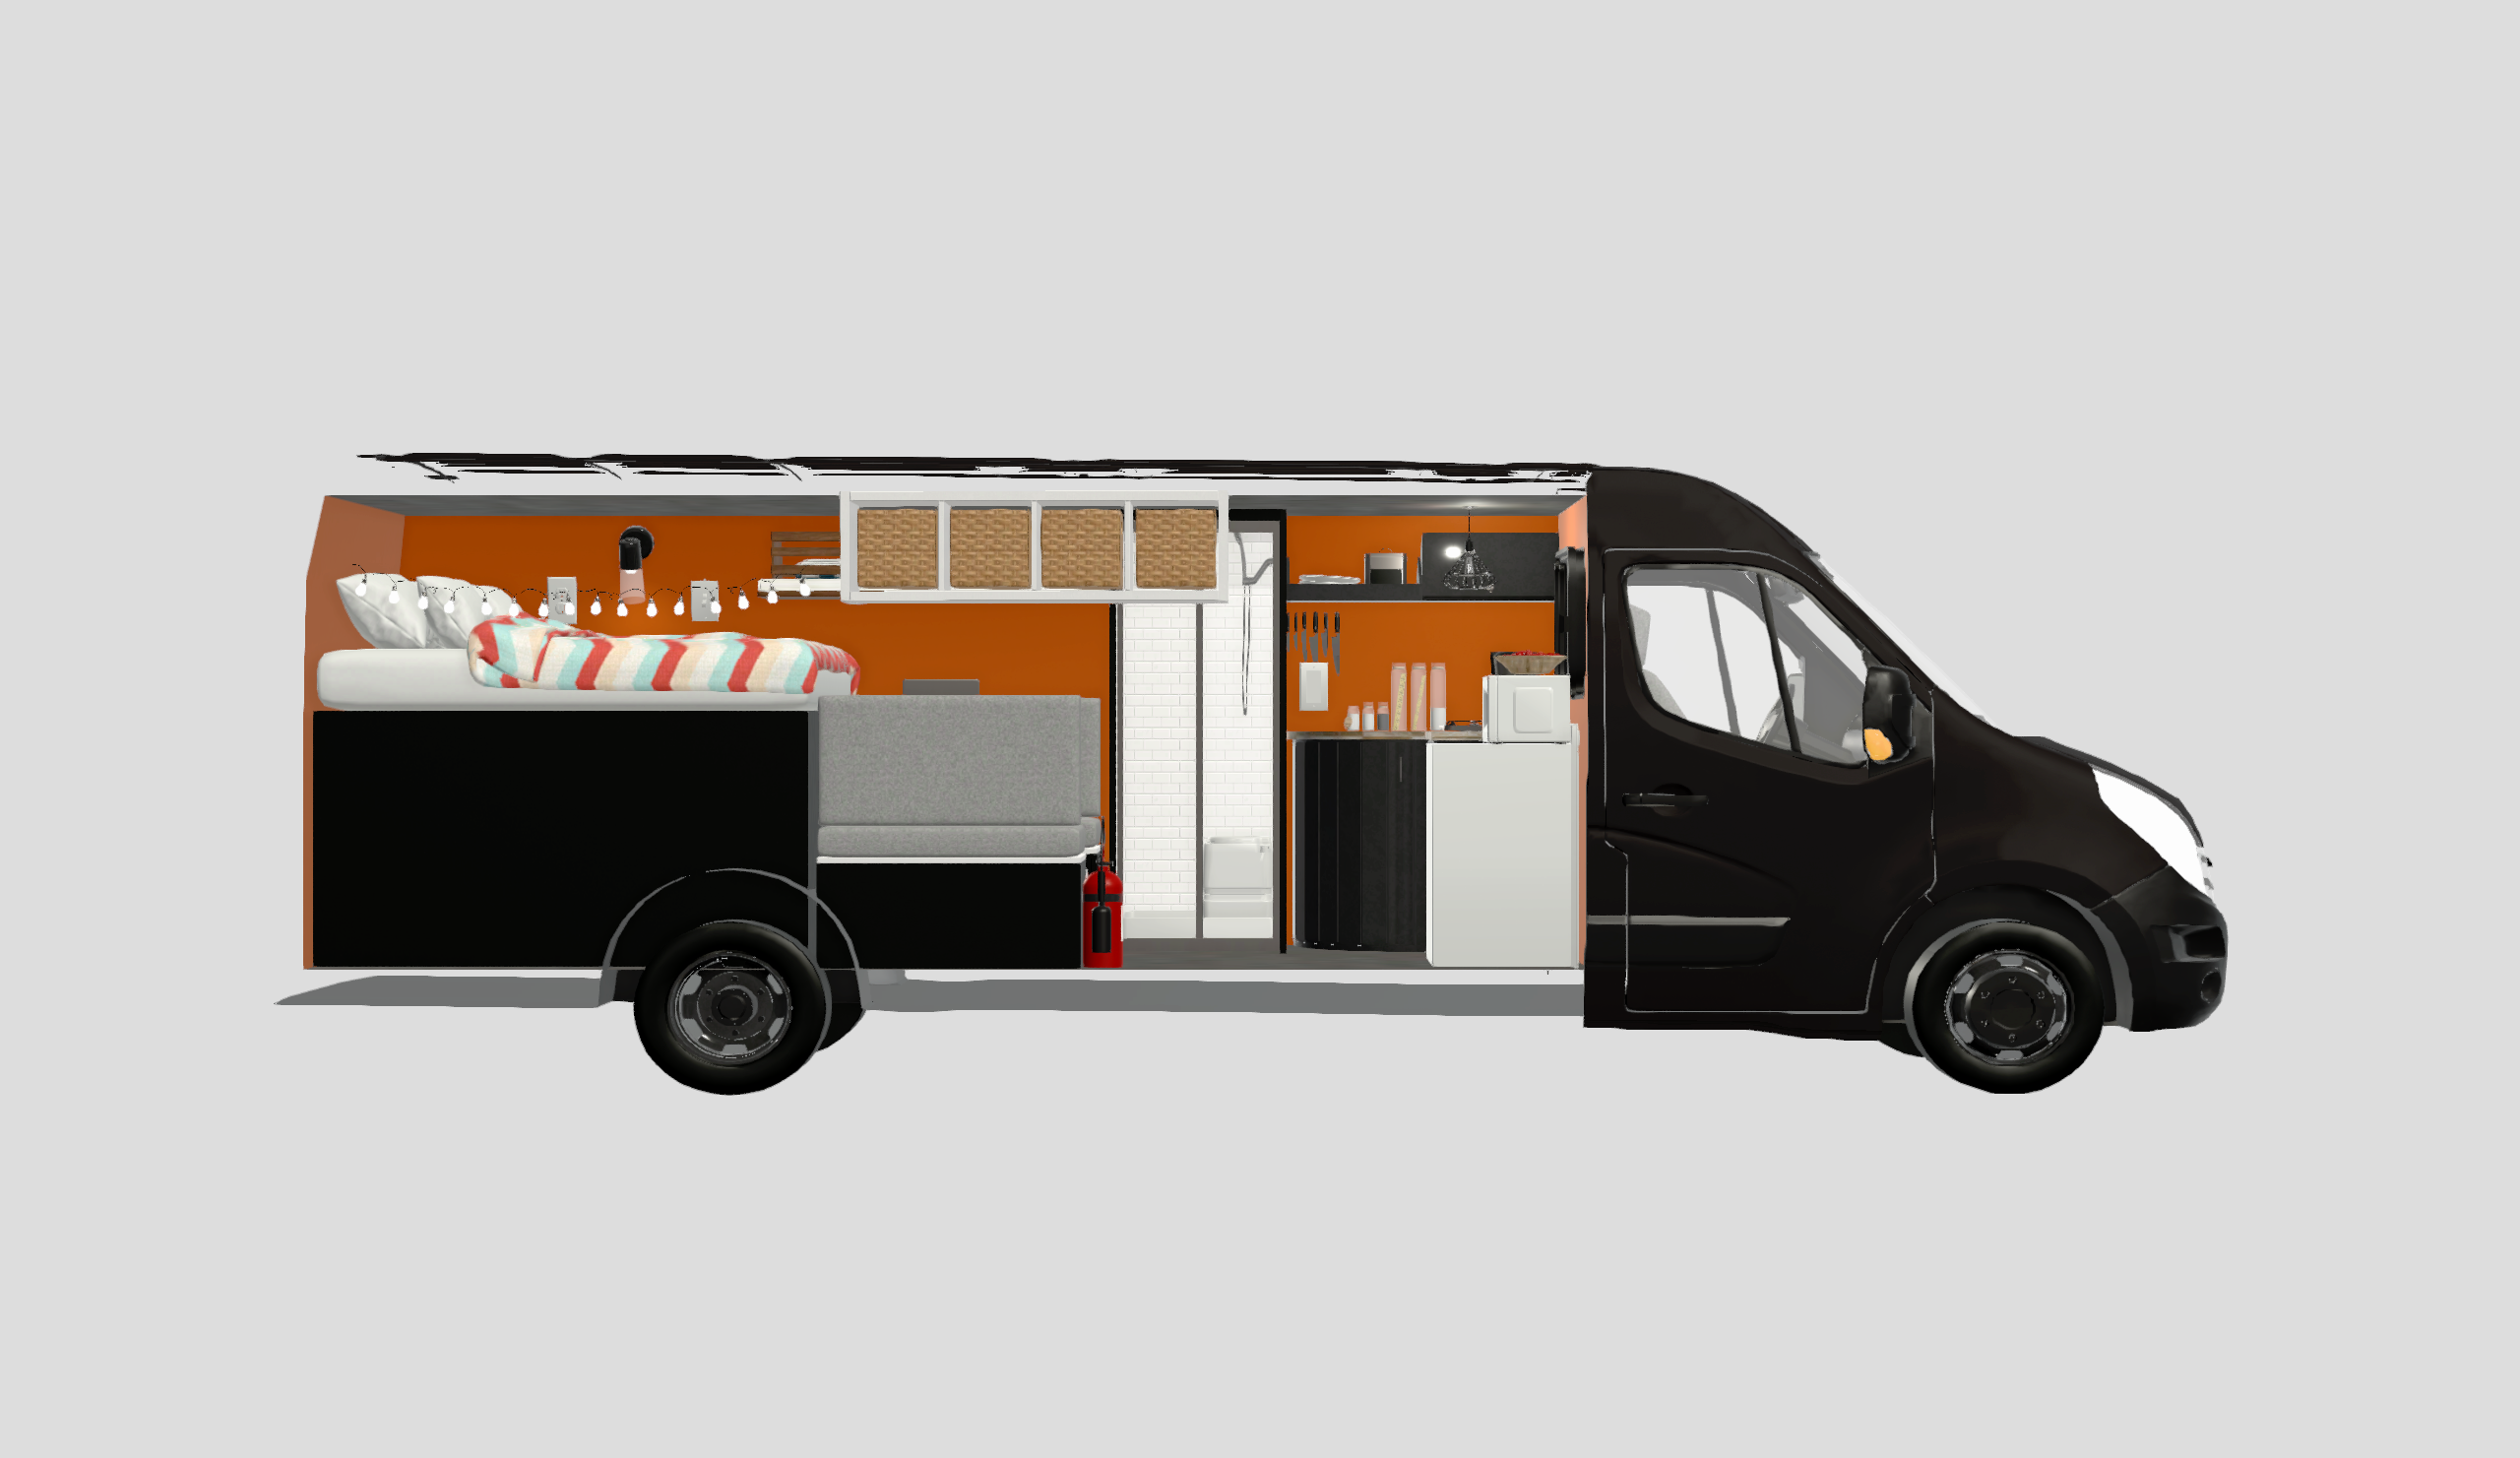
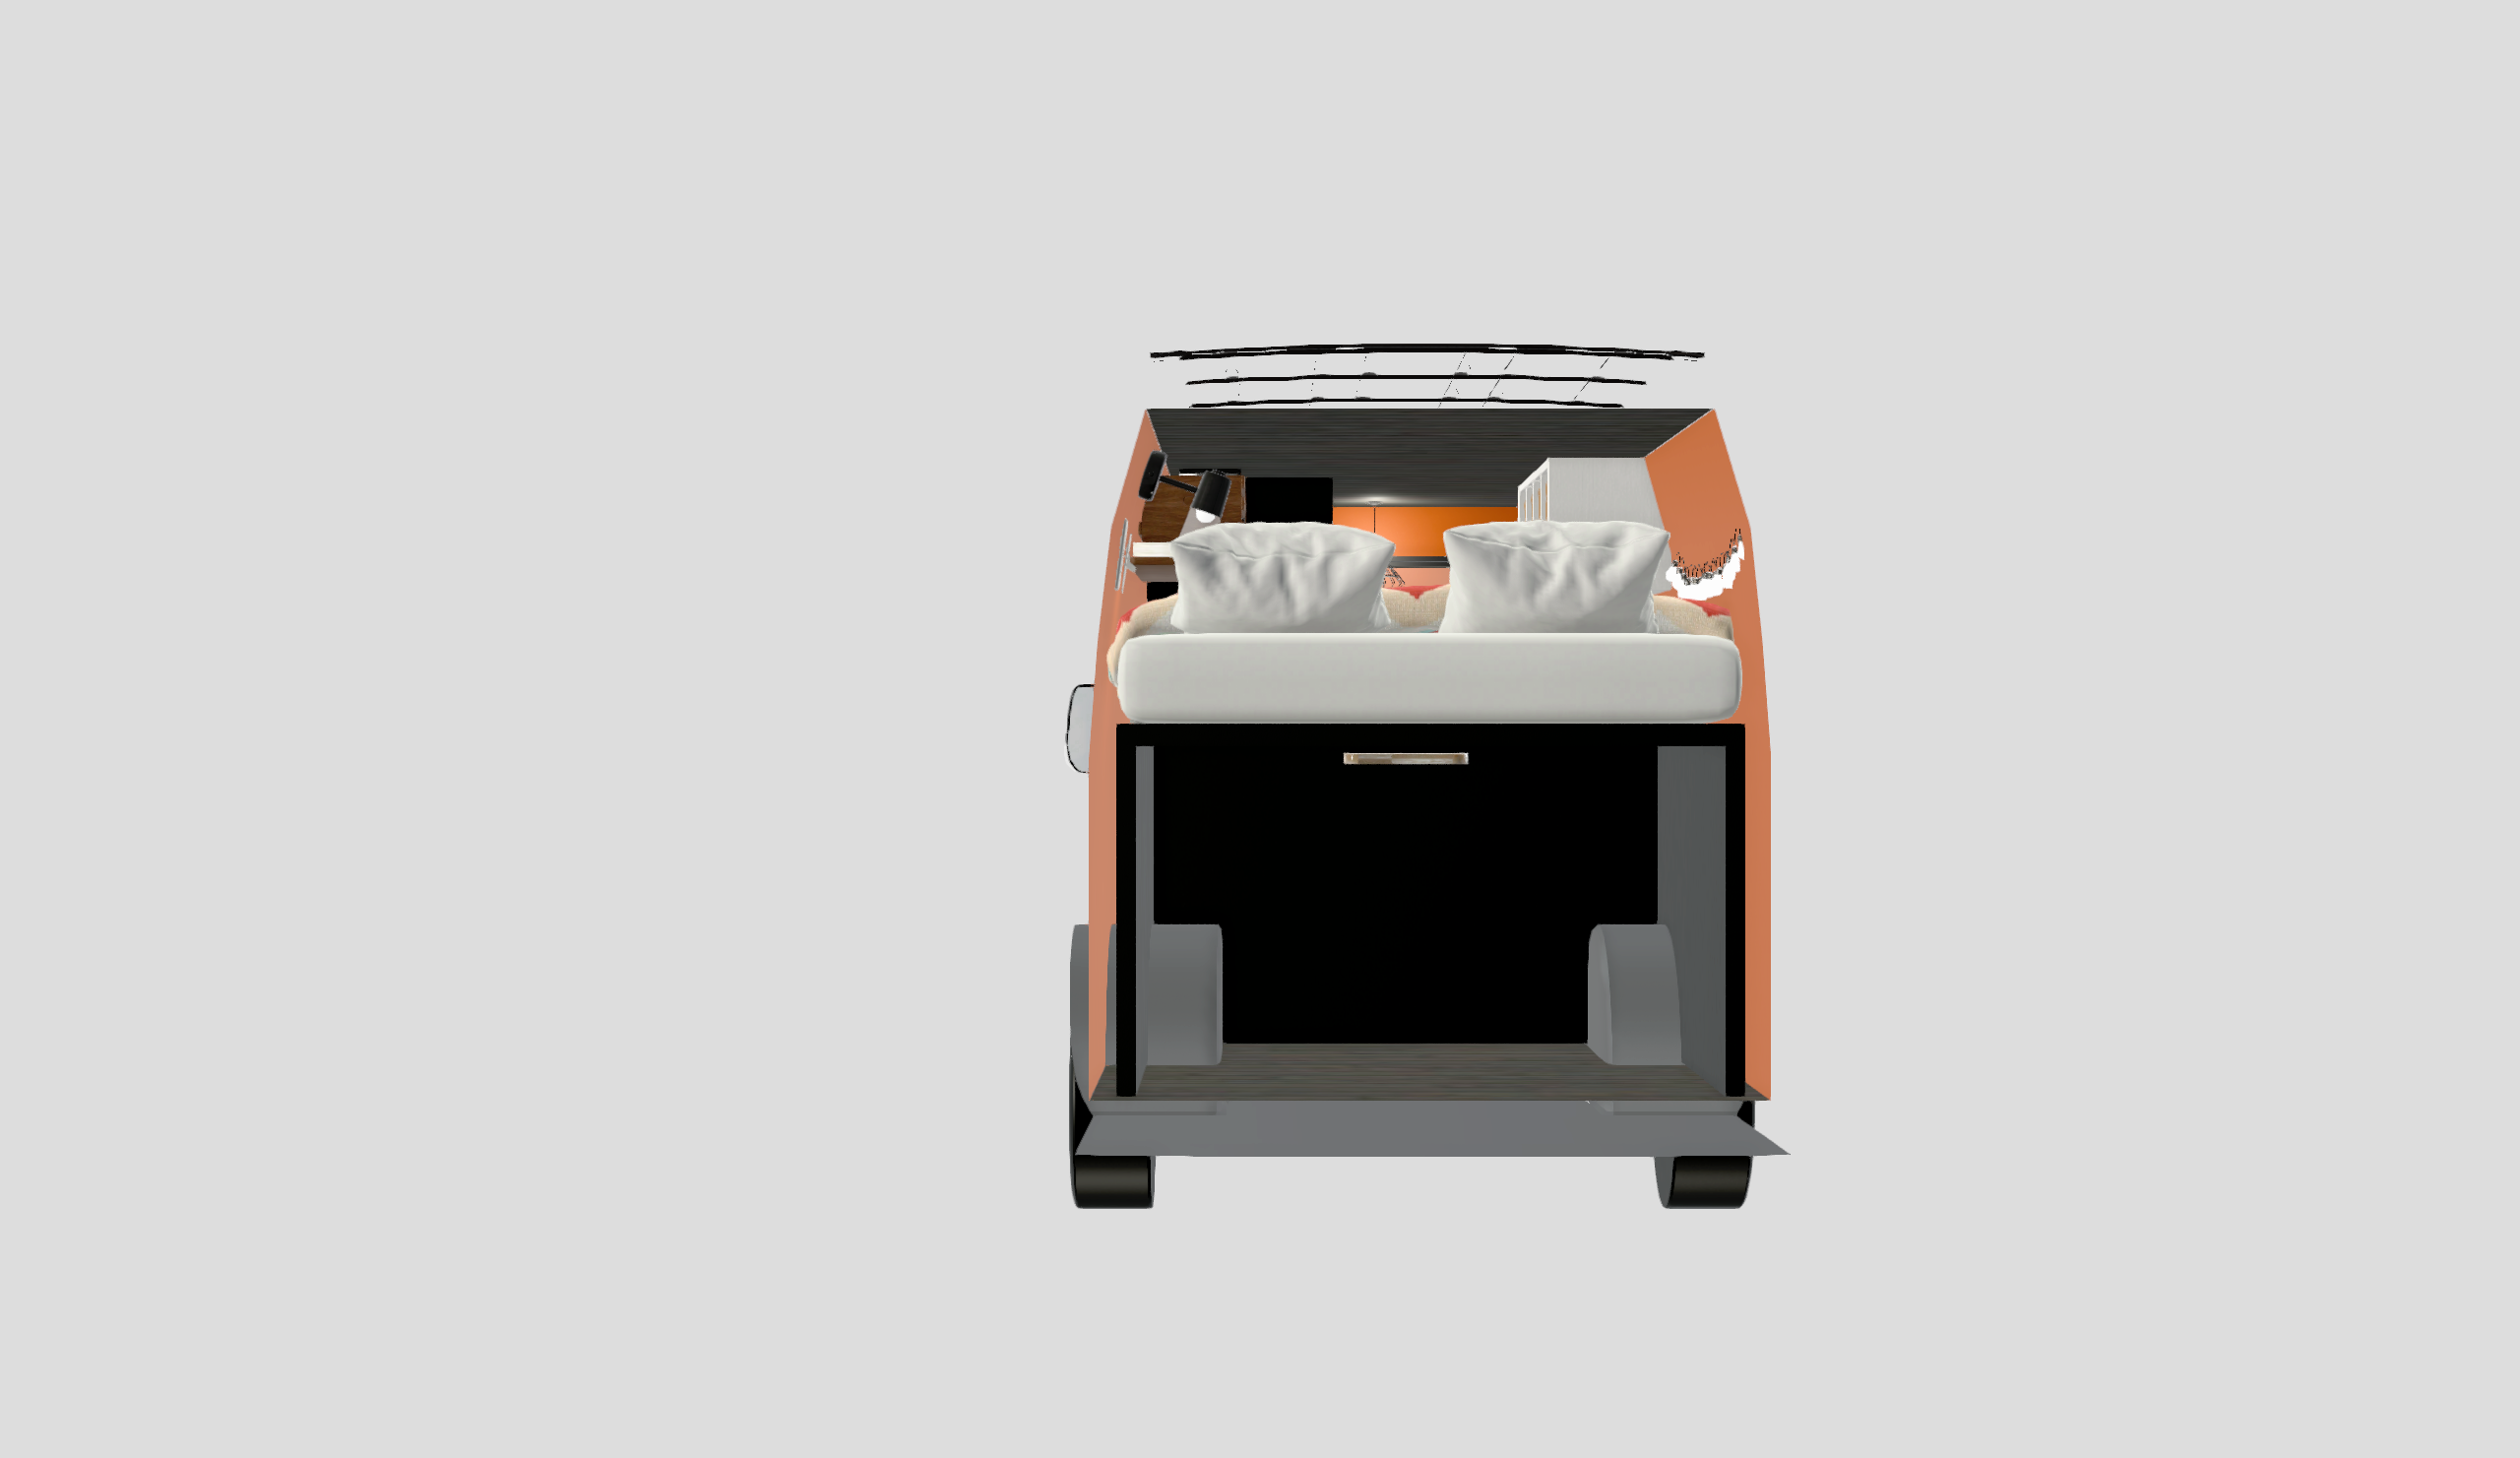
Recently, Yang provided valuable insights regarding my 3D model, pointing out the need for re-topology to enhance the overall quality. She noted that the current rendering results show noticeable artifacts, which could impact the final visual output. To address this, she recommended ensuring that each individual polygon mesh contains fewer than four vertices, as this approach helps improve topology and resolves rendering issues.

Additionally, Yang emphasized that while topology plays a crucial role, understanding the texturing and rendering process is equally important. She suggested exploring additional resources on YouTube to deepen my knowledge in these areas. Moving forward, I plan to apply these recommendations to refine my 3D model, ensuring a smoother and more professional result.

Reference list:

Coastalvanspares.co.uk. (2015). HEADLIGHT MERCEDES SPRINTER 06> 906 LEFT 10-PIN 13>. [online] Available at: https://coastalvanspares.co.uk/headlight-mercedes-sprinter-06-906-left-10-pin-13.html?msclkid=f80a82bcb5801f6e60c7e532d54621ae [Accessed 03 Jan. 2025].

Denis-Pavlov-Music (2024). Relaxing Soft Warm Jazz Piano Bossa Nova Podcast Music | Royalty-free Music. [online] Pixabay.com. Available at: https://pixabay.com/music/smooth-jazz-relaxing-soft-warm-jazz-piano-bossa-nova-podcast-music-203913/. [Accessed 05 Jan. 2025].

Vehicle Templates Unleashed. (2018). Mercedes Benz Sprinter 2018 Van. [online] Available at: https://vehicle-templates-unleashed.com/vehicle_templates/mercedes-benz-sprinter-2018-van/ [Accessed 10 Jan. 2025].

Apps used:

  • Blender
  • VanSpace3D
  • Premier Pro